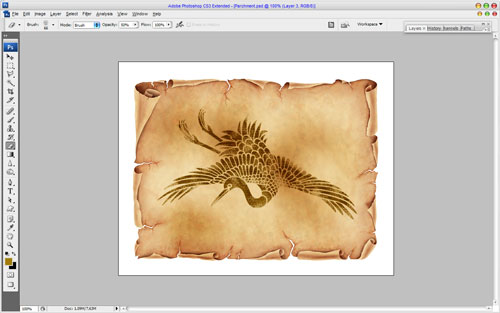
Here I’ll be teaching you how to add the picture to the old parchment in easy way. This tutorial can be done even by beginners.
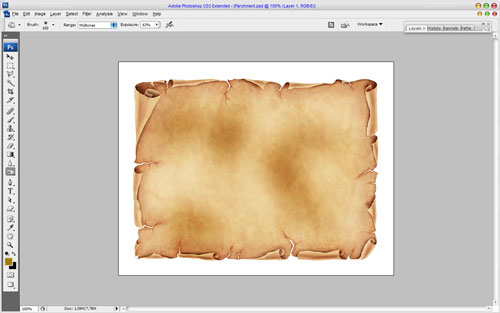
Ok, let’s begin! To start this tutorial you need to find some appropriate picture of old parchment. If you don’t have any, feel free to use mine.
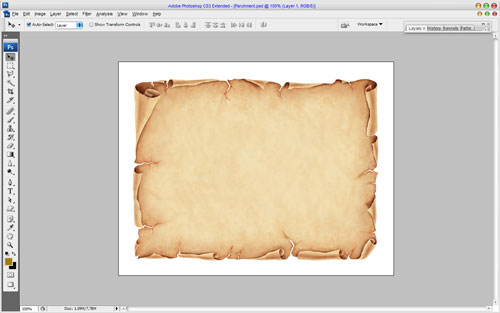
Then we need to stylize our parchment before we put the picture on it. Select the Burn Tool (Brush: 150px, Range: Midtones, Exposure: 63%) to add a few dark spots on the parchment canvas.
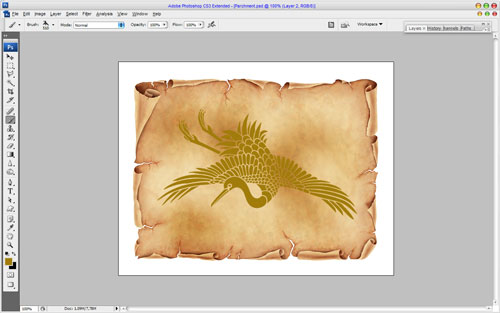
Now we can start with creating the image. To do this we need brushes, which can be downloaded from here. Select the Brush Tool, upload these brushes and make one print with color of #a17c0b on the new layer as shown on the picture below.
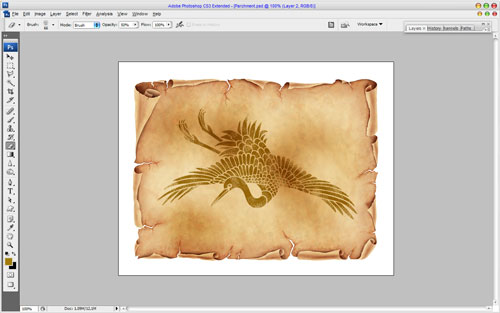
Begin stylize the picture. Change layer mode to Multiply for this layer. Then select the Eraser Tool and choose one of the standard Photoshop brushes:
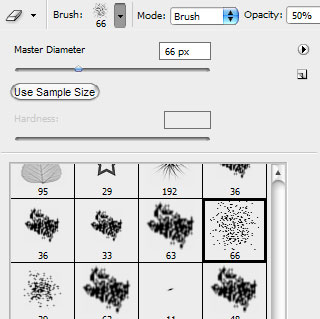
Set up opacity about 50% for this eraser brush and begin cleaning work.
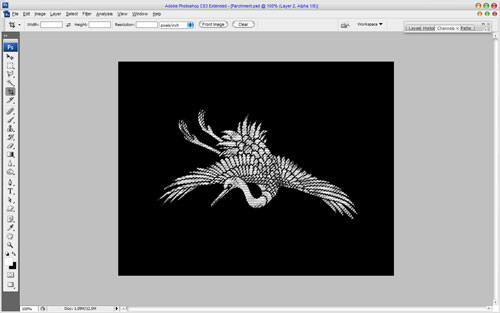
Then load selection with Select > Load Selection, go to Channels inset, create a new Alpha channel and fill selected area with white color in it.
After that apply Filter > Sketch > Halftone Pattern with similar settings to these:
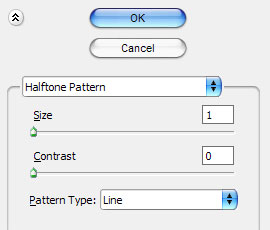
The result should be next:
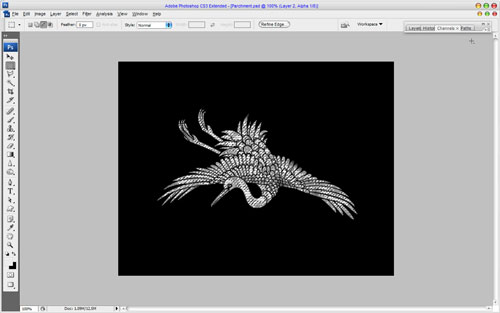
Use Select > Color Range to range color selection using pipette.
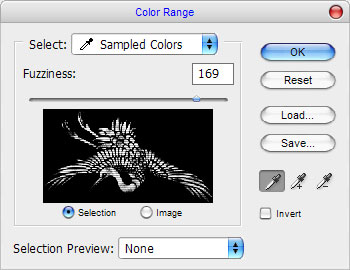
Now we have some selected area:
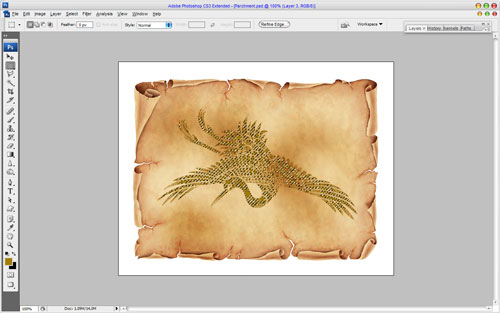
Go back to the Layers inset, create a new layer and fill selected area with color of #a17c0b.
Remove selection with Ctrl+D and change layer mode to Multiply for this layer.
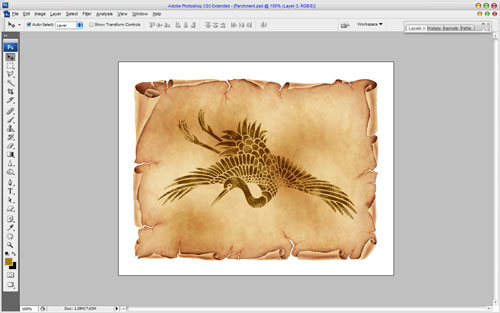
After that select the Eraser Tool with the same presets again and do small cleaning work one more time.
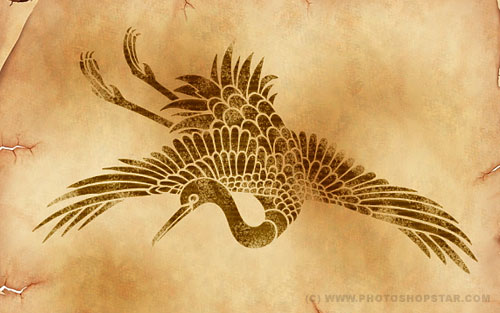
Ok, that is it for now! Hope your result looks the same as mine.

