In this simple Photoshop tutorial we’ll be looking at a simple technique that’s quite popular at the moment. The technique is using gradients/brushes to make soft highlights/glows on things, it’s particularly popular with some styles of forum skins. You can see the end result of this tutorial below.

1.
Start by making a new document in Photoshop – something around 800 x 600 pixels will be good for practicing. Use the default resolution (72) and default color settings (RGB).
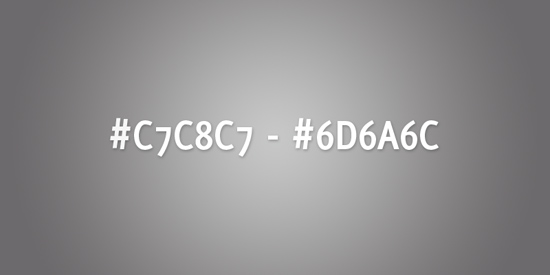
Fill the background with a (radial) gradient of your choice. I had a hard time deciding between a dark grey gradient and a relatively dark orange/red gradient. I went with the grey gradient for this.
2.
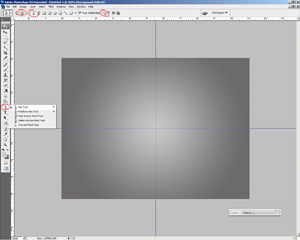
Start by finding and getting out the Pen Tool (P). Set the options to what I’ve shown in the below screenshot:
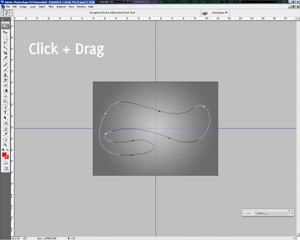
Now I’m hoping you know how to use the pen tool! All you have to do here is select the pen tool, click on the canvas, click again, drag the mouse around to make a curved path, connect the dots.
You want to come up with a smooth & curvy shape like this one:
3.
Making the path was the main part, now for the easy part. Once your path is complete, right-click the path with the pen tool still active, then go to make selection. After you’ve made the selection out of your path, create a new layer then get the brush tool (B) out.
Using a large, soft brush, brush inside of your selection a little bit, very lightly.

As you can see, I basically used a moderate grey from the background gradient, it’s fine doing this. Change the layer mode of your brushing layer to something suitable – something that looks the best, so you may need to go through all of the layer modes! I ending up using Color Dodge.

See, much better!
4.
OK, so basically we should repeat step 2 and 3, but make the path smaller inside of our first one, then we use a layer mode that multiplies the brushing onto the background.

Here are the steps that I used to achieve what’s shown below:
- Make a new path, inside of your first lot of brushing
- Make your path into a selection and softly brush inside of it (same color as before)
- Change the layer mode for your brushing layer mode to something like Multiply or Linear Burn
That’s all. Now it’s time to mess with different paths, shapes, brushes, and all that 😉

