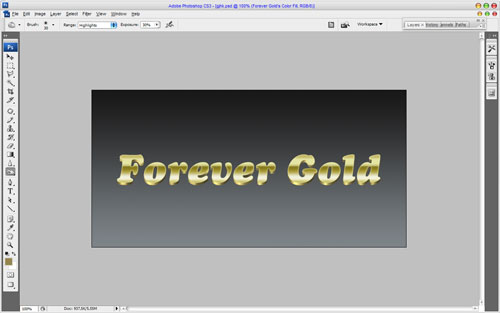
Here I’m going to share with you how to create luxury golden text effect by using Photoshop CS3.
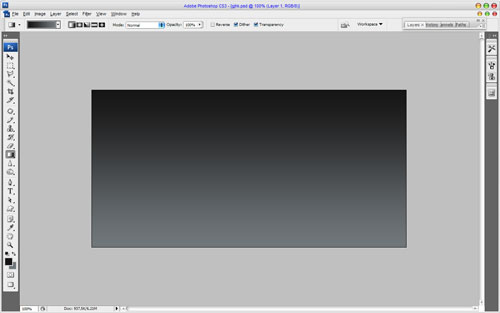
Ok, let’s start by making a new document in Photoshop. I created a new document sized 800×400 pixels. Then select some appropriate colors, for example colors of #161515, #71777b and drag a linear gradient.
After that I would like to add some pattern to the background. Create a new document with size of 4×4 pixels and draw a skew line with two dots by using Pencil Tool as on picture below.
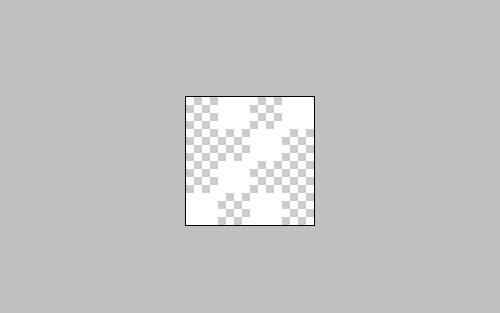
Then use Edit > Define Pattern and save it as pattern. After that go back to your main document and apply the Pattern Overlay layer style for background layer.
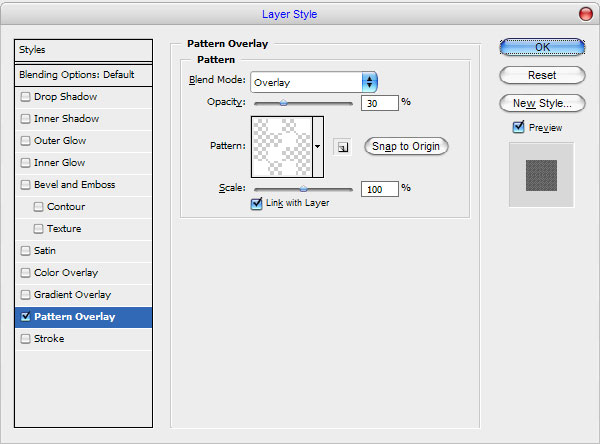
The result should be next:

Ok, our background is already finished. Let’s start with creating golden text effect. Get out the Horizontal Type Tool and write out something like ‘Forever Gold’ in the middle of the canvas.
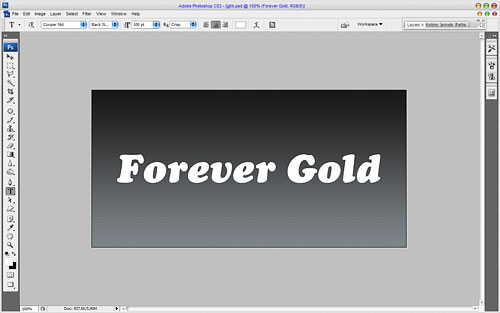
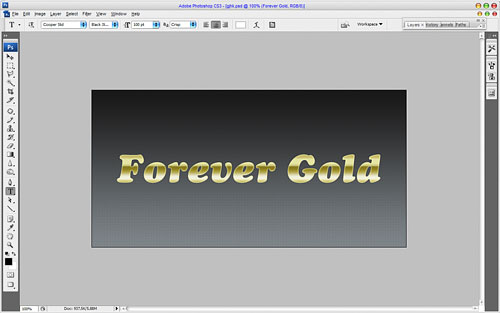
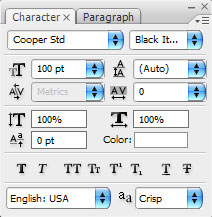
For this tutorial I used Cooper Std font, which is sadly commercial, that’s why feel free to try a different font, or you know, buy or ‘get’ a nice font from somewhere. I also applied next text character for current text line:
Press Ctrl+J to copy the layer and hide the copy under (click on the eye, which indicates layer visibility). Then apply Inner Glow and Gradient Overlay layer styles to upper layer.
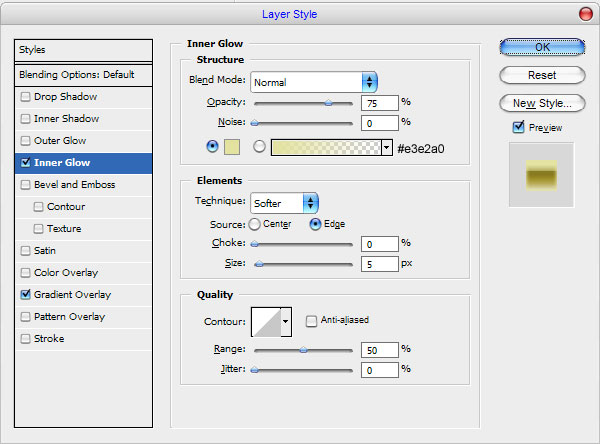
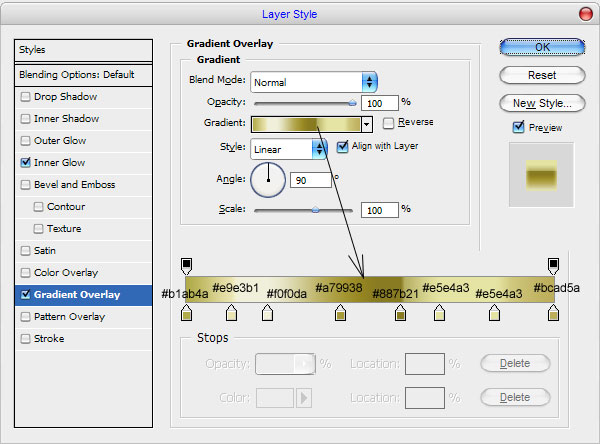
The result should be next:
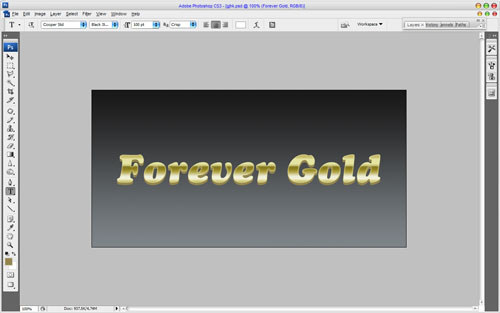
Go back to the hidden copy of layer and make it visible again. Then apply Color Overlay layer style to change text color from white to #94854e and move it down about 6 pixels.
After that use Layer > Layer Style > Crete Layer to separate layer style from text layer. You will get additional layer thumbnail with arrow on layers palette.
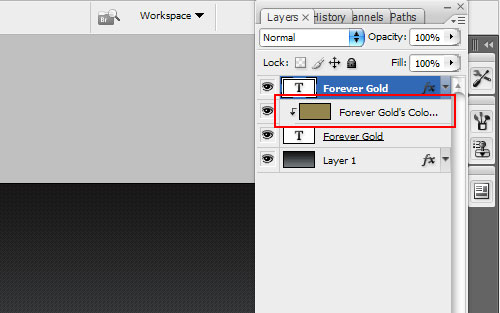
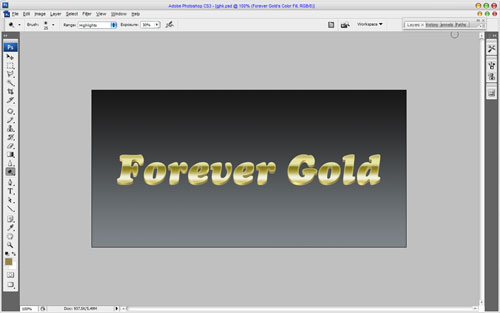
Move to this additional layer and apply Dodge Tool (Brush: 25 px, Range: Highlights, Exposure: 30%) for it. We have to bring three-dimensional effect to our lower layer.
Then reduce brush size to 10 pixels and add more smaller bright lines.
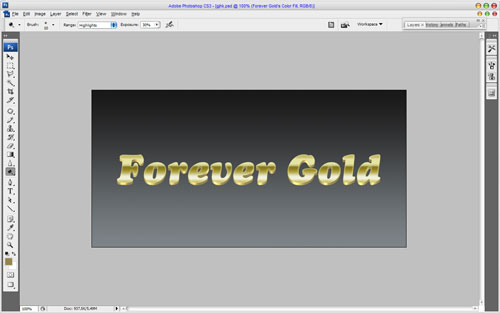
Now, change Dodge Tool to Burn Tool (Brush: 30px, Range: Highlights, Exposure: 30%) and add dark spots to our layer.
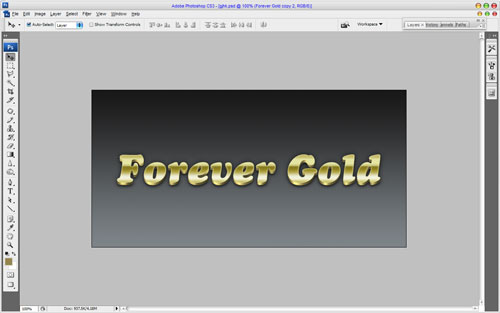
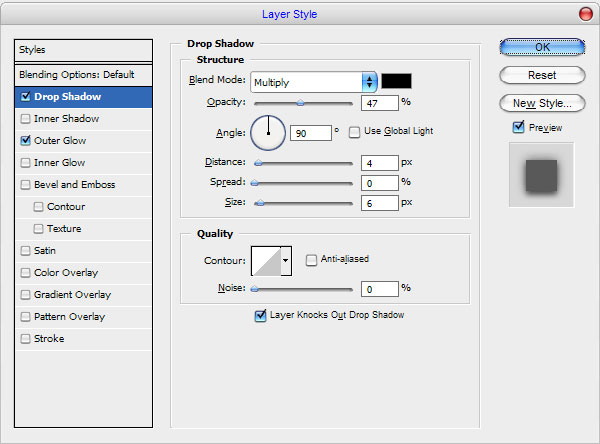
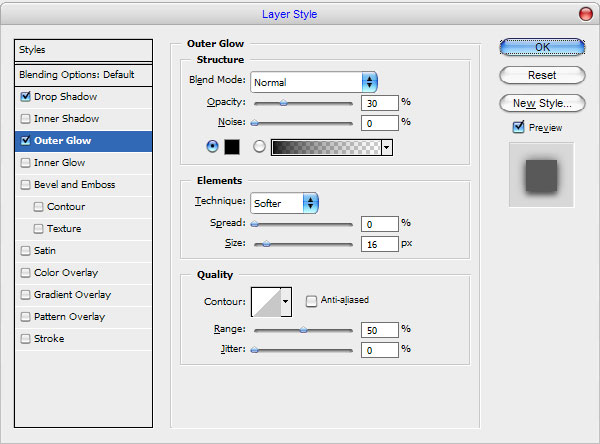
Ok, merge all the layers except background in one and apply Drop Shadow and Outer Glow layer styles for the new layer.
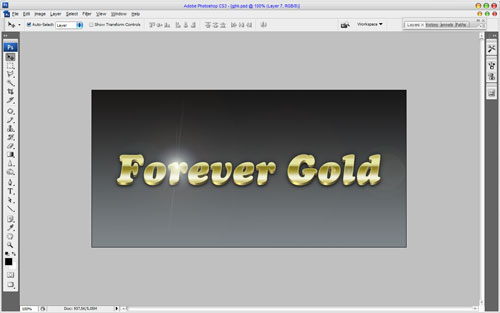
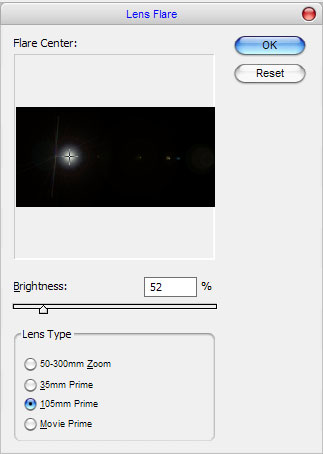
And the last one thing that we have to add is lens flare. For this effect create new layer and fill it with black color. Then change layer mode to Screen for this layer and apply Filter > Render > Lens Flare with similar settings to these:
We will get next effect:
We got luxury golden text effect, isn’t it? Hope u have the same or better results as mine!
Thanks to everyone for reading this tutorial!

