In this Photoshop tutorial I’m going to show how you can create cardiac rate effect which I got by experimenting with Photoshop filters.
Final Image Preview
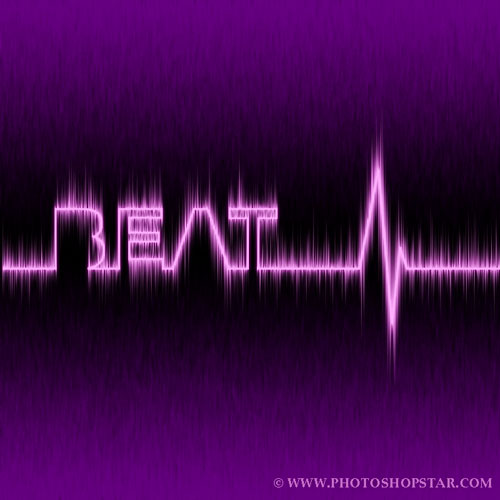
Note: This is one old tutorial updated.
Step 1
Create a new document with size of 700×700 pixels for this tutorial. Select the Paint Bucket Tool and fill canvas with black color (#000000).

Step 2
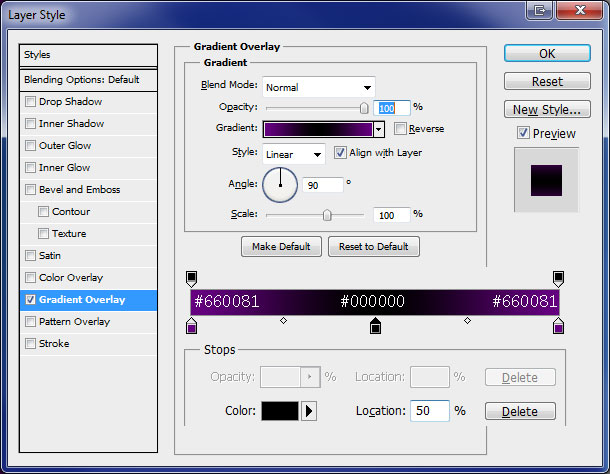
Apply Gradient Overlay to this layer by going to Layer > Layer Style > Gradient Overlay.

Step 3
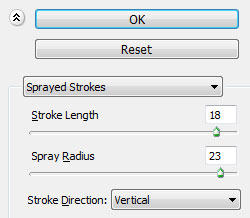
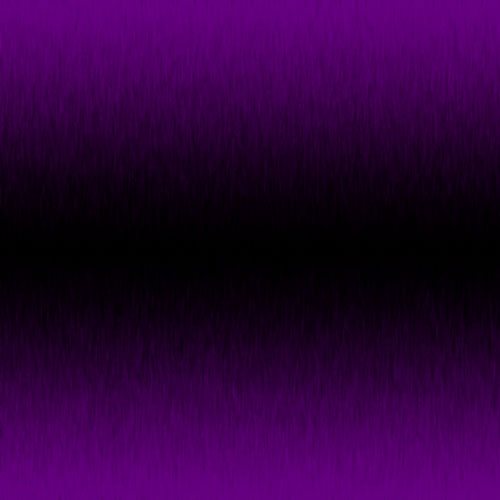
Create a new layer. Merge both layers (Shift+Ctrl+E) to get all effects on one layer and apply Filter > Brush Strokes > Sprayed Strokes with following settings:
Step 4
Select Horizontal Type Tool and write something like BEAT. Text color should be white, font selected was Swis721 BdOul BT Bold (free font), 120px and smooth.

Step 5
Select the Line Tool (Weight: 3 px) and draw the lines like on my image below:

Step 6
Merge all line layers with text layer into one layer. Select Eraser Tool and hard round brush (12px, opacity 100%) and delete lines like i show on my image below.

Step 7
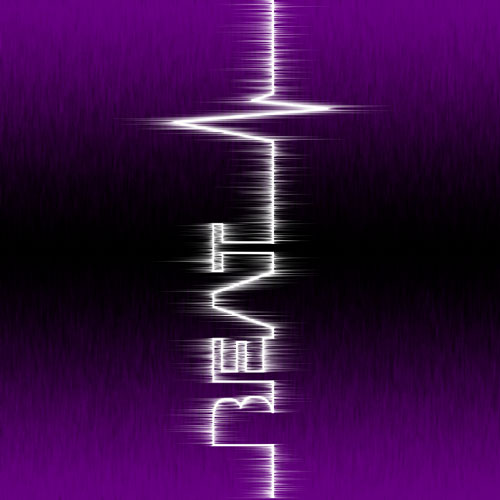
Rotate layer by going to Edit > Transform > Rotate 90 CCW.

Step 8
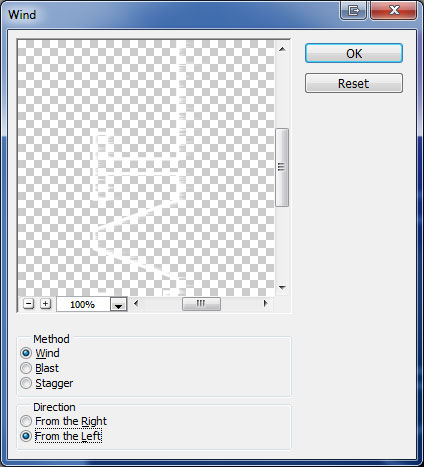
Apply Filter > Stylize > Wind with following settings:

Step 9
Press Ctrl+F one more time to repeat filter.

Step 10
Apply Filter > Stylize > Wind again but update direction to Right:


Step 11
Press Ctrl+F one more time to repeat filter.
Step 12
Rotate text by going to Edit > Transform > Rotate 90 CW.

Step 13
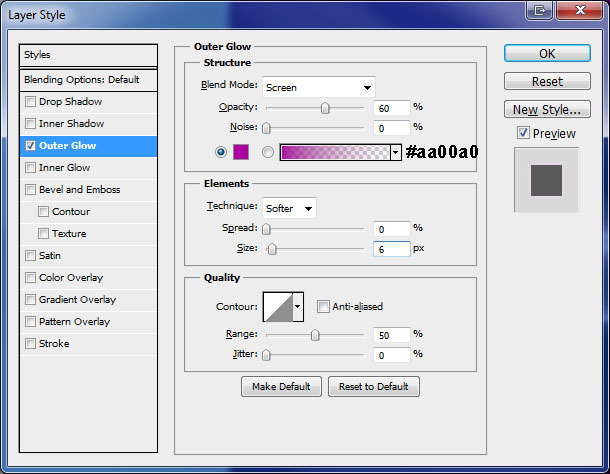
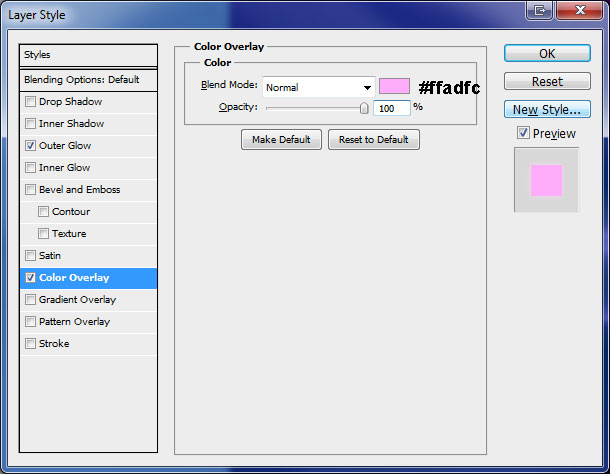
Go to Layer > Layer Style and apply Outer Glow and Color Overlay to this layer.
Final Image

We have completed this tutorial with this final step.
