This tutorial explains how to use simple brushes to create an easy clouds text effect.
Final Image Preview

Resources
- Cloud brushes by Adaae-stock.
Step 1
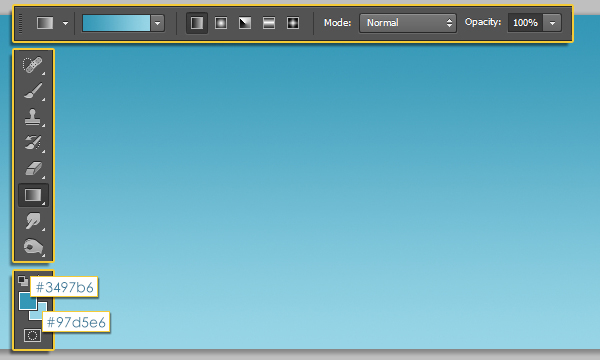
Create a new 1000 x 500 px document. Set the Foreground color to #3497b6 and the Background color to #97d5e6. Pick the Gradient Tool, choose the Foreground to Background gradient, and click the Linear Gradient icon in the Options bar at the top. Then, click and drag from the top to the bottom of the document to create the gradient.
Step 2
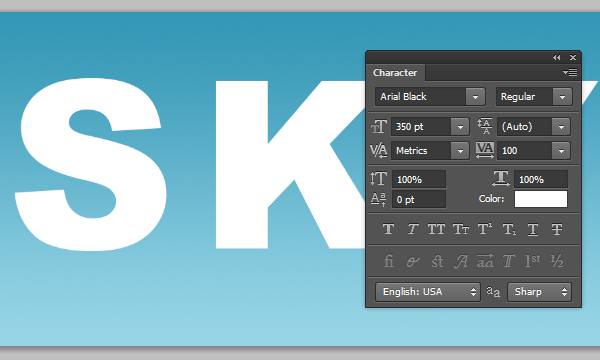
Create the text in white using the font Arial Black. In the Character panel (Window -> Character), set the Size to 350 pt and the Tracking value to 100.
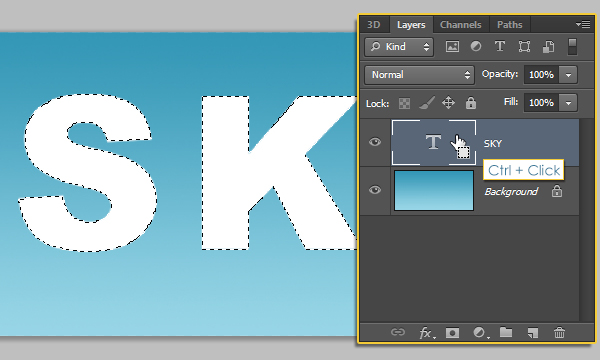
Ctrl/Cmd + Click the text layer’s thumbnail to create a selection.
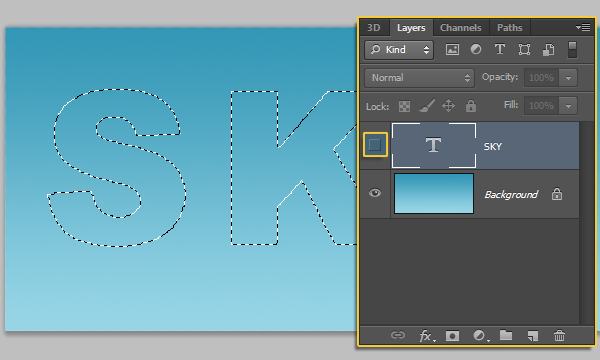
Make the text layer invisible by clicking the eye icon next to it.
Step 3
Pick the Brush Tool, set the Foreground color to white, create a new layer on top of the text layer and call it “Clouds”.
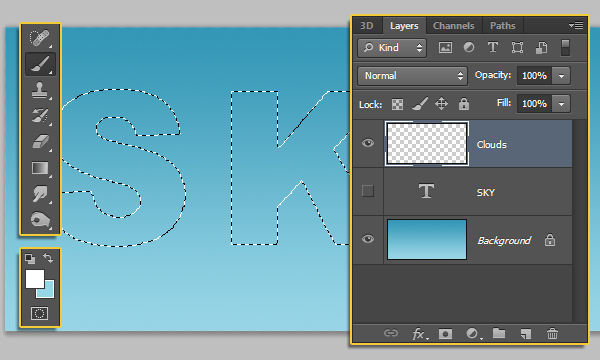
Pick one of the Cloud brushes, reduce its size to something around 200 to 300 px, then start adding the brush inside the selection. You can use more than one brush to add some variations. Don’t leave lots of empty spaces, just enough for the clouds to maintain their details.

Once your done, go to Select -> Deselect (or press Ctrl/Cmd + D) to get rid of the selection.

Step 4
Right click the text layer and choose Create Work Path.
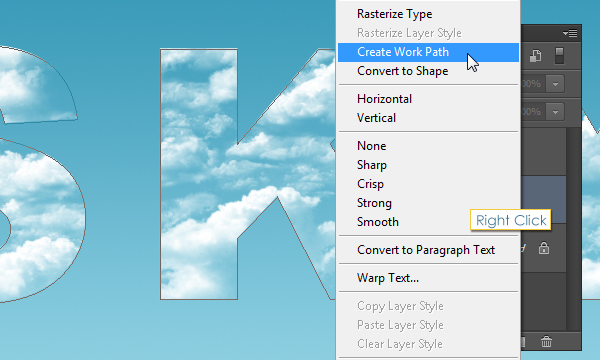
Pick the Eraser Tool, then open the Brush panel once again.
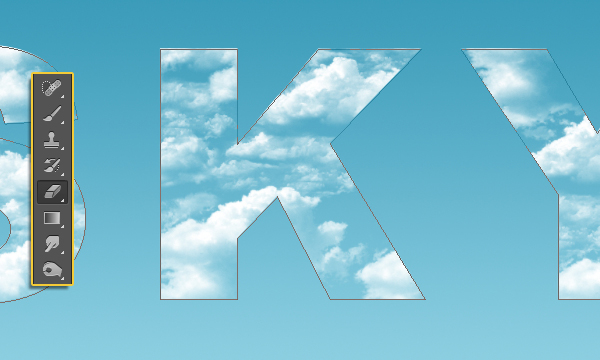
Choose the “Per Stroke Brightness Variance” brush and modify its settings as shown below:
– Brush Tip Shape:
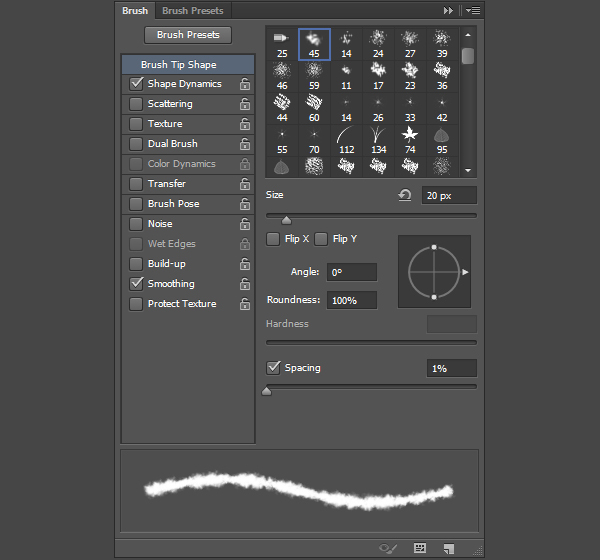
– Shape Dynamics:
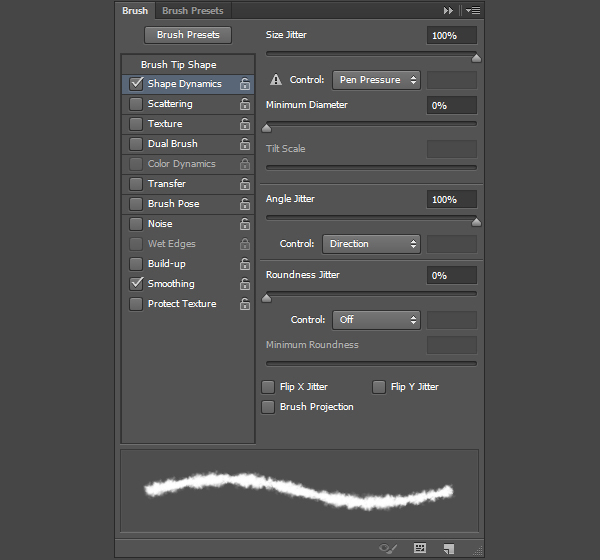
This will create a jagged edges brush.
Step 5
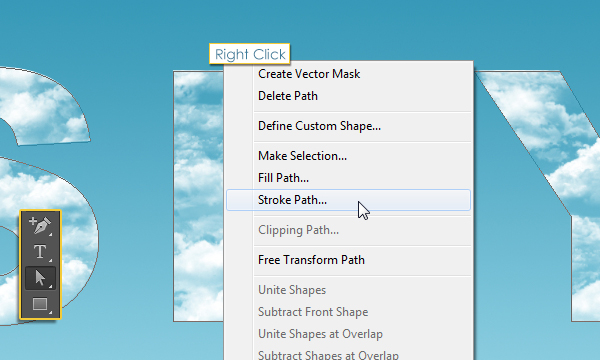
Pick the Direct Selection Tool, select the “Clouds” layer so that it is the active layer, right click the work path and choose Stroke Path.
Choose Eraser from the Tool drop down menu, and make sure that the Simulate Pressure box is un-checked. Click OK.
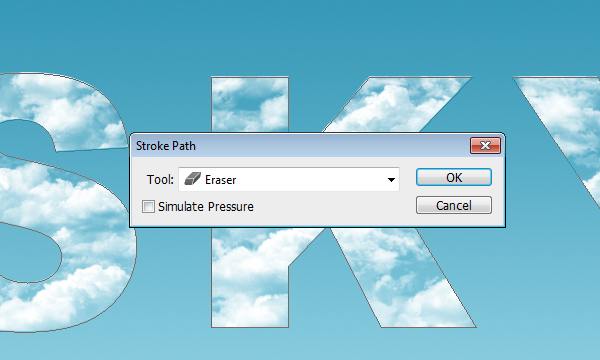
This will stroke the path with the Eraser Tool brush, making the edges more fluffy and feathery. Hit the Enter/Return key to get rid of the path.

Step 6
Create a new layer right on top of the Background layer and change its Opacity to a value around 30%. Then, pick some of the cloud brushes again to add some clouds on that layer.
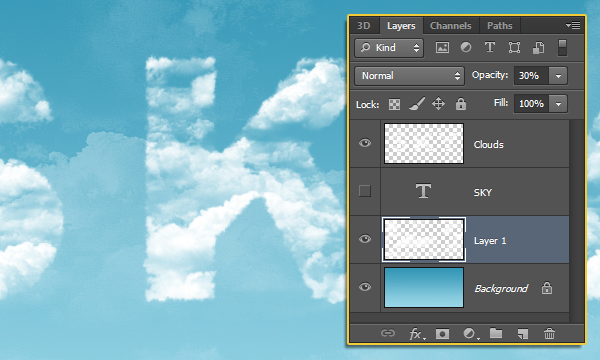
And that’s it!
Final Image
Hope you enjoyed the tutorial.


