On this tutorial you will learn how to create watercolor effect on a photo. This is a quick tutorial but very useful for beginner and advanced Photoshop users.
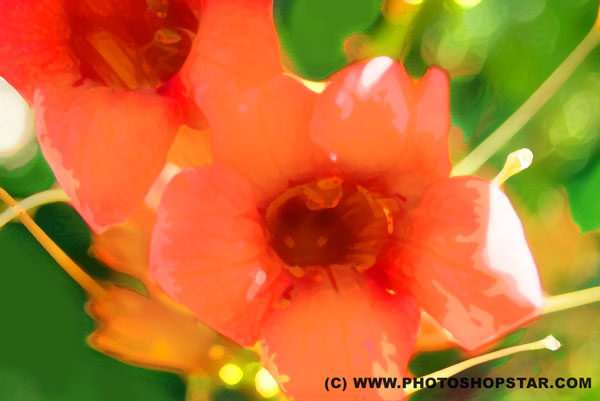
Final Image Preview
Resources
Step 1
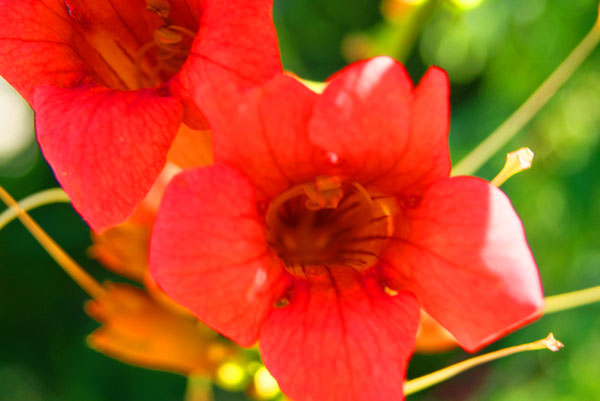
We have an option Watercolor on Filter > Artistic but i choose to go other way so i can create a more realistic watercolor effect. Start by downloading stock photo that i selected for this tutorial. Open up the photo and use Image > Image size to reduce photo size to 1000px width and 669px height.
Step 2
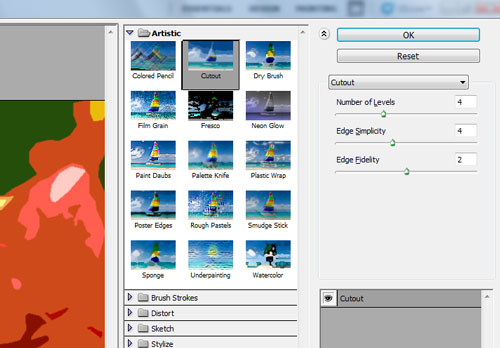
I will start by stylizing photo. Double click current layer thumbnail on layers palette to unlock the layer and after that duplicate layer with Ctrl+J. Apply Filter > Artistic > Cutout with similar settings to these for copied layer.

Step 3
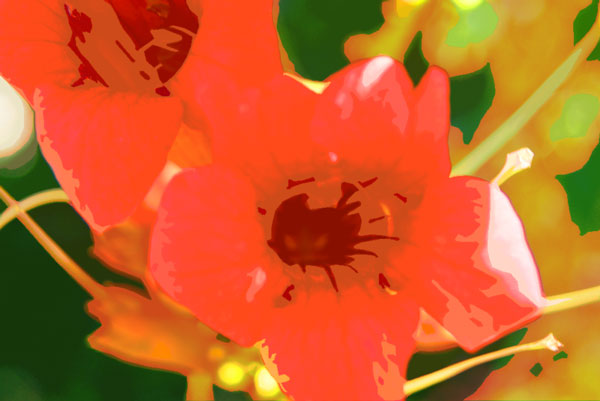
Change layer mode to Lighten for this layer.
Step 4
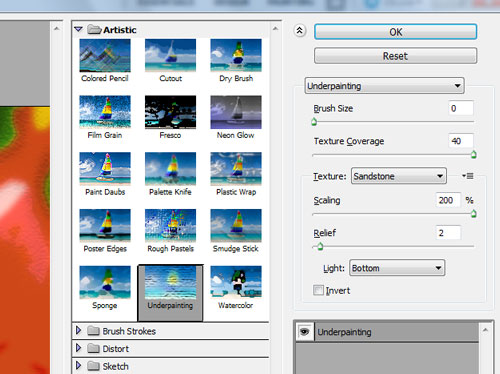
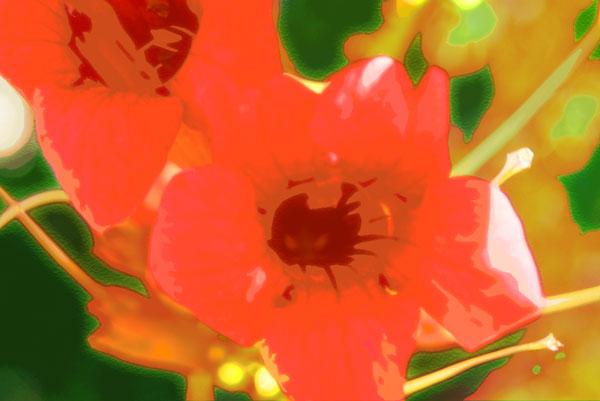
Duplicate current layer again (Ctrl+J) and apply Filter > Artistic > Underpainting with following presets:
Step 5
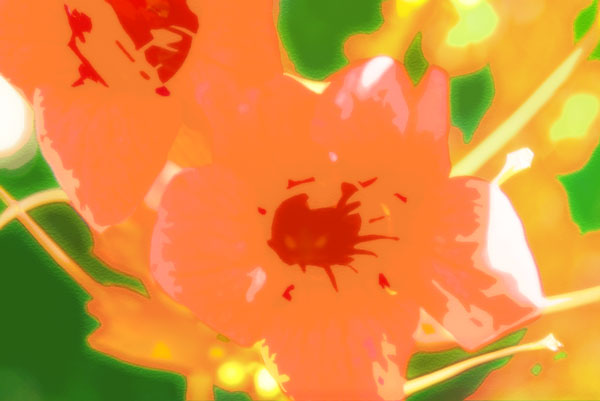
Change layer mode on current layer to Screen.
Step 6
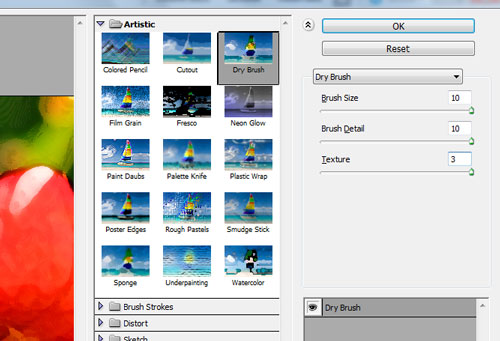
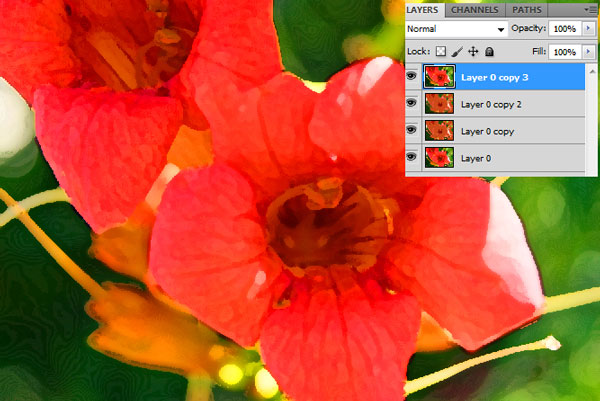
It´s time to make watercolor effect on the photo. Go to the lower layer with original picture and press Ctrl+J again to make one more copy of it. Move this copy above all the layers, then apply Filter > Artistic > Dry Brush:
Step 7
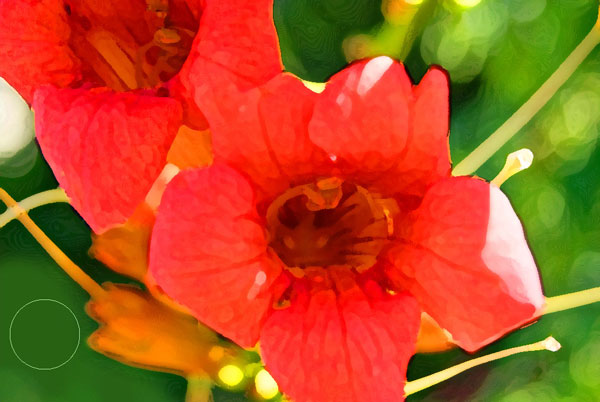
Now we are going to align the gradient levels and contrasts in the photo. Use the Eraser Tool and a soft round brush about 150 px (from time to time we have to change the brush size) and make clear some areas with a sharp transition of colors.
Step 8
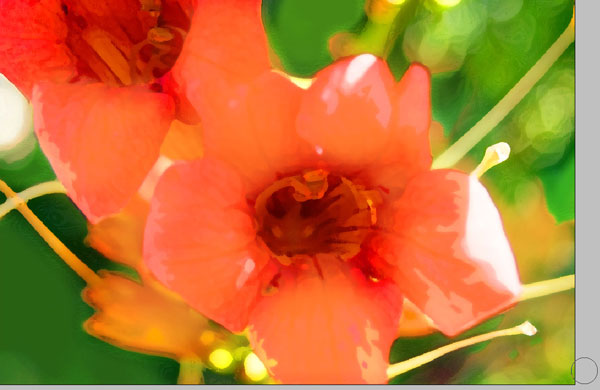
Reduce Eraser Tool opacity to 30% and edit too saturated color areas.
Step 9
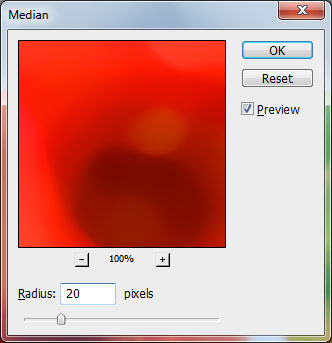
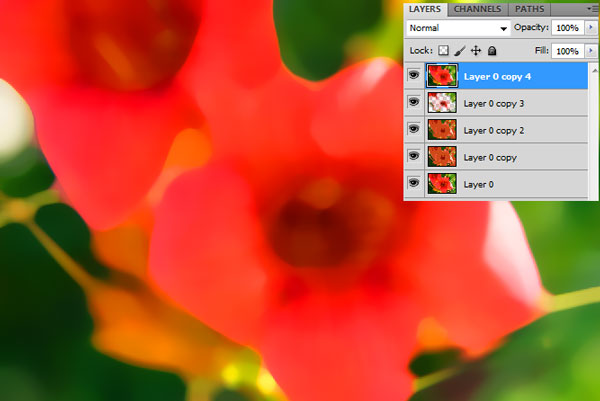
Go back to original layer and duplicate it one more time (Ctrl+J). Move this copy above all the layers and apply Filter > Noise > Median for this layer.
Final Image
To finish this tutorial just change layer mode to Lighten for current layer.

We have now a very interesting watercolor effect that can be created in less than 5 minutes.
