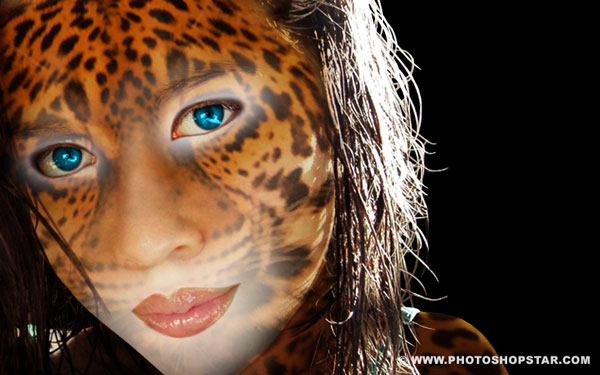
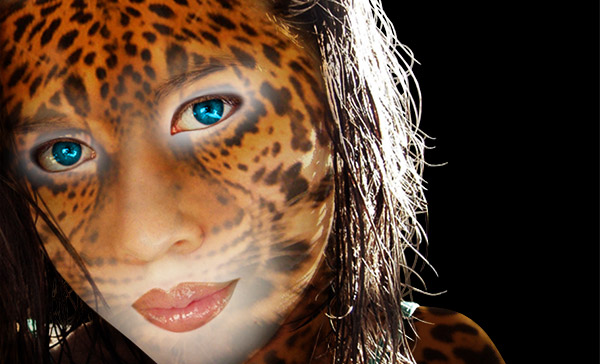
On this Photoshop tutorial you will learn how to apply a jaguar skin to a woman by using Photoshop Tools.
Final Image Preview

Resources
Step 1
Start by creating a new document with 1920px width and 1200px height. Fill canvas with black color on background layer.

Step 2
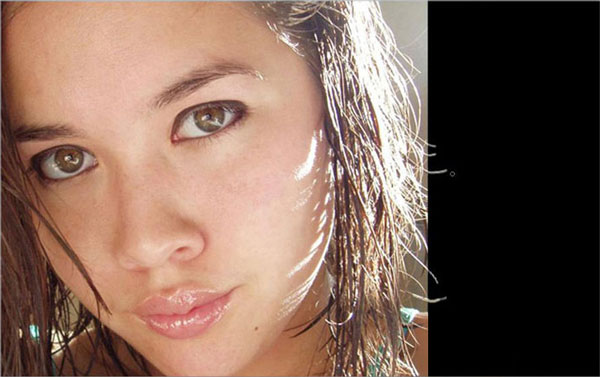
Open woman photo and copy to our main canvas with black background. With woman layer selected go to Edit > Transform > Flip Horizontal to flip photo.

Hold Shift button to reduce photo size proportionally horizontal and vertical to similar size as you can see below. We need to extend woman’s hair with Smudge Tool. Select Soft-brush, 3px and set foreground color to white (#ffffff).
Step 3
Now we are going to extend woman shoulder. For this, select Brush Tool, hard round brush with 20px, set foreground color to #9e6e39 and draw shoulder shape.
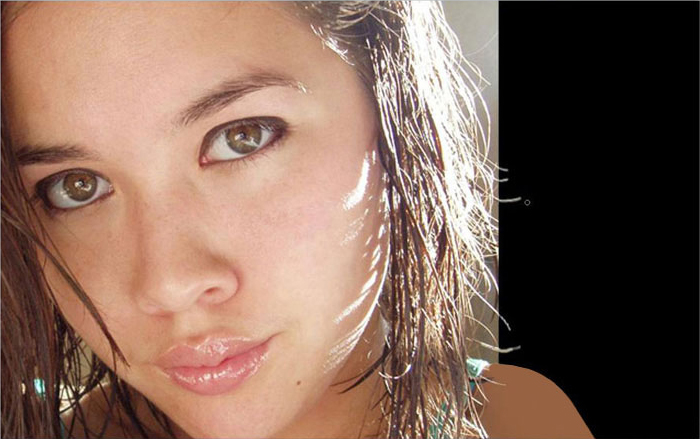
Load selection of current layer by going to Select > Load Selection. Select Brush Tool (soft-brush with 45px in size and color #d5c7b8) and apply brush to highlight shoulder edge.
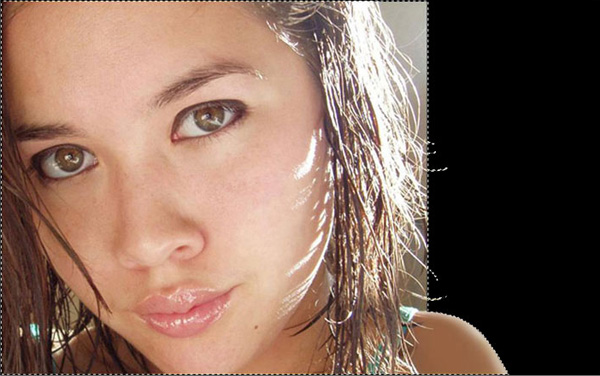
Remove selection with Ctrl+D.
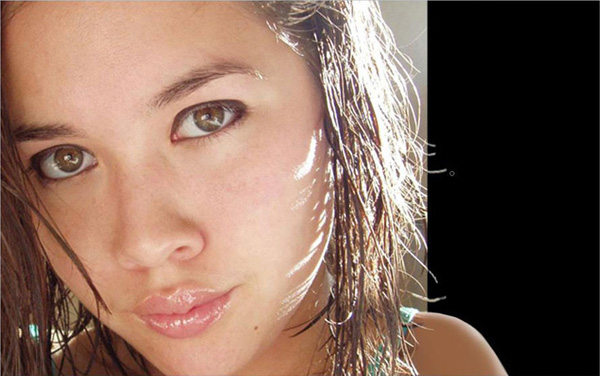
Step 4
Our next step is to prepare photo to apply jaguar effect. Select Polygonal Lasso Tool to create selection of the woman. With selection made, click on button Add Layer Mask located on layers palette.
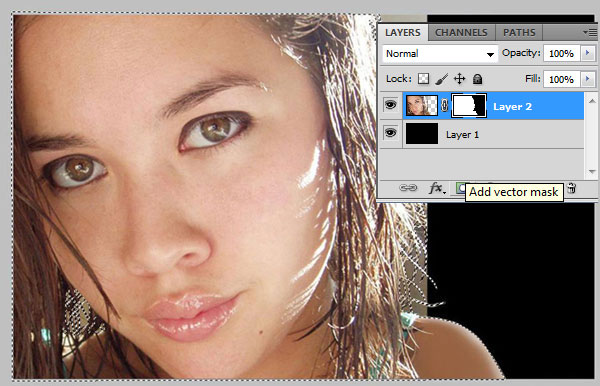
Go to Select > Load Selection to make selection again. Hold down Alt key (a minus sign will replace plus sign on cursor) and select woman face still with Polygonal Lasso Tool. We are going to substract from selection and we will keep only hair, ear and neck. To finish click Ctrl+J to duplicate selection into a new layer.
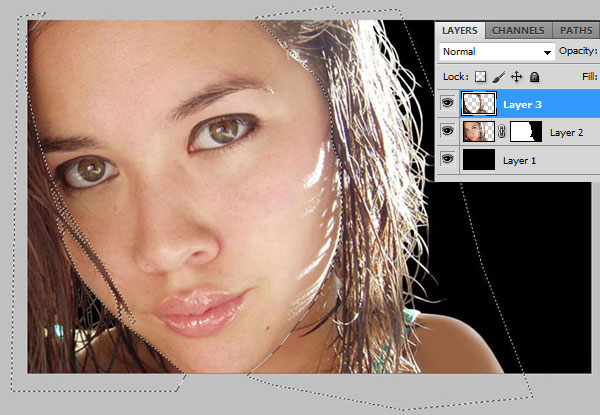
Step 5
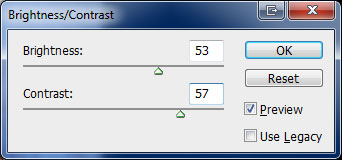
On duplicated layer apply Image > Adjustments > Brightness/Contrast.
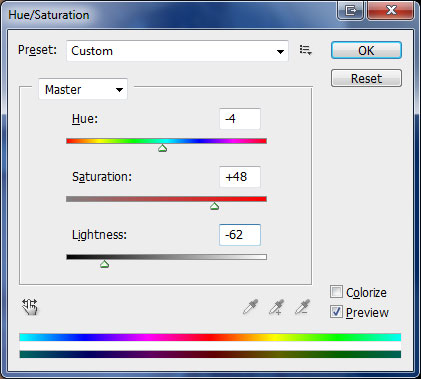
Update Hue/Saturation settings by going to Image > Adjustments > Hue/Saturation.
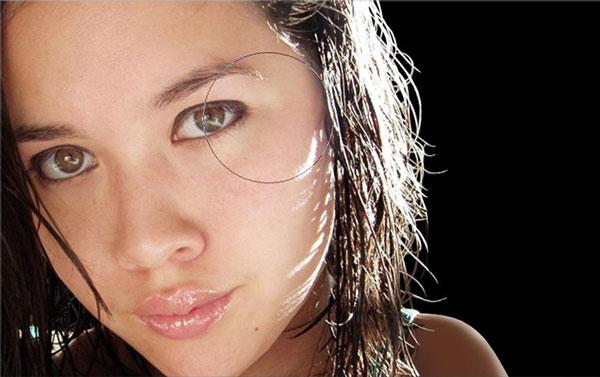
Select Burn Tool (150px, Range: Midtones, Strength: 35%) and darken the edge of hair.
Step 6
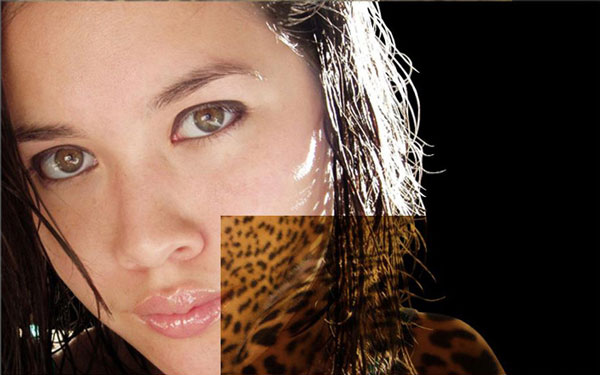
Open Jaguar photo. Copy photo to our main canvas. Select part of the photo with Rectangular Marquee Tool and press Ctrl+J to copy selection to new layer. Hide Jaguar layer by clicking the eye icon.
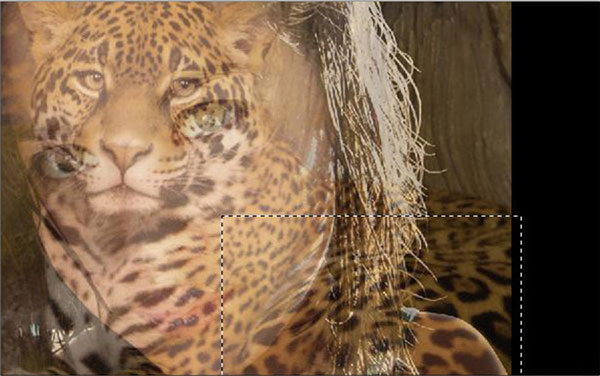
Change layer blending mode to Multiply and place it similar to what I have.
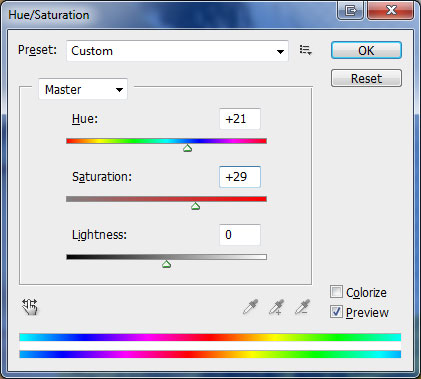
Increase Hue and Saturation by going to Layer > Adjustments > Hue/Saturation.
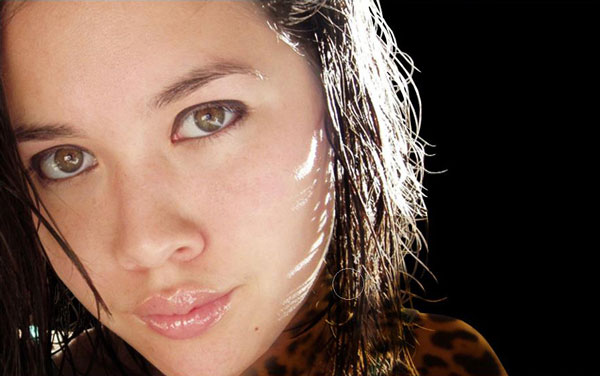
We are going now to apply texture to body. Select Eraser Tool and with a soft round brush remove visible parts of jaguar texture on neck and shoulder.
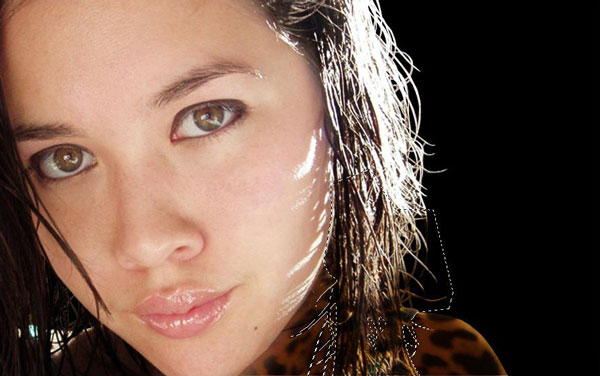
With Polygonal Lasso Tool clear hair area of texture by selecting and clearing it with Delete button.
Step 7
Now we are going to add texture to woman’s face. Select hidden layer with jaguar and make it visible again. Set up opacity to 70%. Select Rectangular Marquee Tool to create selection similar to mine. After that, invert selection (Select > Inverse) and press Delete to clear selection.
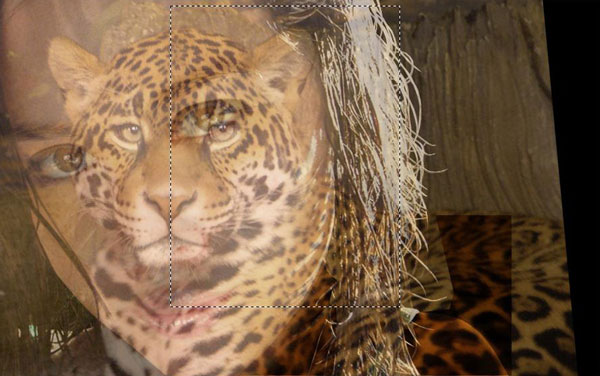
Remove selection by using Select > Deselect (or Ctrl+D). Go to Edit > Free Transform (Ctrl+T) to increase layer. And after that, use Distort if needed to have something similar to what I did.
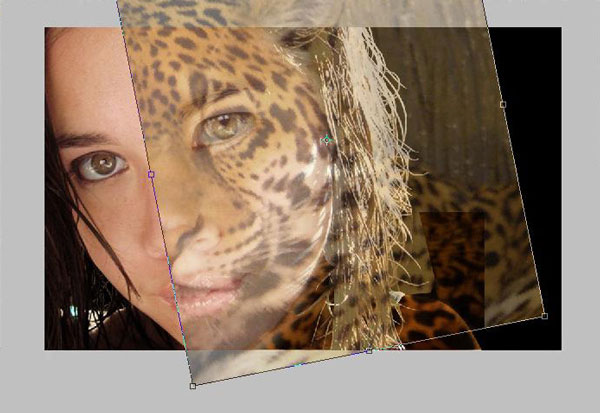
Duplicate layer with Ctrl+J and flip it with Edit > Transform > Flip Horizontal. Move it to the left like I did.
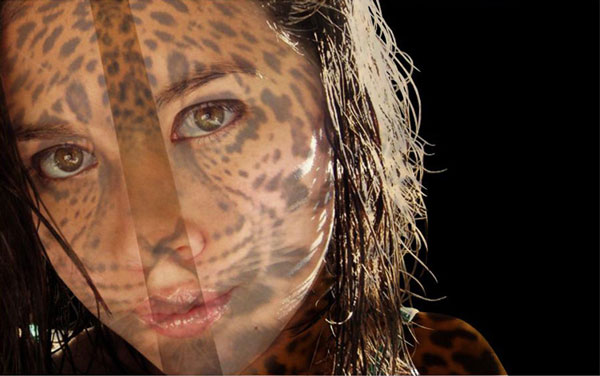
Select Eraser Tool and with a soft round brush eliminate distinction between both texture layers.
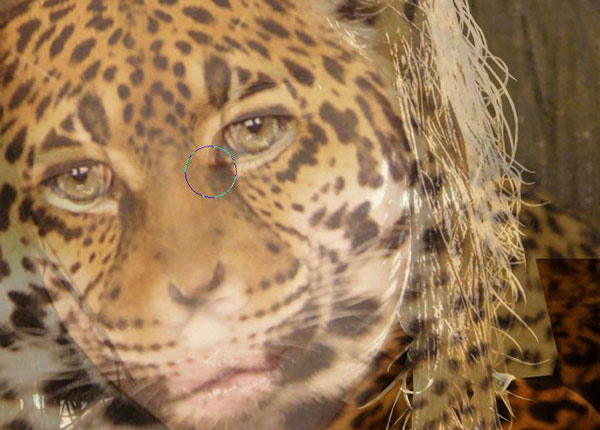
Set layer opacity to 100% again on both layers. Merge both texture layers by selecting them (Select first layer by clicking on it, keep pressing Ctrl and click on second layer) and press Ctrl+E. Change layer mode to Multiply. Finally change Hue and Saturation settings by going to Image > Adjustments > Hue/Saturation.

Step 8
With layer selected, go to Select > Load Selection. Apply Layer > Layer Mask > Reveal All.
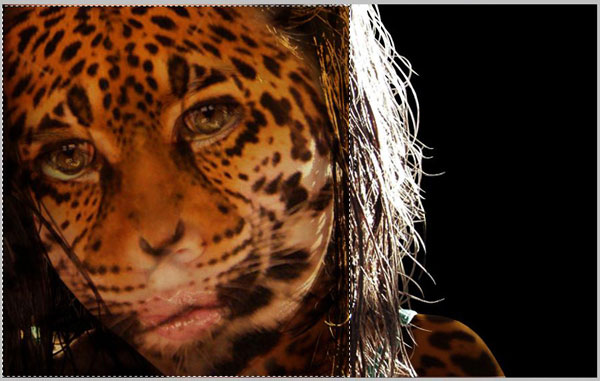
Select Eraser Tool, soft brush, opacity: 100% and correct mask form.
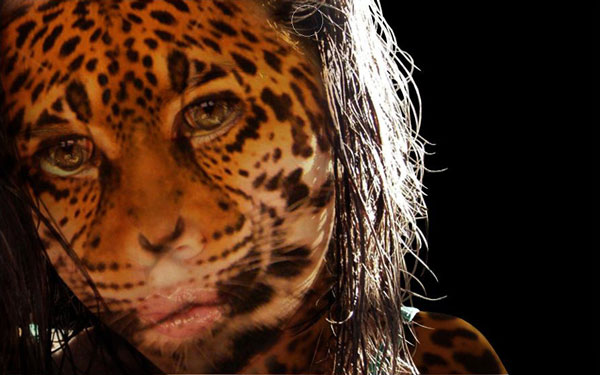
Set Brush Opacity to 4%. Clean up a bit on nose area.
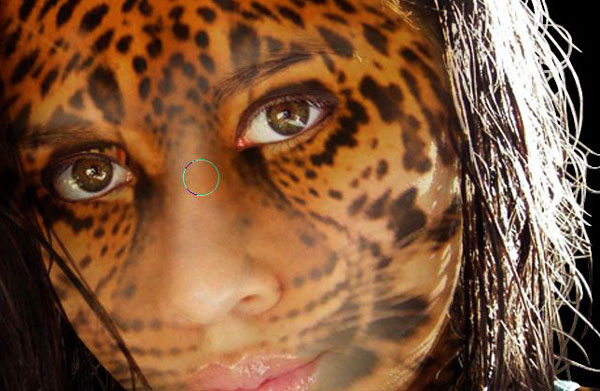
Step 9
Select Pen Tool (make sure you are working with Paths instead of Shape Layers) and draw a shape similar to mine.
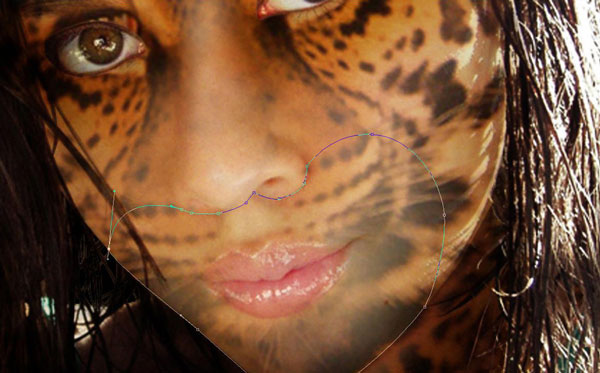
Right click and select option Make Selection. Create new layer, select Brush Tool with a soft round brush (Opacity: 6%, foreground color: white) and apply on selection.
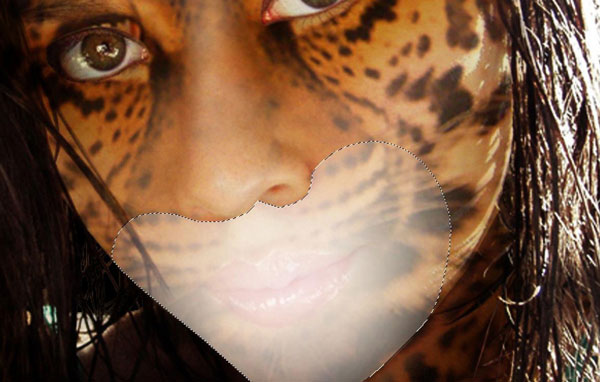
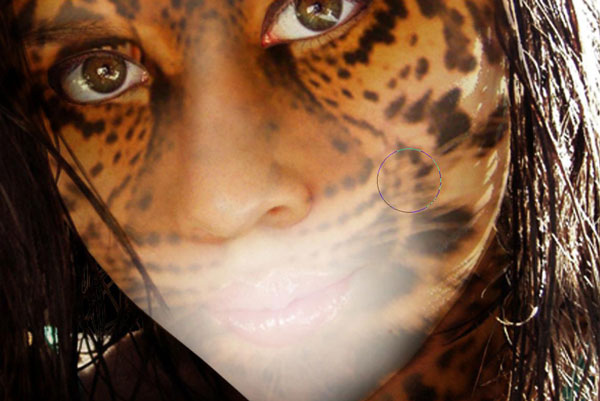
Remove selection with Ctrl+D and with Eraser Tool selected (Opacity: 8%) clean borders.
Step 10
Hide this layer temporarily by clicking on layer eye. Select Pen Tool again to create lips form. When you have finished drawing right click and select option Make Selection.
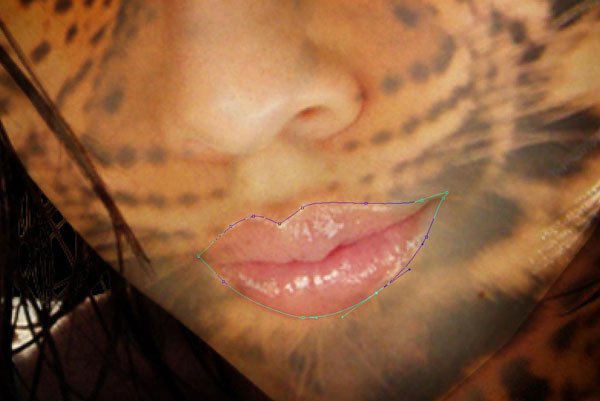
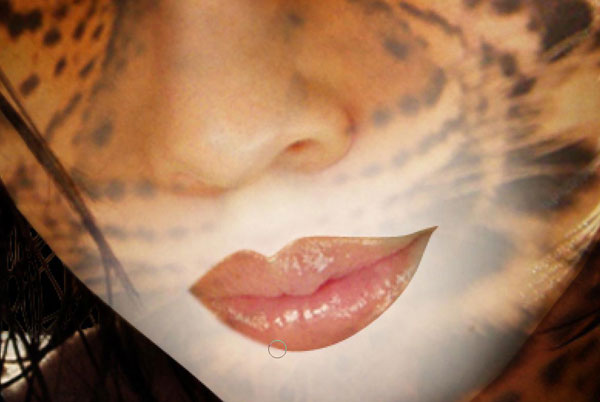
Make layer visible again by clicking on layers eye. Clear selected area by pressing Delete. Deselect with Ctrl+D. Select Blur Tool to blur lips edges.
Step 11
Select layer with jaguar texture and use the Dodge Tool to make eyes brighter.
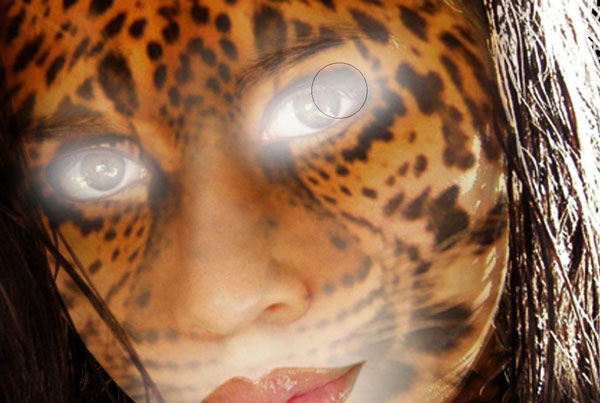
Use Eraser Tool to fix and make eyes clearer.
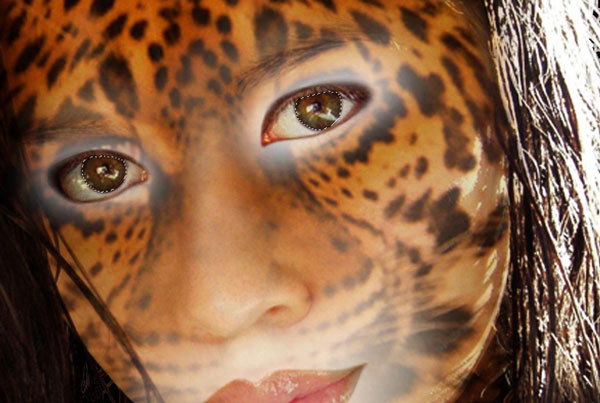
Now we need to update eyes color. Select layer with woman photo and with Polygonal Lasso Tool create selection of one eye pupil. With Shift pressed, create selection of second eye pupil.
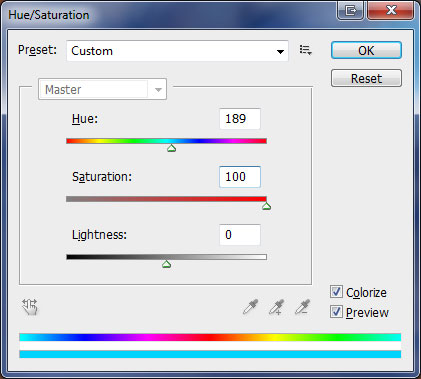
Apply Image > Adjustments > Hue/Saturation to selection.
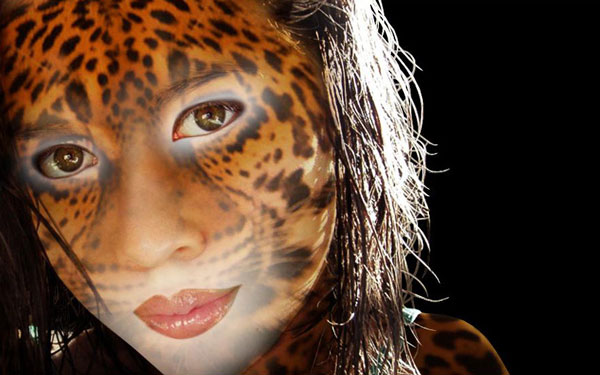
Final Image
