The goal of this Photoshop tutorial is, in a very simple way teach even the Photoshop beginners how to add a very immense, beautiful photo effect to your cherished photos. In my experience this is great for the wives that want to add a special effect to their wedding photos!
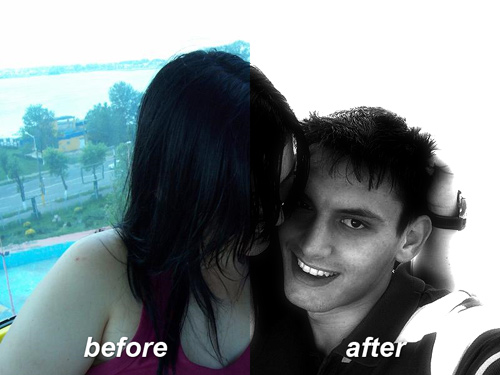
What we want to achieve with this tutorial/effect is focusing more on the couple or focal point, and blurring away the background and unimportant details. We’ll be using a few different tools and basic Photoshop settings in this tutorial, so it’s best if you’re at least a little acquainted with the Photoshop tools and interface.
Preface
Firstly I’d like to thank Daniel Stoenciu from Romania who sent me an email requesting a tutorial on how to make the shown effect in Photoshop. And the picture was also provided by Daniel.
Step 1
You should start by opening up a photo you want to work with for this tutorial. I used the picture that Daniel emailed me (thanks again!)
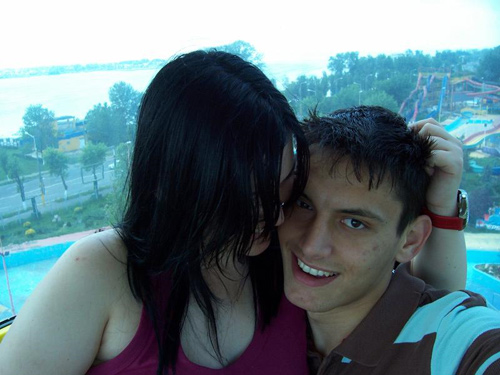
Now, this is optional, but maybe there are some spots or something you want to touch up on either of the faces, if there is you can get out the brush tool and use a similar color as the skin to brush away the spots, or you can use the Healing Tool or Clone Stamp Tool. For a ‘super fast and easy tutoria’ on facial retouching, check out PSDTUTS’ tutorial.
Step 2
Now we need to remove some of the background action. It really depends what your background photo is composed of, but with this one it will be easy to remove the background strength.
In this case, get out the Dodge Tool and set the range to highlights. Have the exposure set to around 50%.
Start clicking on your background area and moving your mouse around, not over your focal point too much though.
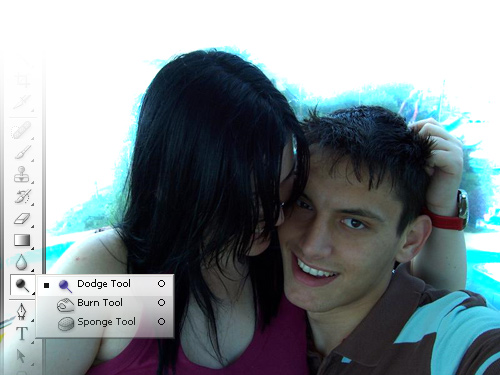
After you’ve dodged up the background a little bit, you may want to try something else and blur it up a little bit (just the edges, that is).
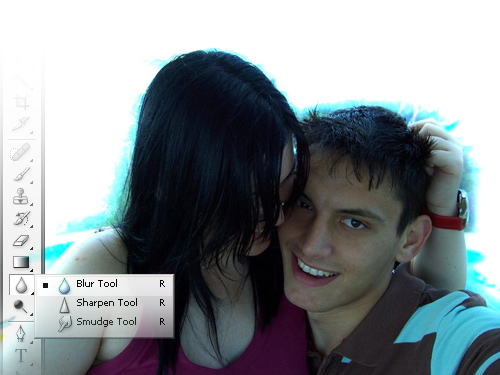
You may have to adjust the strength of the blur tool (around 40% should do).
You could even completely cut out the characters if you want, and if the corners weren’t too complex. If you think you’re finished with the general adjustments, move onto the next step.
Step 3
In your Photoshop menus (right at the top), go to Layer > New Adjustment Layer > Gradient Map, and set it to a black to white gradient map. By default it should be on a white to black gradient, but if your image looks inverted, click the ‘reverse’ button.
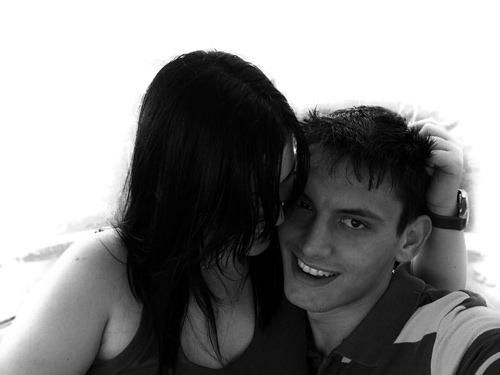
Now we have a nice grayscale image. In your layers palette you should now see the gradient map layer. Right click the gradient map layer and duplicate it. Again with the adjustment layers, go to Layer > New Adjustment Layer > Levels and mess with the settings until our focal point shows up a bit better and the background is blurred out a bit more.
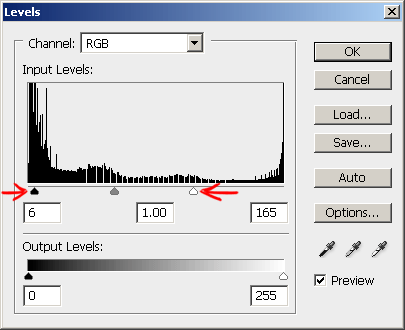
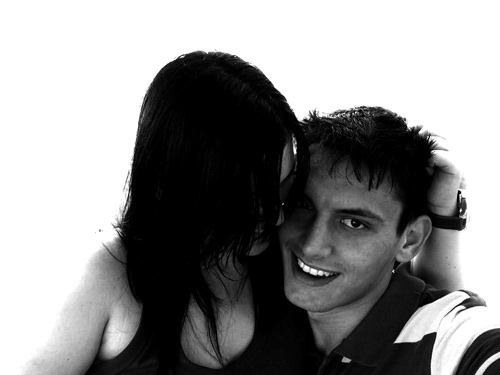
Now it may be looking a little too intense but I guess it depends on your tastes though. We want to finish off by adding a bit of a blur effect, or maybe some other sort of cool effect.
Step 4
Now we want to add a cool finishing effect. Start by creating a new layer (layer > new > layer) then go to Image > Apply Image, using the default settings. This just makes it so all of our previous layers will be merged into your new blank layer.
Now it depends on what size your image is. If the image you’re working with is small, then go to Filter > Blur > Gaussian Blur and use a setting of around 10-20 pixels (or whatever is suitable in your case).
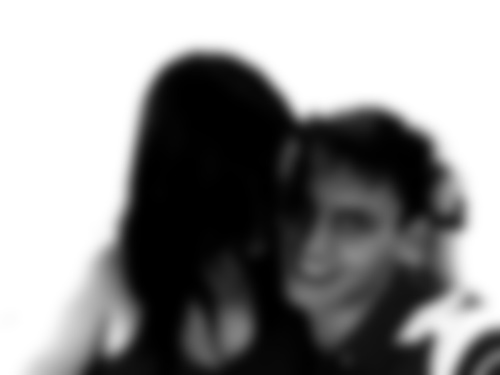
Yep, we wanted the new layer blurred. Now it’s time to mess with the various layer modes and opacities to get an effect you like. Even leaving the layer mode as Normal but lowering the opacity to around 50% looks good.
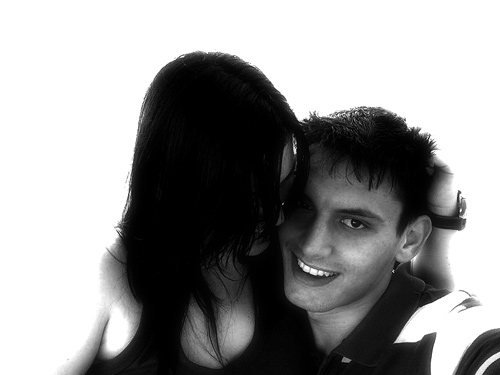
I find using a combination of one layer using Normal layer mode and one layer using Color Dodge layer mode is quite effective.
Now, we can substitute the Gaussian Blur filter for something else for a different effect. I always love using the Film Grain filter, so if you want to give that a try, create a new layer and apply the image again, then go to Filter > Artistic > Film Grain and use a random setting.
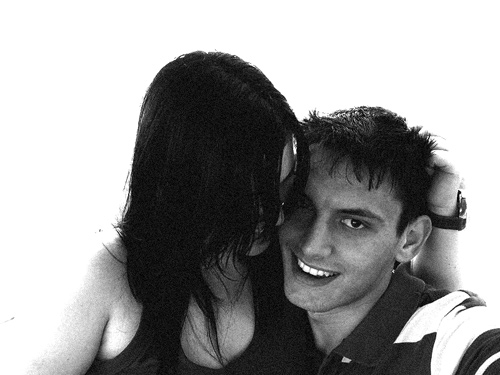
Looks lovely to me!
Just remember though, you need to get creative, mess with different layer modes and filters. If you need anything at all though, please leave a comment and I’ll get back to you.
Completion
We’re done for this tutorial! I hope you enjoyed it. If you have any questions at all, please fill out the form below and submit a comment, I’ll try to get back to you as soon as possible.
