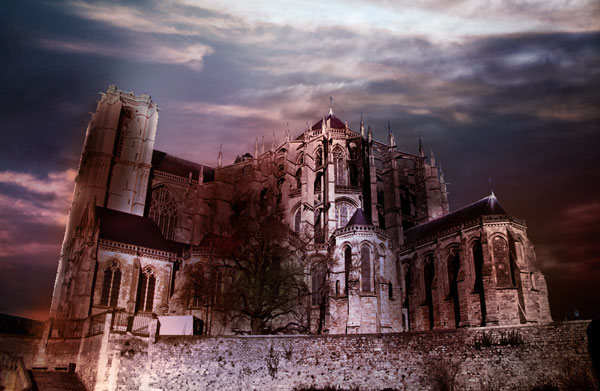
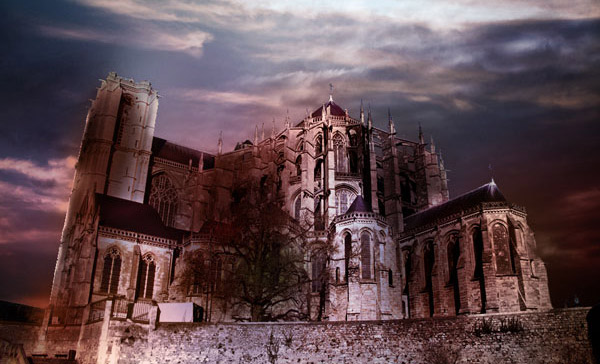
Sometimes designers have to create a collage from several photos. In this Photoshop tutorial I would like to show you the technique of creating collages, by creating a gothic collage as an example.
Final Image

Resources
Step 1
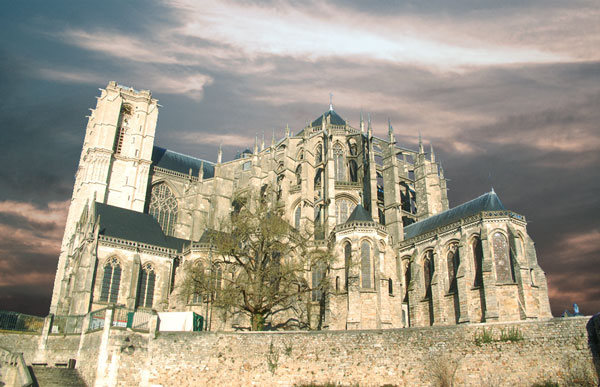
Start by opening Cathedral Saint Julien du Mans photo.

Step 2
To begin let´s remove the sky from this photo. Double click on the background layer in the layers palette to remove the lock. Now we are going to select blue sky. It can be easily done by using the Magic Wand Tool, as the sky is monotonous. Select the sky with Magic Wand Tool (Tolerance: 20). If you want to add to selection press Shift and click, if you want to subtract from selection press ALT and click. Use Lasso Tool or Polygonal Lasso Tool to select areas identified on photo below and add those to selection.
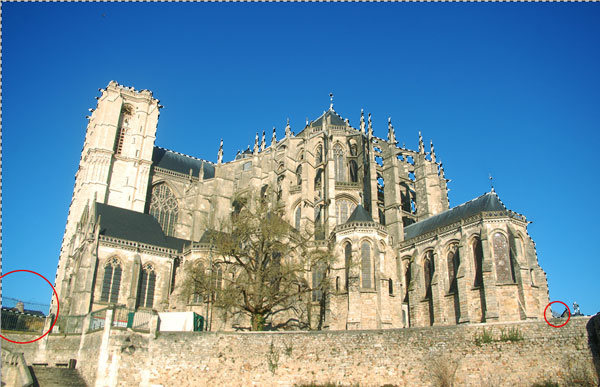
Press Delete button to clean the selected area.
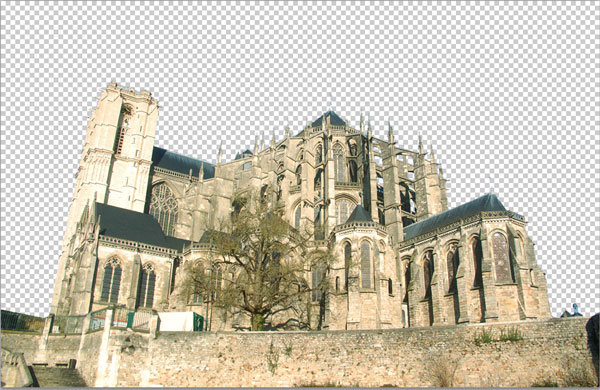
Step 3
Open Unique Sunset photo. Drag the photo on our main canvas and go to Edit > Transformer > Scale to scale it down.
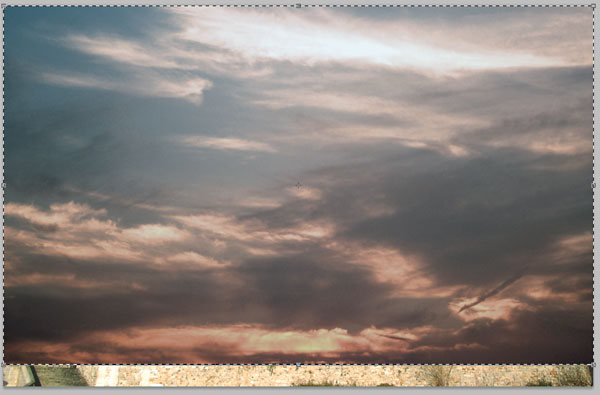
Place the layer with the sky under the layer with the cathedral.
Step 4
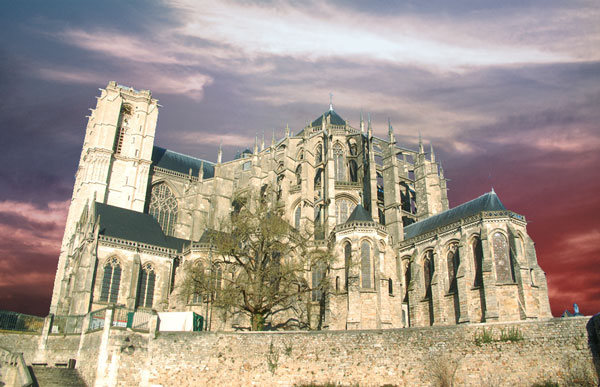
Although cathedral is the centre of composition, the mood of the whole picture is indeed made by the sky, so let´s try adding more contrast. Create a new layer above the layer with the sky. Select soft-edged brush, 400px in diameter, opacity 30% and colors: red (#cb1e00) and blue (7389f8). Then using the Brush Tool add these colors to the canvas carefully as show on image.
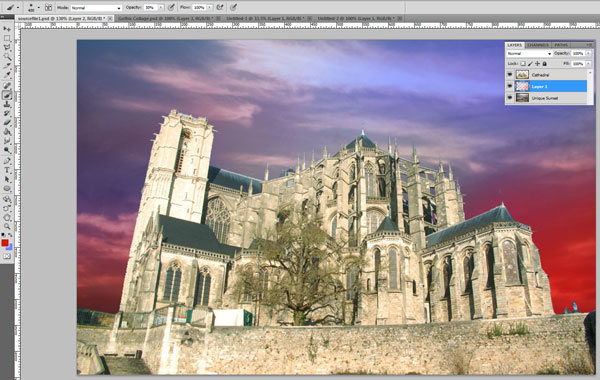
With layer selected change blending mode to Color.
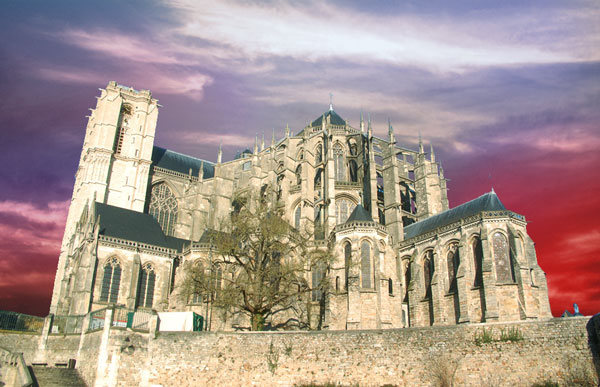
Now change the layer opacity to 50%.
Step 5
Open Dock To Nowhere photo. Cut out a fragment of sky by using the Polygonal Lasso Tool (Feather: 10px).
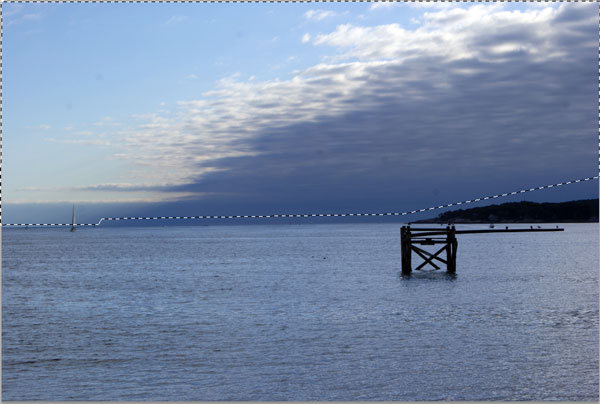
Copy the selected area on the main canvas below the layer with the castle.

Transform this layer using Edit > Transform > Scale and move to the right a bit.
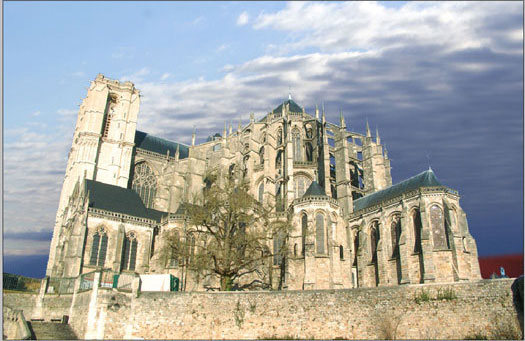
Then desaturate this layer using Image > Adjustments > Desaturate.
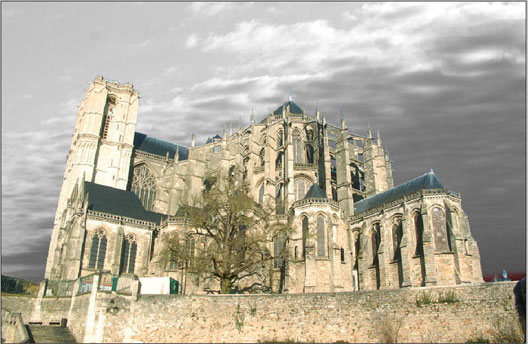
Adjust brightness and contrast using Image > Adjustments > Brightness/Contrast with the following parameters:
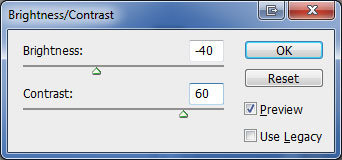
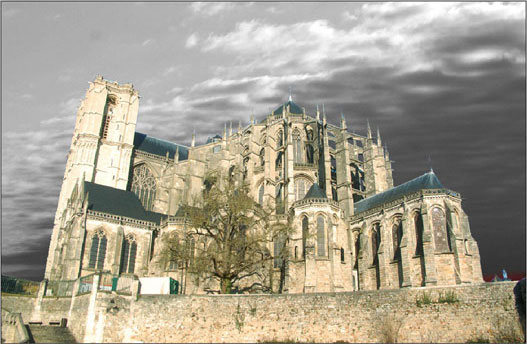
Now select the Eraser Tool and soft-edged brush and erase the empty area of the sky on the left.
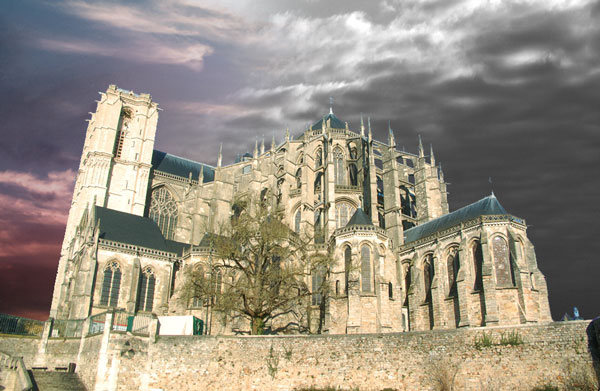
Set Hard Light blending mode for this layer.
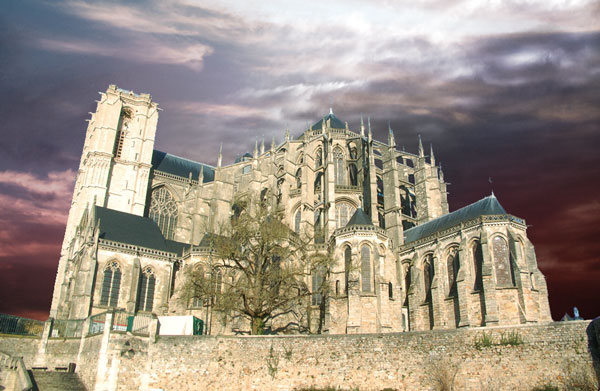
Then change layer opacity to 65%.
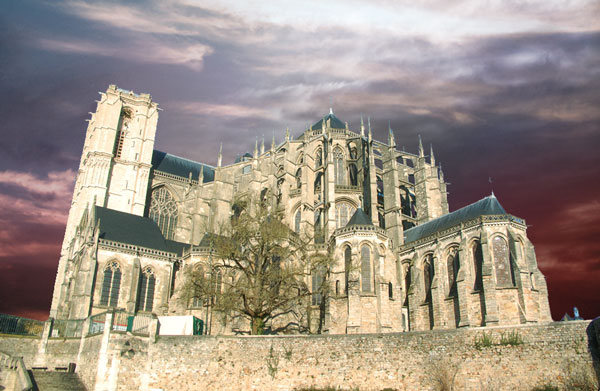
Step 6
Create a new layer, move it at bottom and name it Background. Select Paint Bucket tool, choose black color (#000000) and fill new layer with selected color.

Step 7
As we are finished with the sky, we should correct the cathedral taking into consideration the sky colors. There is much red color in this image, so we should make cathedral more red. Go to the layer with the cathedral (it should be above all the layers) and apply Image > Adjustments > Color Balance to it.
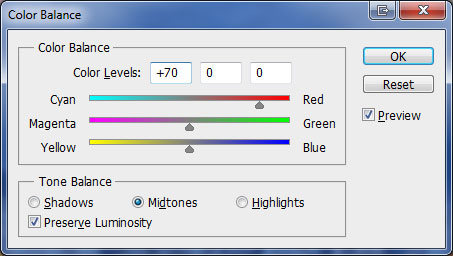
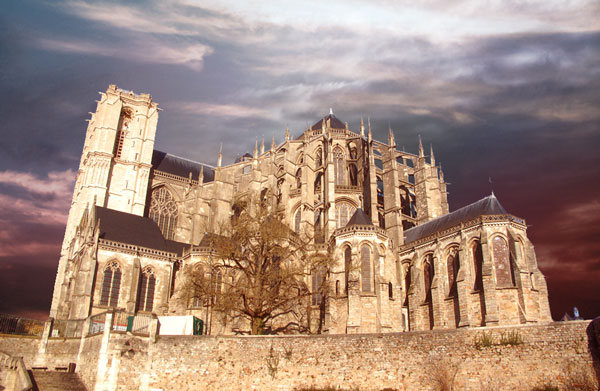
The composition centre is where we should put emphasis on so in this case it’s the cathedral, to be more precise a couple of towers, that stand out above the cathedral. Copy layer with the cathedral and desaturate copied layer using Image > Adjustments > Desaturate.
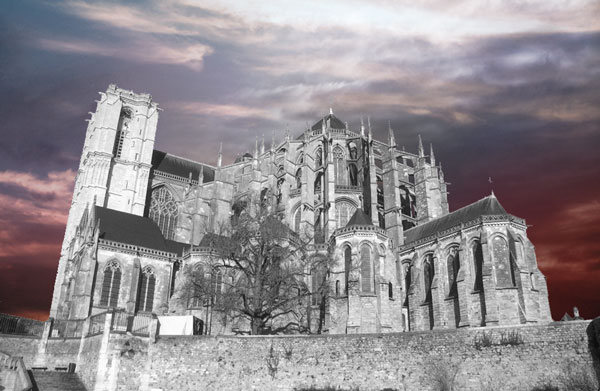
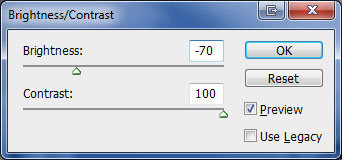
Change brightness and contrast by using Image > Adjustments > Brightness/Contrast with next presets:
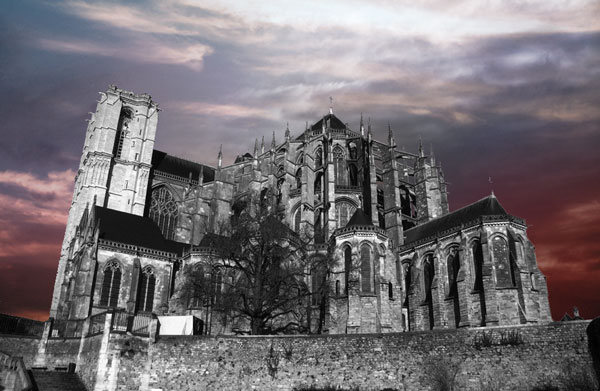
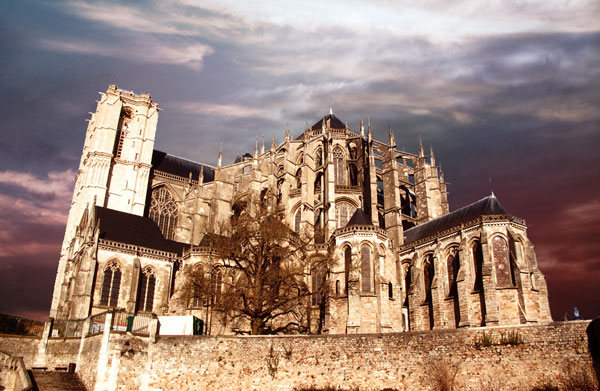
After that assign Soft Light blending mode to this layer and get this result:
Step 8
The whole cathedral became sharper, but we should put emphasis only on some of its parts, in order to make the cathedral look more three-dimensional. Therefore we select the Eraser Tool and soft-edged brush, 200 px in diameter and partially delete this layer along the edge of the cathedral on the left and on the right, erase the cathedral fragment with the tree and leave only the central outstanding part of the cathedral.
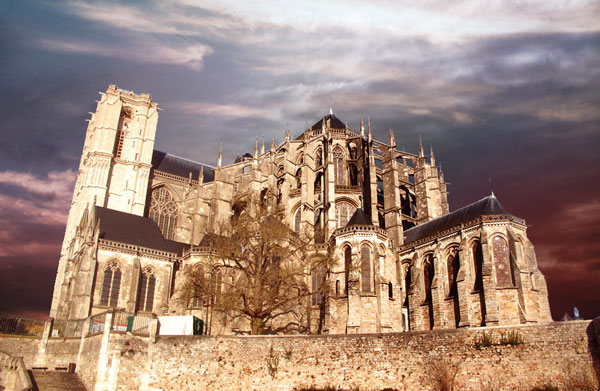
If we assign Normal blending mode to this layer, it would look like my image below (this helps you see where you should have applied Eraser tool). This image shows clearly, what parts of the layer were deleted from the black-and-white layer.
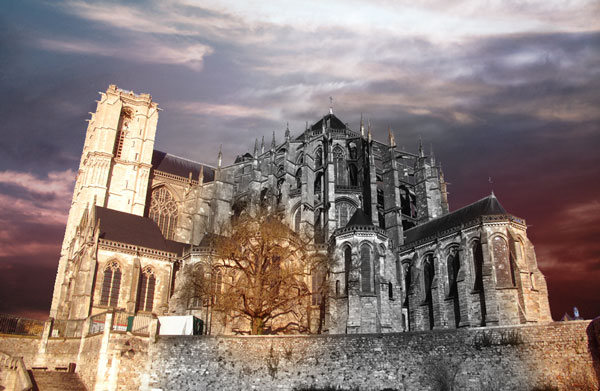
If you update blending mode to this layer to help you apply Eraser tool, don’t forget in the end to go back to Soft Light blending mode.
Now it’s worth putting emphasis using shadow and light. Create a new layer, assign Multiply blending mode to it, select the Brush Tool (Opacity: 30%) with soft-edged brush, black color (#000000) and darken the cathedral on the left and on the right.
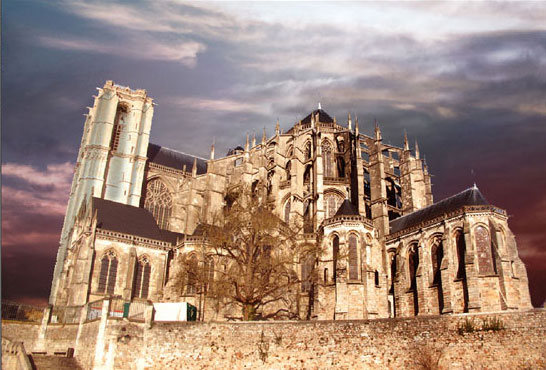
Then change the color to white (#ffffff) and brighten the outstanding parts of the cathedral, the other parts darken again. If we shift the layer to Normal blending mode, we get such a result, as in the screenshot below.
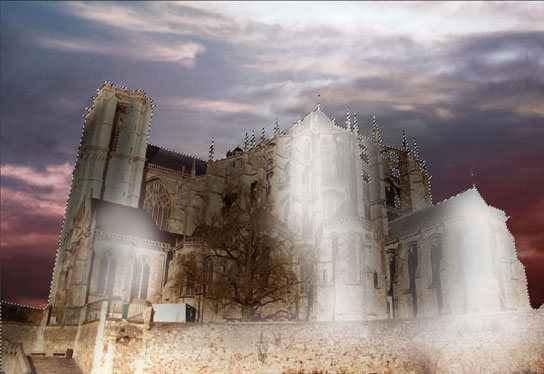
Shift back to Multiply blending mode in this layer and you will get this result:
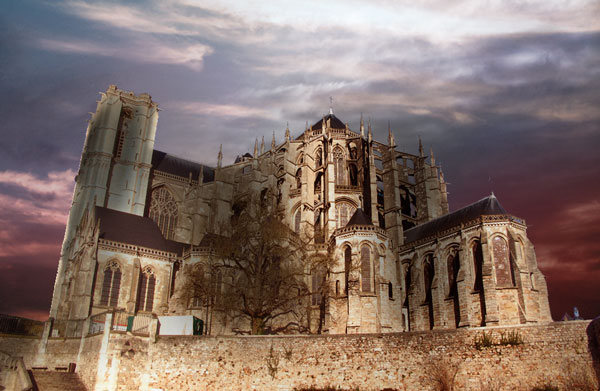
Step 9
The cathedral seems to be separated from the sky, we should remove this drawback. To begin with let’s admit, that cathedral is reddish, it’s a warm color, and there’s cold blue color in the sky. Let’s add some cold tone to the image of the cathedral. As the sky is the majority carrier of color, in contrast to it the cathedral should not be too many-colored, so let’s avoid bright colors, just play with tones a little. Copy the layer with the cathedral and place it above all the layers.
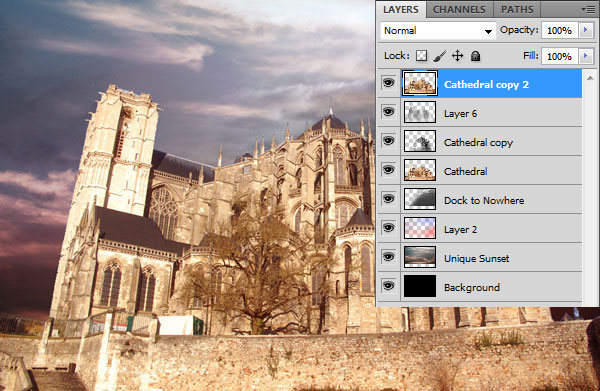
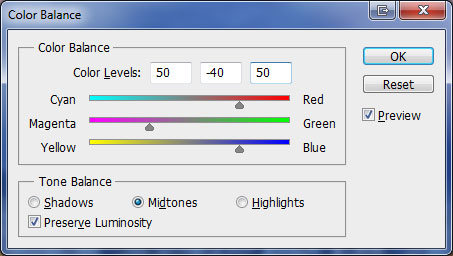
Apply Image > Adjustments > Color Balance with the following adjustments:
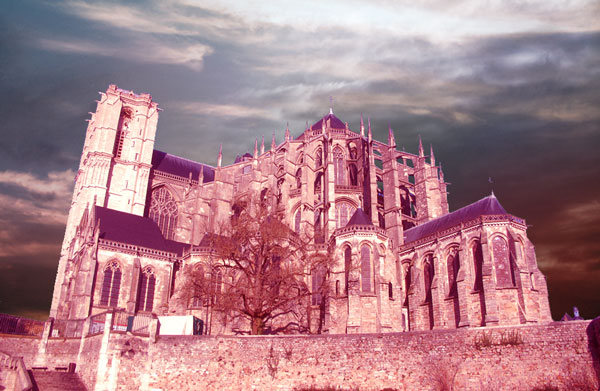
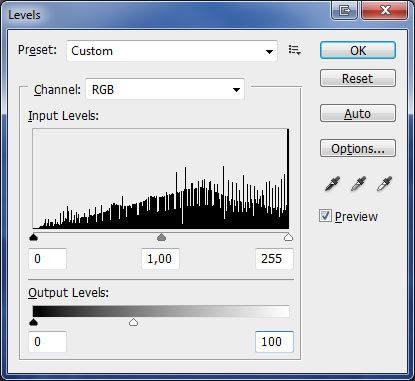
As the color gamut is dark enough, it’s worth making this layer much darker using Image > Adjustments > Levels:
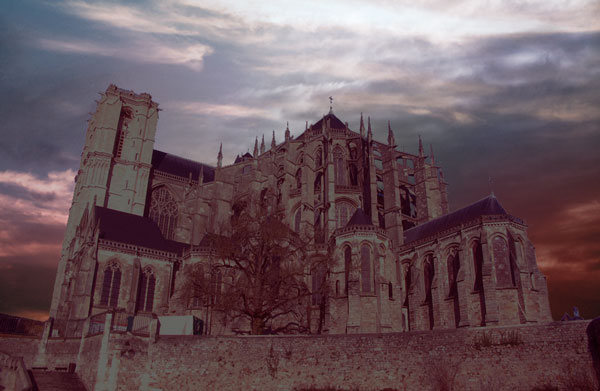
Change blending mode to this layer to Soft Light.
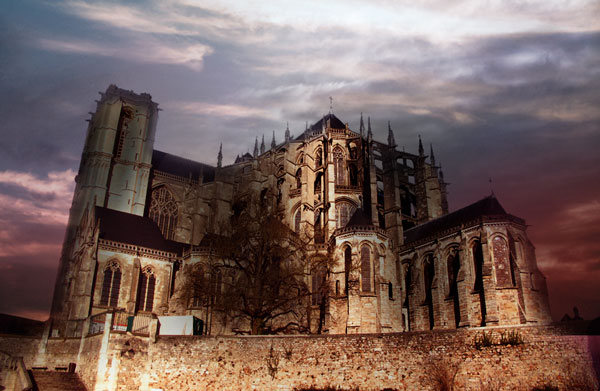
Step 10
We should pay attention to the fact that despite of the dark sky, there is still a source of light in the composition, so there can’t be such dark roofs on the cathedral, they should be brightened. For this purpose select the Dodge Tool and brighten the roofs of the cathedral on the top layer.
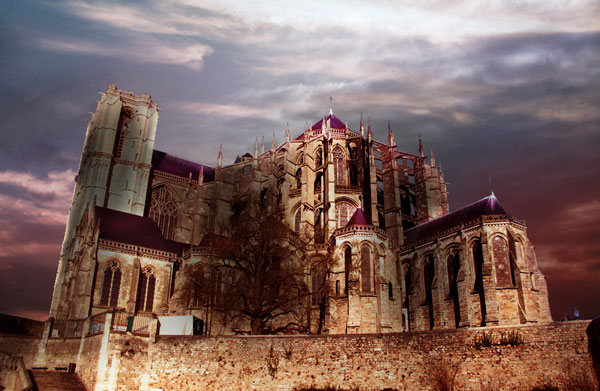
Step 11
For the cathedral to harmonize with the sky, we should process it’s edges partially. Go to the original layer with the cathedral and erase its edges a bit by using the Eraser Tool (Opacity 100%) and a soft-edged brush, in this case the edges of the cathedral will visually partially acquire the background color adding perspective. After that, set brush opacity to 30%, choose a small-scale diameter and go thoroughly along the edge of the cathedral on the three remaining upper layers in order to intensify the effect of perspective.
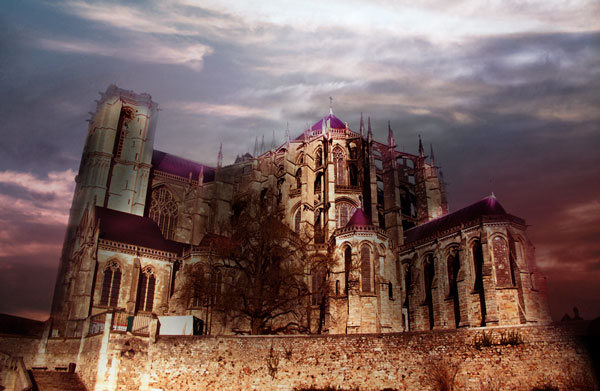
Step 12
At the moment the cathedral doesn’t seem to be separated from the sky, but it’s still missing the reflections. We should just select the Eyedropper Tool and move the colors from the sky to the cathedral, thus adding reflection. Create a new layer. As we’ve already mentioned before, the cathedral shouldn’t be the same colored as the sky, therefore it’s worth selecting all the colors slightly more gray than the original ones and using the Brush Tool (opacity 30%, soft-edged) to impose them to the cathedral.
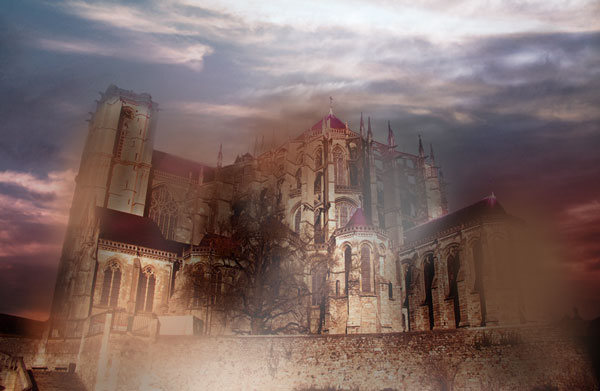
Assign Color blending mode to this layer.
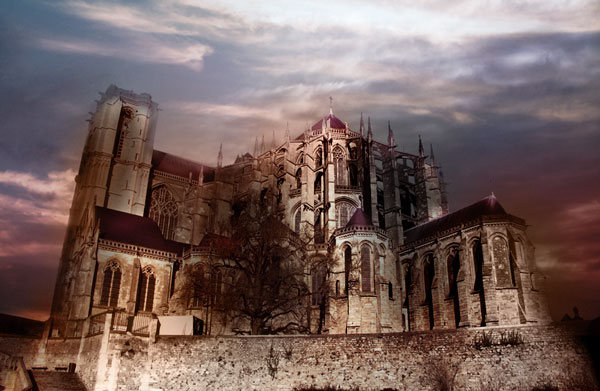
Step 13
Now the cathedral and the sky is a united composition. In order to make any picture look bright, we need contrast. For that purpose use warm and cold color, we have already performed this method while adding contrast of the sky, now we should do the same with the cathedral; let’s choose less bright colors again. Create a new layer, assign Overlay blending mode to it. Select the Brush Tool (Opacity: 30%) and soft-edged brush again, then paint out prominent parts of the cathedral using cold color (#8d8fd3), for other parts of the cathedral we choose warm color (#753d3d).
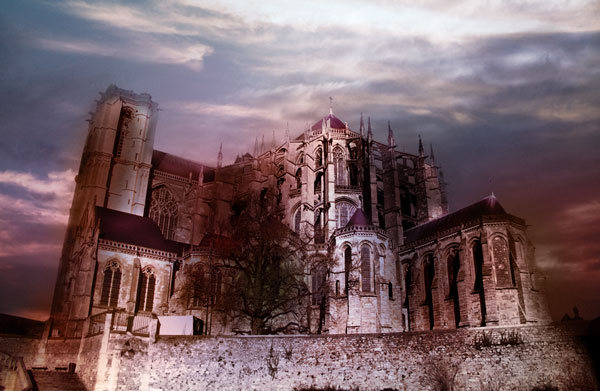
If we assign Normal blending mode to this layer, the result should be approximately the following:
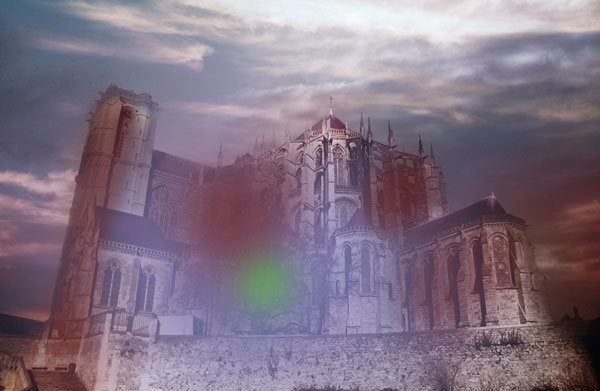
Step 14
There is only one detail left. If we look on the edges of the cathedral, we can notice that the main source of light is situated behind the cathedral, so the rays that come through the clouds should light the walls of the cathedral partially.
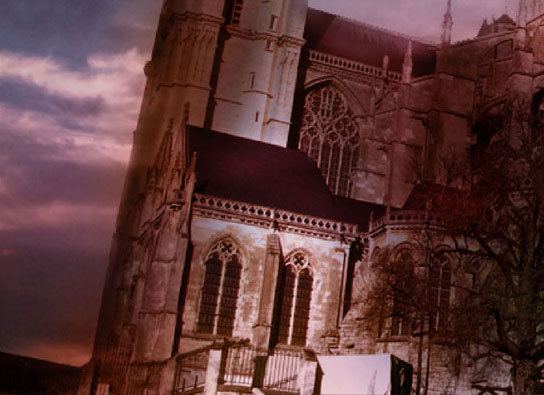
Create a new layer, select the Brush Tool (Opacity: 100%) and soft-edged brush again and light the corner of the castle partially, select color using the Eyedropper Tool.
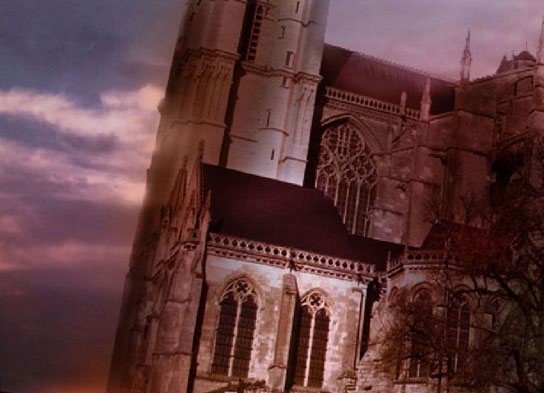
The general picture should approximately look like my screenshot below:
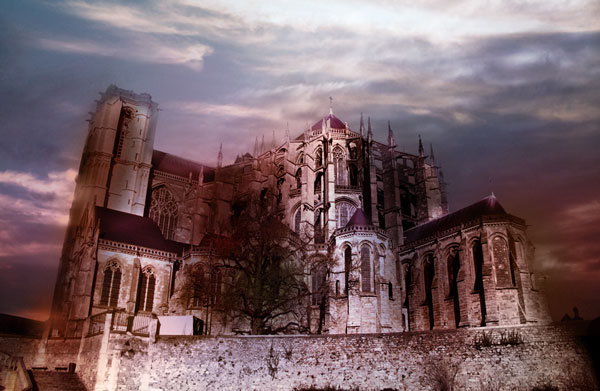
Step 15
In order to make the picture look better, it’s worth making the edges dark, it will draw attention to the centre and will give the feeling of depth and volume. Create a new layer, select the Brush Tool (Opacity: 100%) with soft-edged brush again and darken the edges with black color.
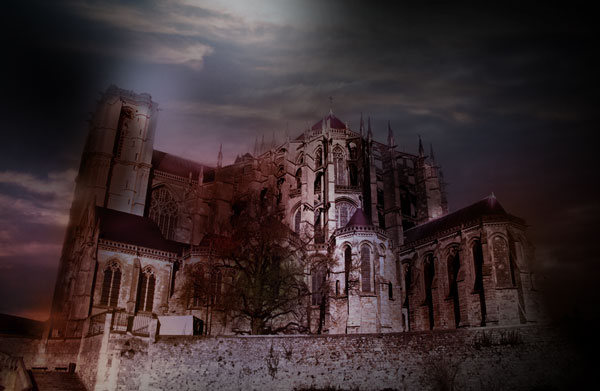
Final Image
Now change blending mode for this layer to Soft Light.
