In this lesson, you will learn step by step how to create a fog. We will also add a picture fantasy character which will be walking on our landscape.
Final Image Preview

Resources
Step 1
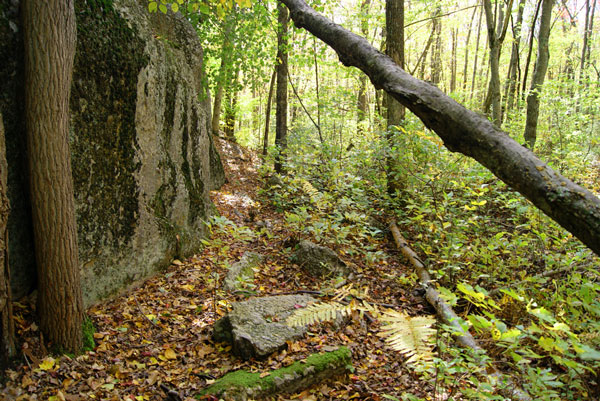
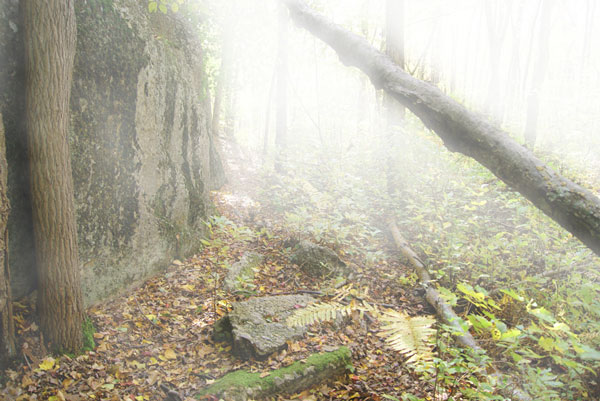
Start by opening forest image. Go to Image > Image size to reduce photo size to 1000px width and 669px height.
Step 2
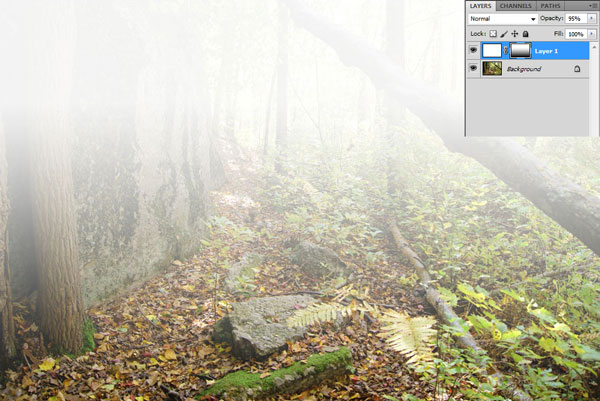
To create a sense of dense fog on the distance and dispersion on the foreground, we will make a few layers of fog, but with different gradations of saturation. Create a new layer (press Shift+Ctrl+N) and fill it with white color by using Paint Bucket Tool, then set up opacity to 95% for current layer. After that we need to create mask for current layer. Use Select > Load Selection to select layer content, then use Layer > Layer Mask > Reveal All to create mask for all layer. Now remove selection with Ctrl+D and move to the next step. Select the Gradient Tool and fill our layer with linear black-and-white gradient as you can see on the picture below:
Step 3
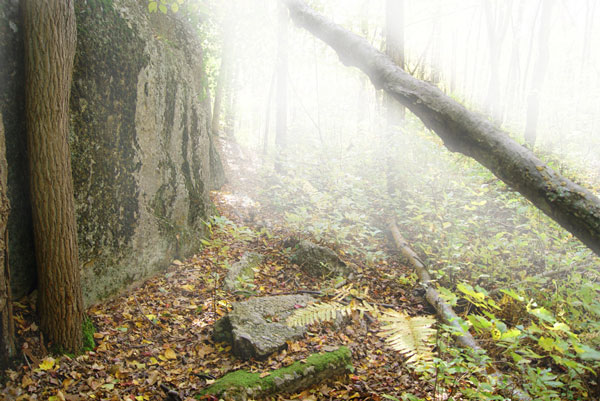
Select the Eraser Tool (Soft Brush, Size: 100px, Opacity: 20%) and make a few strokes with brush on Layer Mask area and paint over the nearest tree and stone, the middle and foreground.
Step 4
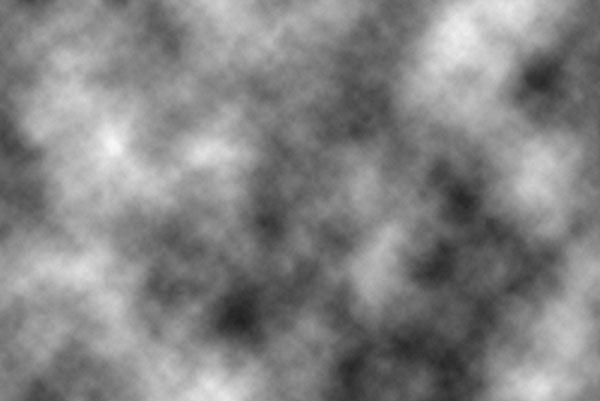
To achieve the effect of realistic fog (the fog has the ability to climb and irregularly travel along the ground) first of all press D to set up foreground and background colors black and white, then create a new layer and apply Filter > Render > Clouds:
Step 5
After applying filter to layer, change layer mode to Screen and set up opacity to 40%.
Step 6
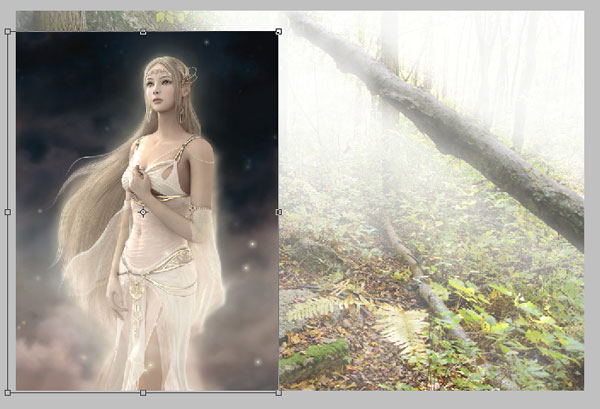
We are now going to add goddess picture. Open the picture and copy it to our main canvas. Then use Edit > Free Transform to reduce picture of Goddess a little bit and move it left like on my screenshot, which you can see below:
Step 7
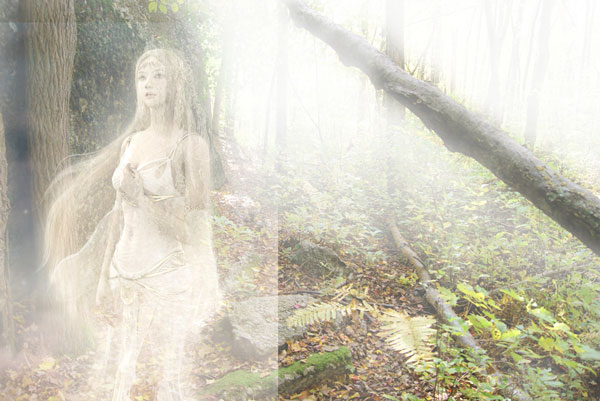
Duplicate goddess current layer with Layer > Duplicate Layer (or press Ctrl+J) and hide the bottom copy (click on the eye, which indicates layer visibility). Go to upper copy and change blending mode to Screen for this layer.
Step 8
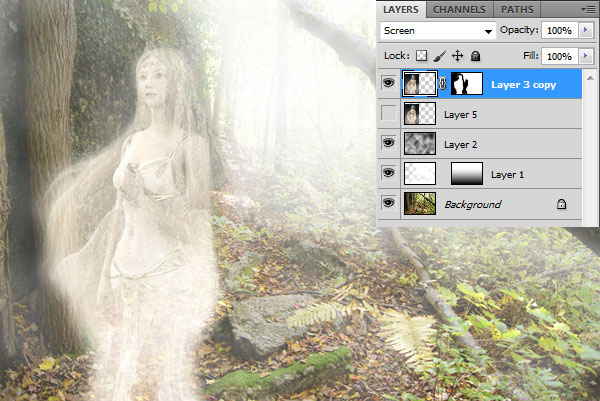
Now we need to create mask for current layer. Use Select > Load Selection to select layer content, then use Layer > Layer Mask > Reveal All to create mask for all the layer. Now remove selection with Ctrl+D and select the Brush Tool (Opacity: 45%) with soft round brush and paint background area with black color.
Step 9
Go back to the hidden copy of layer and make it visible again. Use Select > Load Selection to select layer content, then use Layer > Layer Mask > Reveal All again to create mask for all layer. Now remove selection with Ctrl+D and select the Brush Tool (Opacity: 61%) with soft round brush and paint background area with black color again.
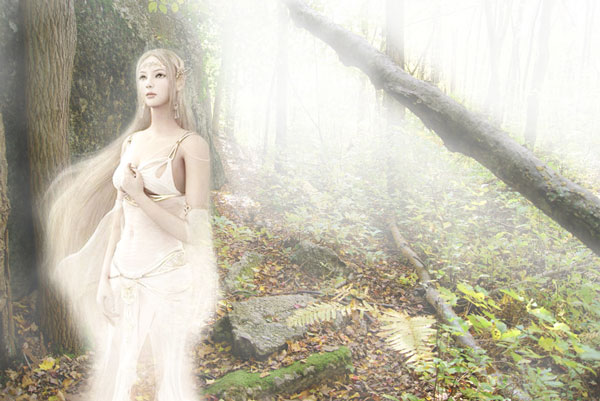
Final Image
Set opacity to 34% up for current layer and we are done with our tutorial.

Keep on experimenting and you will get different techniques and effects.
