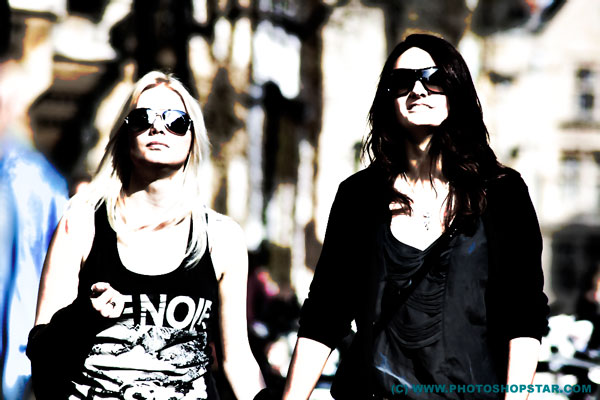
In this easy, step-by-step tutorial I´m going to show you how to create fashion contrast photo effect in a few minutes. This tutorial will be useful for designers who are doing professional fashion photo editing.
Final Image Preview
Resources
Step 1
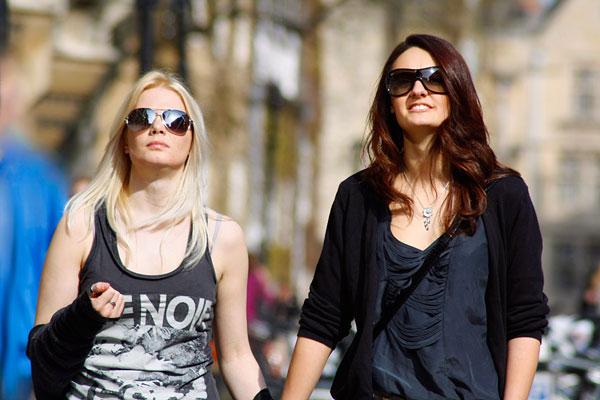
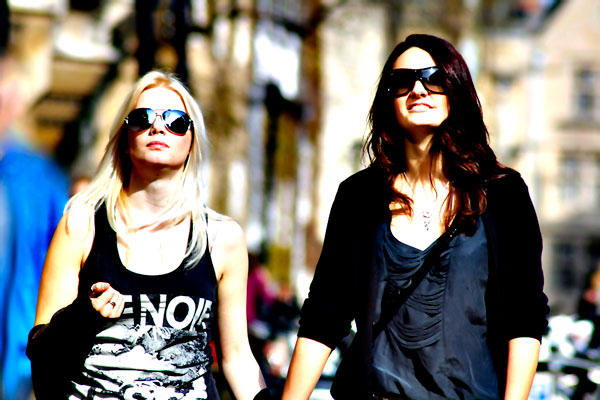
Start by finding a photo that you can demonstrate the effect or you can use the one i will use. Open photo in Photoshop and resize it by going to Image > Image Size (Width 1000 px, Height 667 px). Layer name is
Step 2
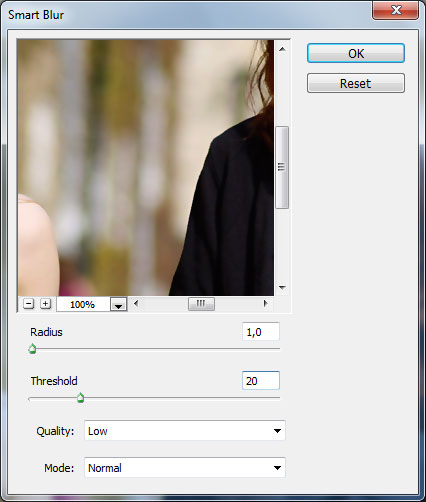
I´m going to use filters to remove small shortcomings quickly without basic retouching. Apply Filter > Blur > Smart Blur with following settings:

Step 3
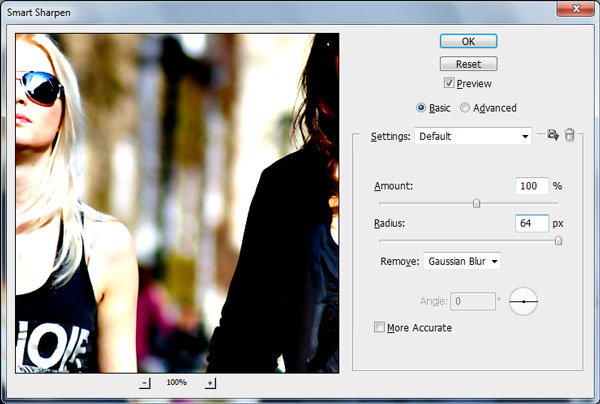
Then i would like to increase sharpness and brightness a little bit by using Filter > Sharpen > Smart Sharpen.
Step 4
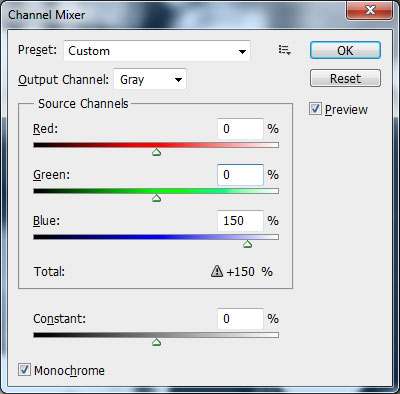
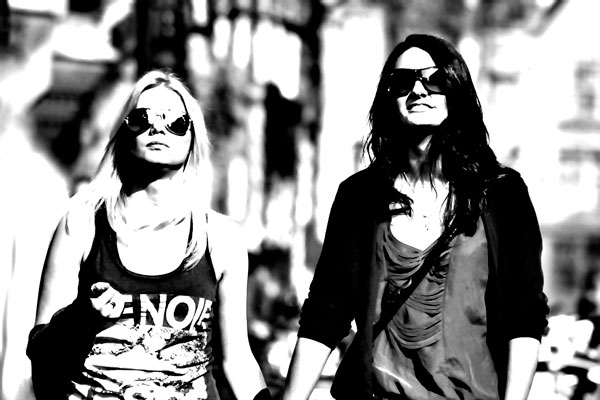
Duplicate current layer with photo by using Ctrl+J and apply Image > Adjustments > Channel Mixer with similar settings to these:
Step 5
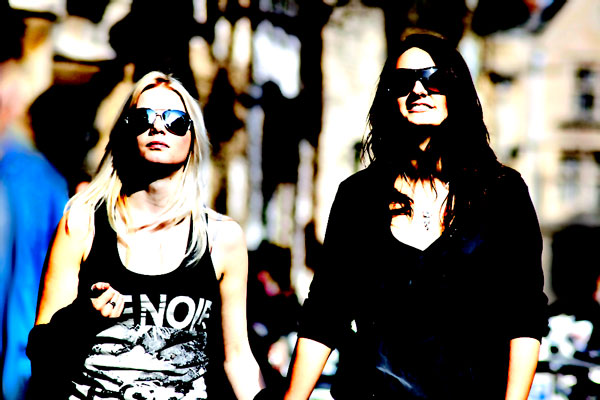
Change layer mode to Color Burn for this layer.
Step 6
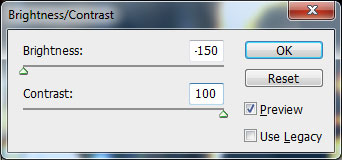
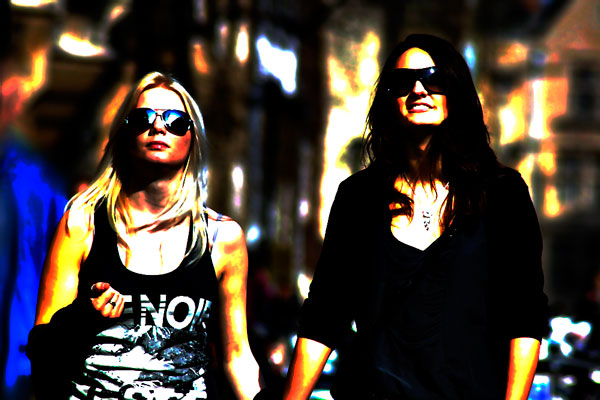
Now we have two layers: one original layer on the bottom and one copied modified layer on top. Go to lower original layer and duplicate it again with Ctrl+J. Move it above all the layers on Layers palette and apply Image > Adjustments > Brightness/Contrast:
Step 7
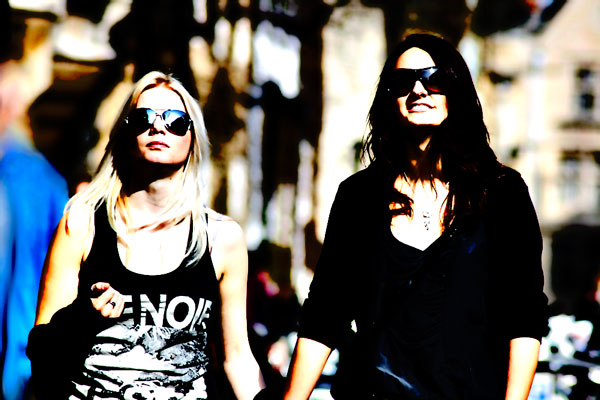
After that change layer mode for this layer to Lighter Color:
Step 8
Now we are going to reduce saturation of the photo. Duplicate current layer again and desaturate copy with Image > Adjustments > Desaturate.

Step 9
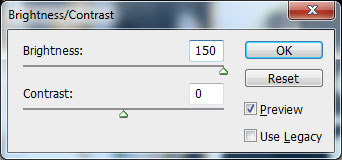
Increase brightness with Image > Adjustments > Brightness/Contrast:
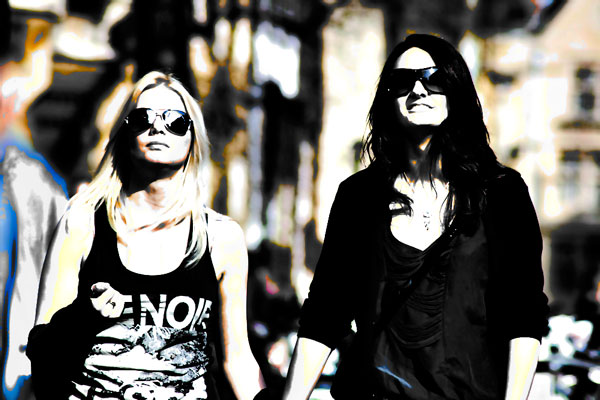
Final Image
Finally change layer mode to Screen for current layer.

Now you know how to create fashion contrast photo effect in a few minutes. Have fun trying.
