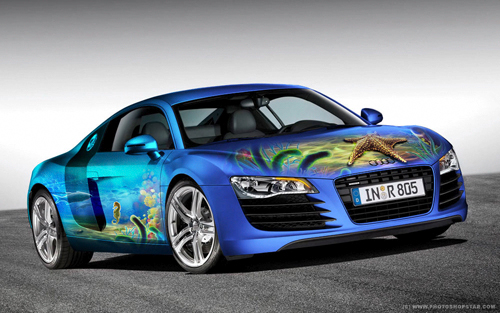
Would you like to know how to make interesting styling and cool looking aerography for the car in Photoshop? If yes, then I can share with you some secret technologies how to do it.
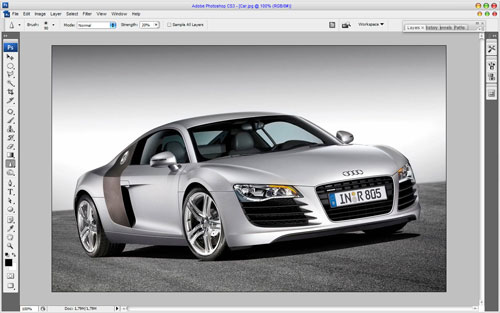
So, in the beginning we should find photo or picture of car to work with. Just go o the Google Images and find appropriate photo or picture of car. I prefer to use white or steel-blue car, because it will be easier to demonstrate aerography effect on it, but if you want to use photos with another colors of car it’s ok. Open up the picture and start our tutorial.
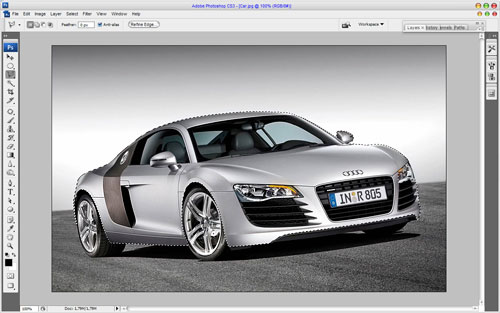
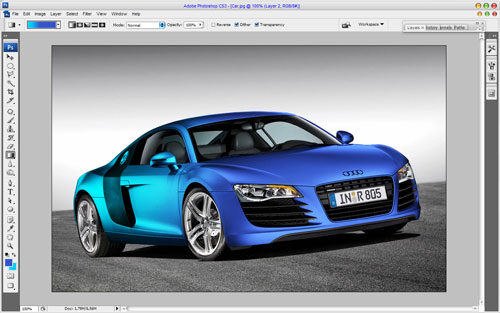
Use the Polygonal Lasso Tool and try to create selection similar to mine on the picture which you can see below:
After that we should remove unnecessary parts like glass, automotive head lamps and radiator enclosure which is selected now. Hold the Alt button and when the minus sign near cursor will appear you can remove part of existing selection.
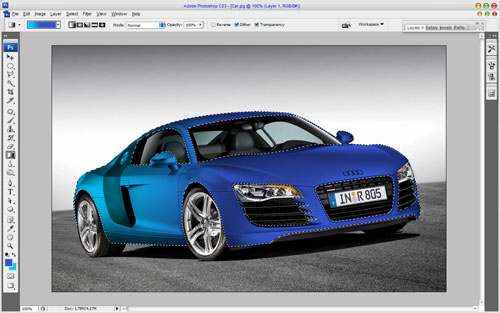
Then fill selected area with linear gradient (use colors of #01ccff and #3554c8) on the new layer and change layer mode to Multiply.
Now we got interesting gradient. You can get this effect in a real life by applying kind of chameleon brush or by mixing two colors in aerography coloring. Ok, move to the next step. When selection is activated, move to background layer and press Ctrl+J to copy selected area. After that move this layer thumbnail to the top on the layers palette and change layer mode to Overlay for this layer. In this way we got metallic glare on the car surface back.
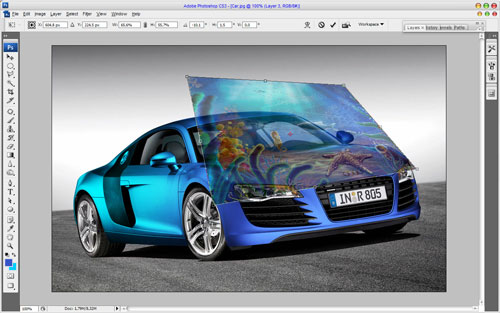
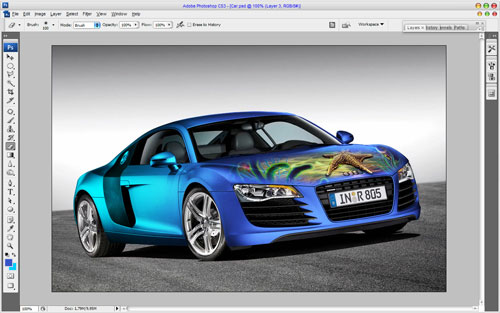
Move to the layer under the current and add some ornament more. I decided to use photo of the ocean with fish. Use Google Images again to find some appropriate picture or feel free to use my picture. Open up this picture and copy to our main canvas with car. Before start processing the picture you can reduce layer opacity to 60% to see car’s sizes under the picture. Then use Ctrl+T to resize it and put it into the right perspective by pressing Ctrl button and moving extreme points of our fragment what is under transformation. You should get perspective view similar to mine on the picture below:
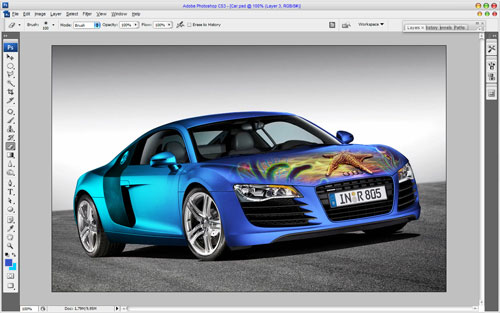
After that apply the Eraser Tool and a soft round brush about 100px to make some clean work. Reduce layer opacity to 100% again.
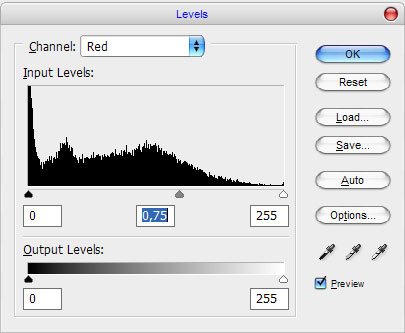
Now change a little bit red color balance on the picture by using Image > Adjustment > Levels with next presets:
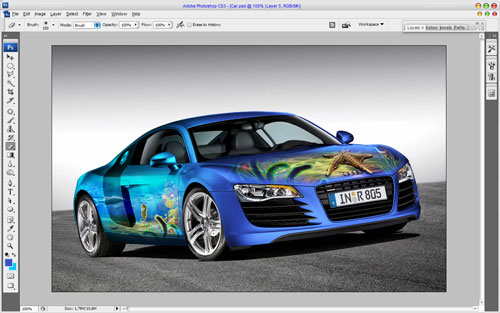
See the result on my picture below:
Ok, then copy oceanic picture to the main canvas one more time and flip it vertical with Edit > Transform > Flip Vertical. After that make the same actions to add the picture to another part of the car.
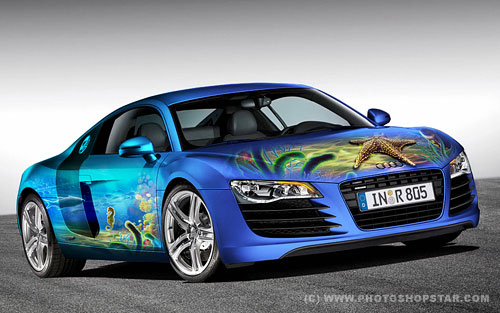
We are done on this step! We got pretty much interesting and professional processed car aerography effect. Looks cool, isn’t it? Thank to everyone for reading this tutorial!

