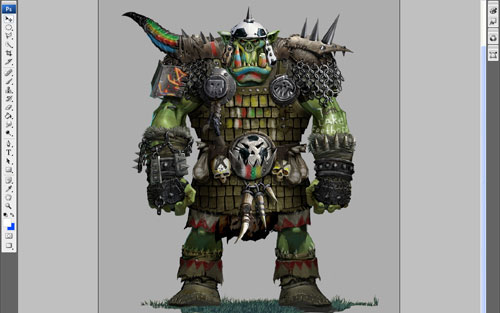
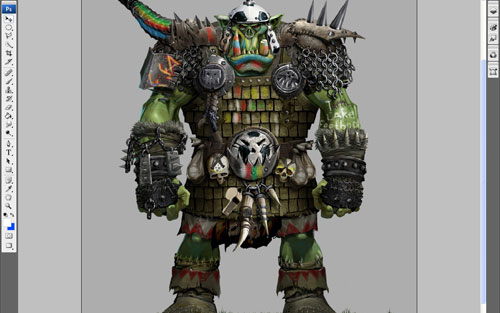
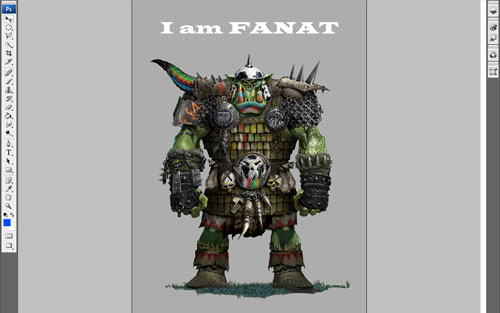
This simple tutorial is dedicated to the event that is happening in the world now — 2010 FIFA World Cup. I’d like to show you how to turn any character into a football fan.
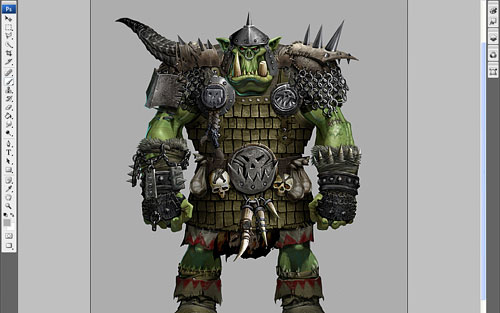
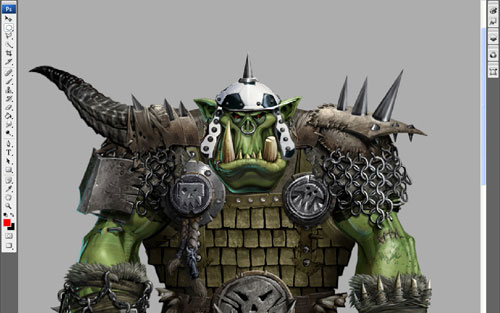
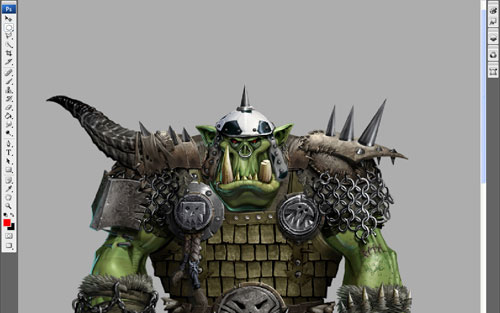
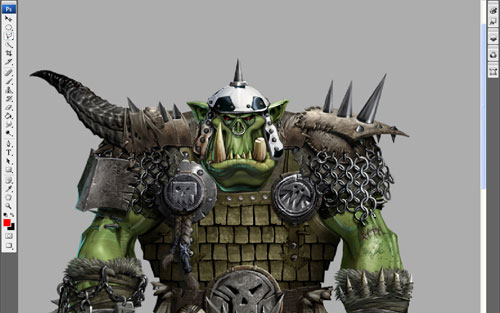
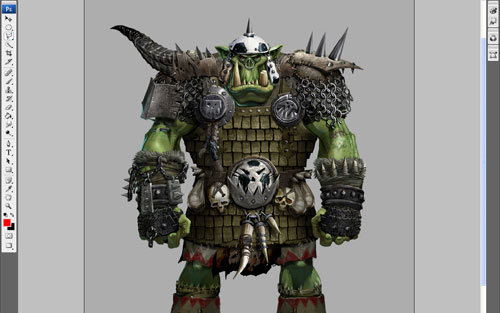
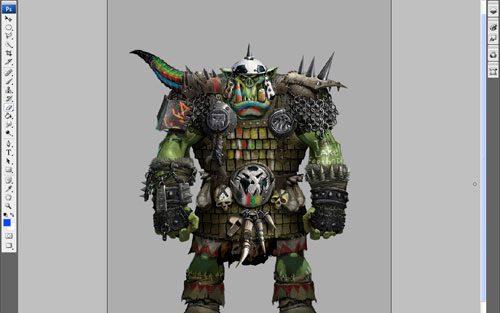
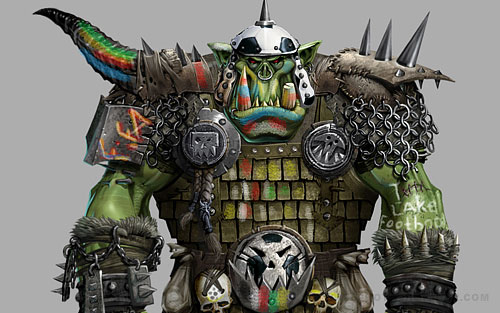
To begin with we should select the appropriate image to make our tutorial on. You can try search in Google Images, or take my image of Orc.
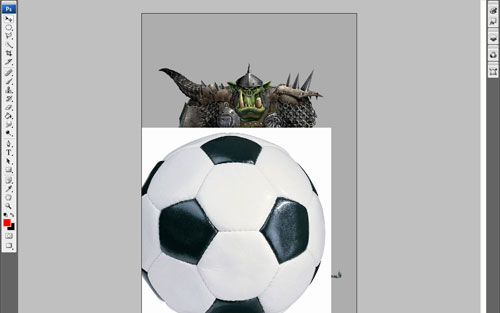
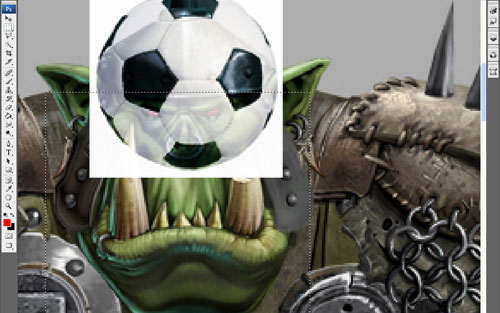
Let’s begin with the clothes. For example, we use an image of a football, you can find it using search in Google Images, or use my image. Further we open the image of the ball and place it on the document with our future fan.
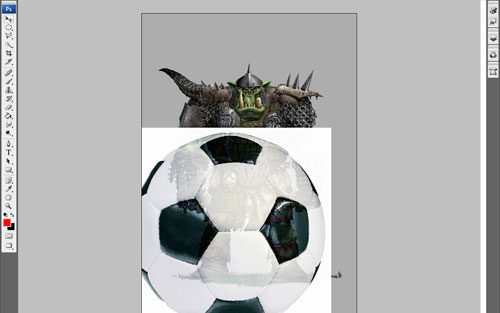
We apply Hard Light Blending Mode to the layer with the ball.
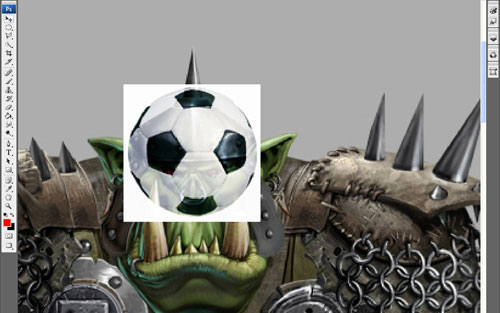
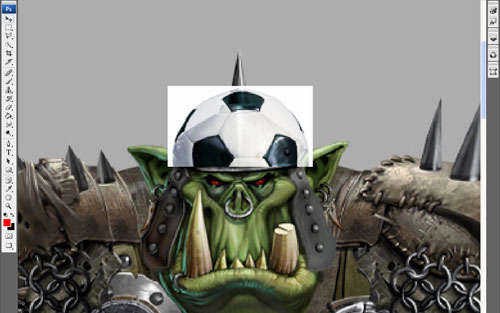
Now let’s deform the ball a little. With help of Edit > Transformer > Scale we miniaturize the ball.
Then using the Rectangular Marquee Tool we select the lower part of the ball, as shown in the screenshot below:
And delete using Delete button.
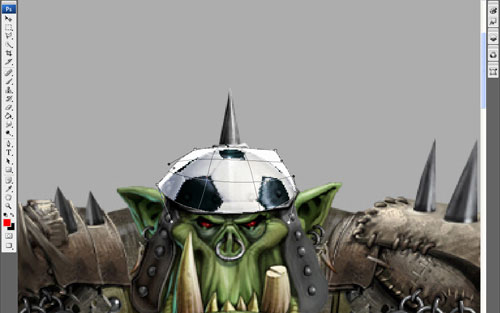
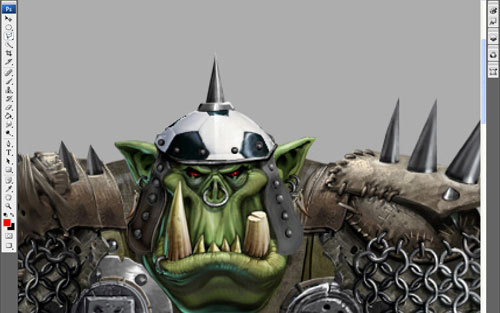
With the help of Edit > Transformer > Warp deform along the shape of a helmet.
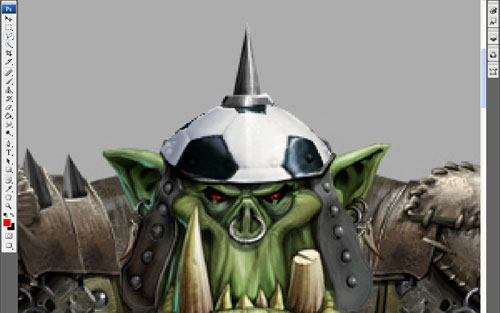
After that using the Polygonal Lasso Tool we select the unnecessary parts and delete them with the help of Delete. As a result we get a helmet painted like a football.
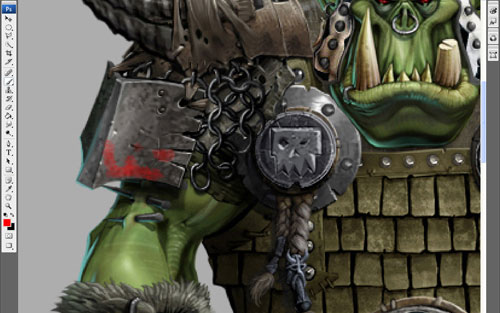
Now using the Eraser Tool we remove the coloring of the ball from the helmet border and rivets. We select a hard-edged brush, opacity 100%, change the diameter according to the situation.
Usually fans make up into colors of their country flag, but as in this tutorial the method is just shown, our fan won’t belong to any country. Let’s continue working with the ball, and decorate the parts of the clothes on the same principle.
It’s worth changing Layer Blending Modes on different parts and choose the one that looks better, in this case it’s better to apply the Soft Light Blending Mode.
We duplicate the given layer by pressing Ctrl+J.
Let’s choose one more detail.
On the football colored belt in the Overlay Blending Mode. Further we use bright colors: red, green, yellow, white and blue, select the Brush Tool and choose Rough Round Bristle in the standard Photoshop palette. Then press F5 and change the parameter Spacing settings (nested in the Brush Tip Shape menu) for 50%, opacity 100%, diameter can be changed at will. In order for the makeup to look realistic, it should be applied slightly chaotically, not trying to line straight, and if you write any text on clothes or body, you should just “draw†it, i.e. not to use the type, but apply it using brush.
The letters will obtain arbitrary incline, it looks very natural, and it concerns the whole makeup.
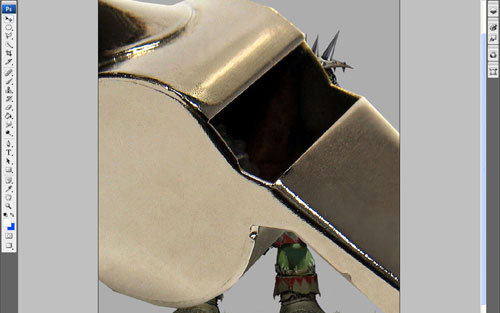
It’s also necessary to use any typical objects, for example, a whistle. You can take my image (link to Whistle.jpg) or find in Google Images. Place the whistle, cut out with the help of the Polygonal Lasso Tool, upon our picture.
Miniaturize it using Edit > Transformer > Scale and place upon the orc’s belt.
Now we should fasten the whistle to the belt.
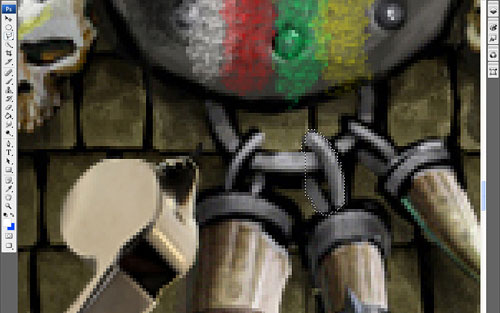
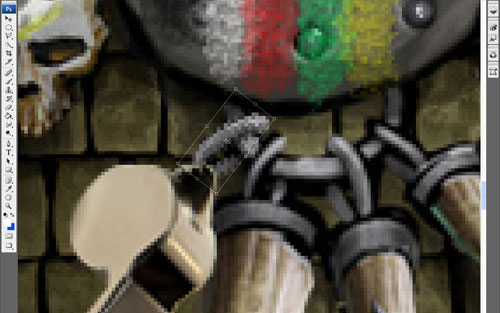
With the help of the Polygonal Lasso Tool we cut out the ring from the picture of orc to fasten the whistle. Rotate the ring using Edit > Transformer > Rotate.
Then using the Eraser Tool we clean up part of the whistle under the ring.
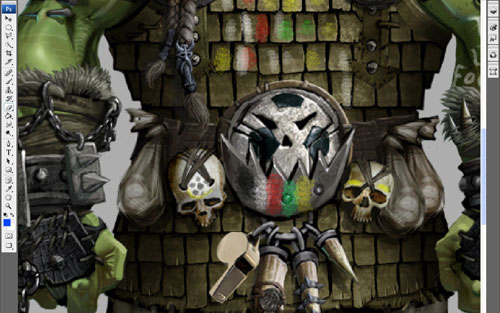
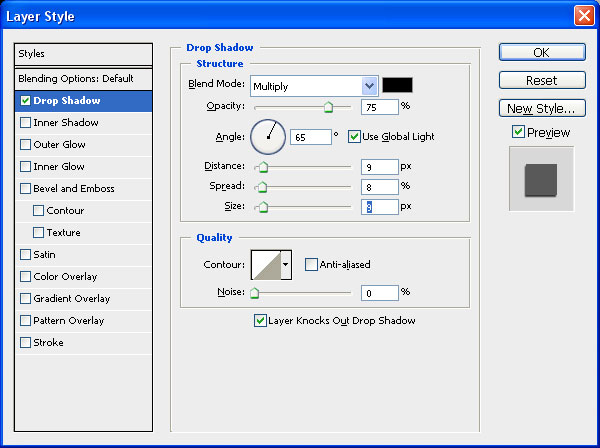
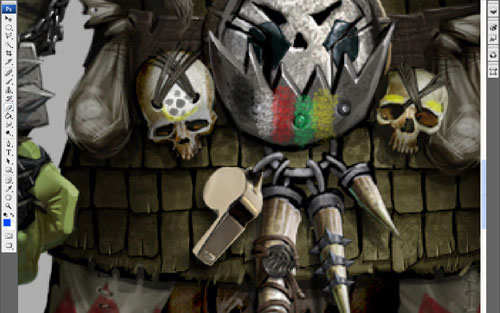
Now the whistle is hanging on the belt, but to look more natural, the whistle should cast a shadow, so we apply the Drop Shadow (link to 21) Layer Style.
We get such an effect:
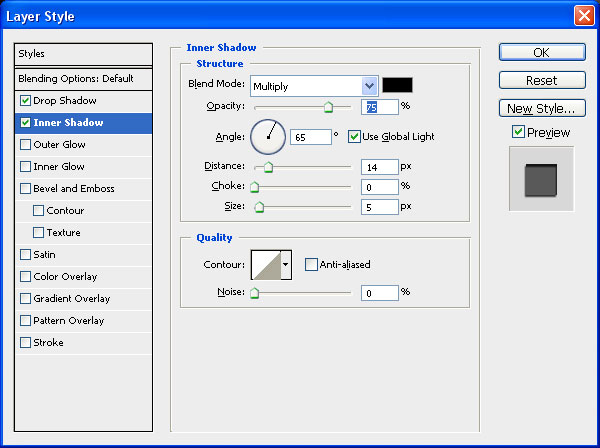
It looks better now, but still lacks shadow casting on the whistle itself, so we apply the Inner Shadow (link to 23) Layer Style.
The result will be the following:
It’s time to add text. Select the Horizontal Type Tool and write the phrase, as it’s shown below. Select Wide Latin type (14 pt, Crisp) and write an inscription with any color.
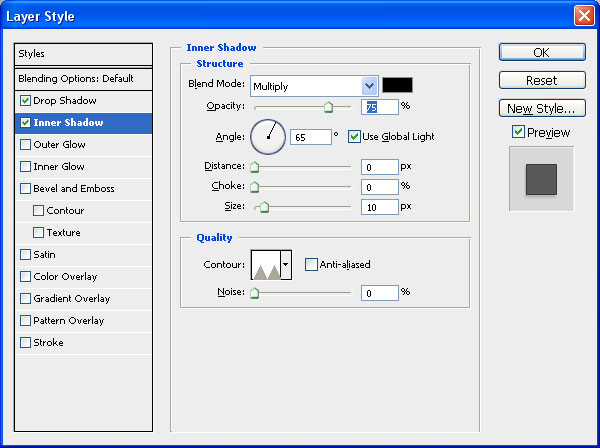
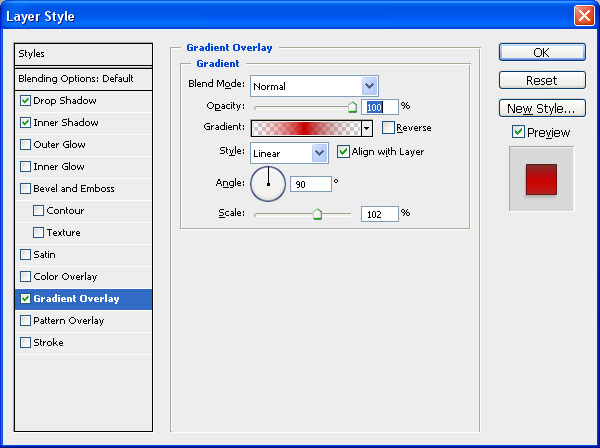
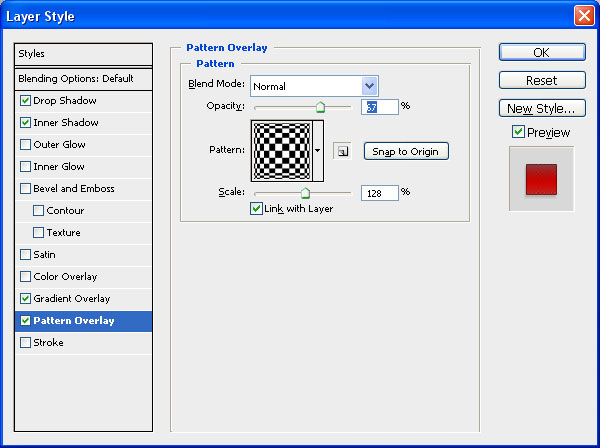
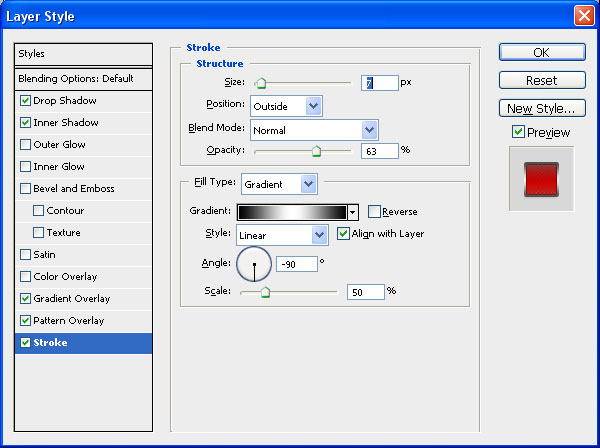
Further we adjust the following settings for the Layer Style:
Drop Shadow
Inner Shadow
Gradient Overlay
Pattern Overlay
Stroke
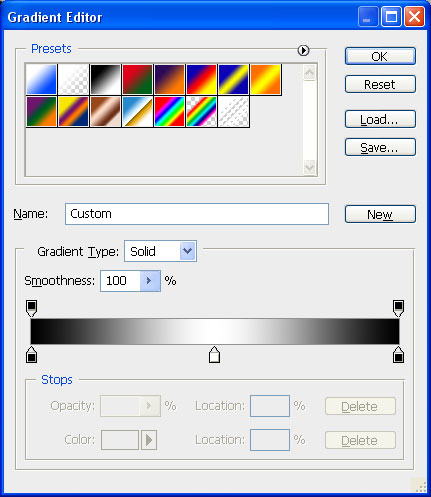
The colors that are used in the gradient are showed below:
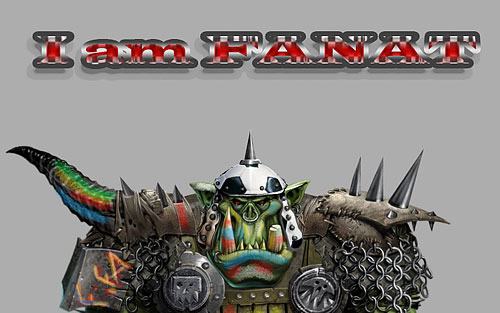
As a result the text in the picture looks like this one:
In the end we got an interesting tutorial, dedicated to the Football World Cup. Feel free to experiment with any pictures!


