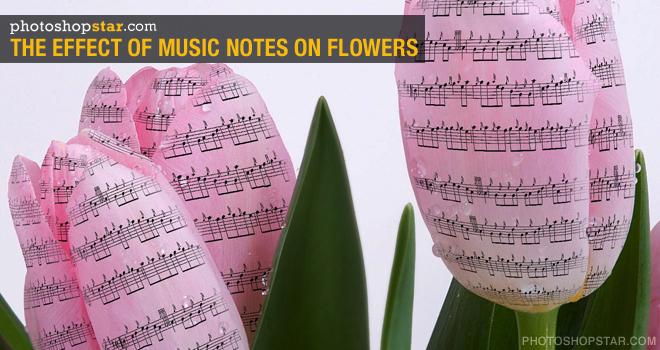
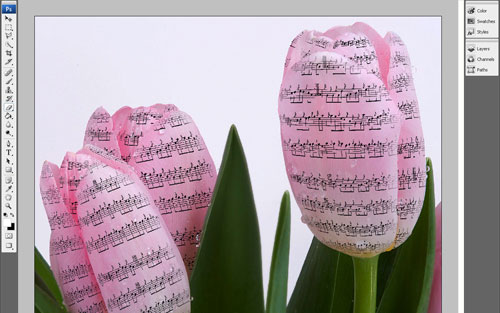
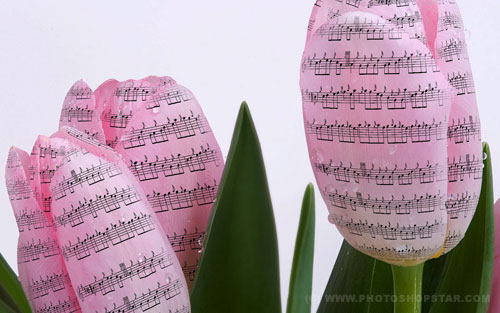
This tutorial shows how to apply any design on flower petals in Photoshop. As an example we can use the design of a stave for applying it on the tulip-petals.
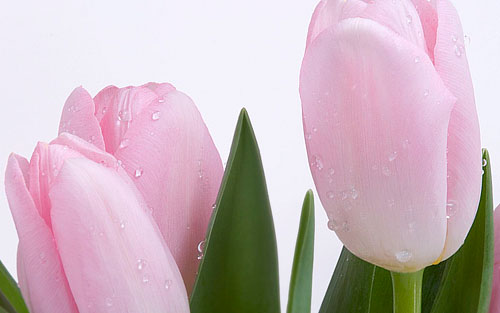
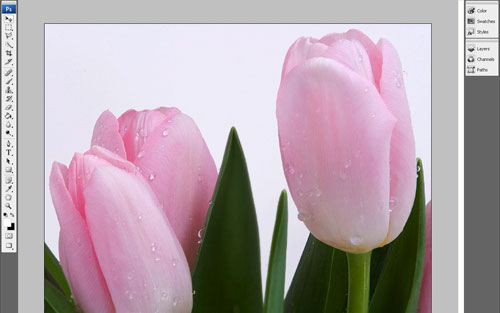
At first we should find an appropriate photo to work with. You can use search in Google Images or feel free to use my picture with the image of tulips. Open up the picture and start the tutorial.
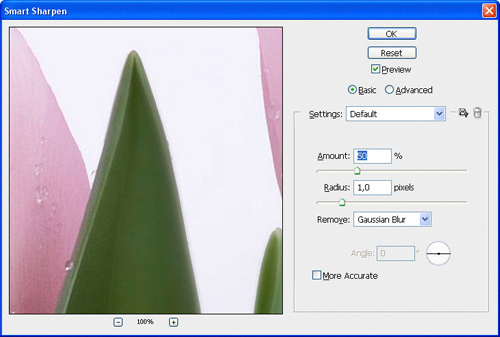
It is worth improving the quality of the image a little, before we start applying the effects. For this purpose we apply Filter > Sharpen > Smart Sharpen with the following parameters:
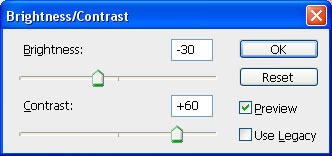
Then we should improve the contrast using Image > Adjustments > Brightness/Contrast:
In the upshot we’ll get the following result:
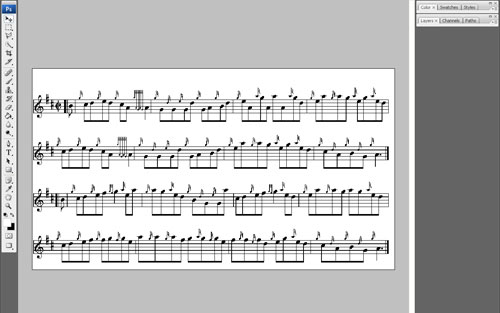
Now we should match the design to apply on the flower petals. I decided to take a picture of a stave (link to Stave.jpg). Let it be any fragment from any musical composition. We open this picture.
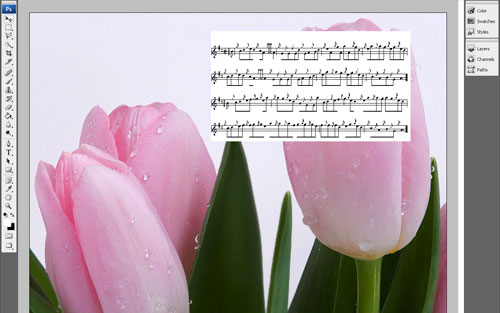
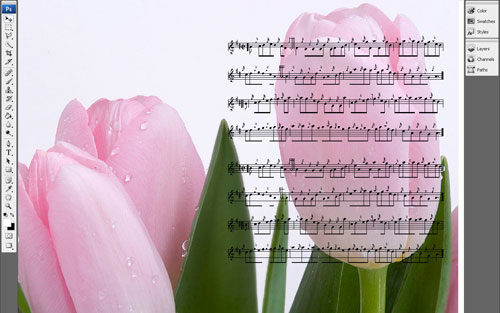
Then we copy the notes on the main canvas with tulips, or just drag it using mouse.
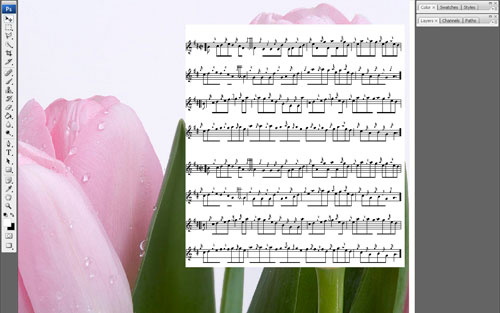
The size of the music sheet is too small for a tulip-petal, so we copy it using Ctrl+J and lower it a bit, place it so as it would be a uniform sheet, and merge the layers with the notes using Ctrl+E.
Then we change the layer mode for the layer with notes for Darken. As a result white color was excluded, we see only notes and flowers.
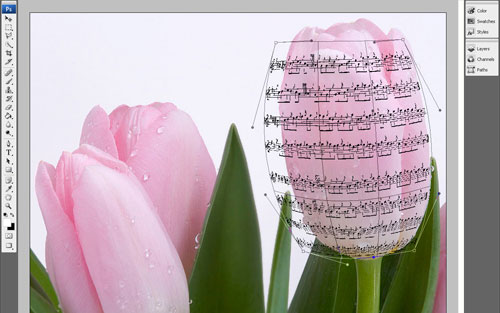
To expand the image we use Edit > Transform > Warp, with the help of this tool we deform the music sheet approximately to the form of a tulip-petal.
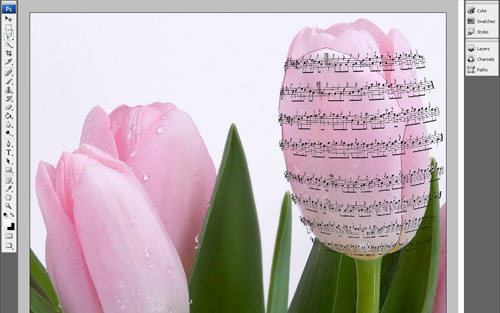
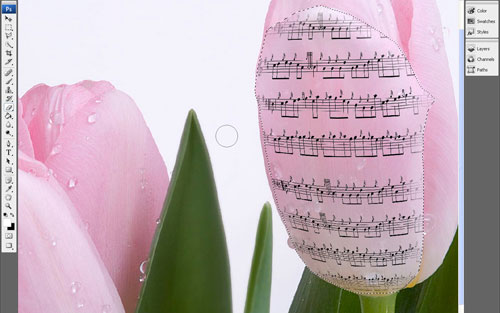
Then using the Polygonal Lasso Tool we create petal-shaped selection.
After that we use Shift+Ctrl+I to invert the selection, as it showed on the picture below:
We press the Delete button to delete everything that is contained within the selected area and remove the selection using Ctrl+D.
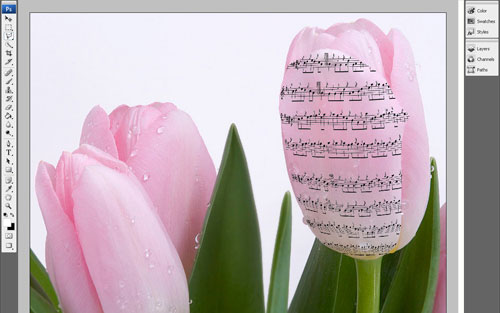
Then we use the Eraser Tool, choose a brush with soft edge, 50 pixels in diameter, transparency 50% and slightly erase the notes along the edges of the petal. After that we use Filter > Sharpen > Sharpen for the layer with notes:
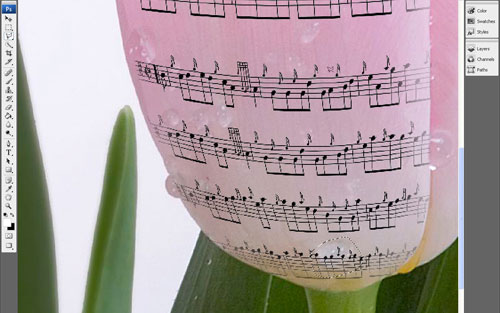
As there is dew on the tulips, for more natural effect in the places, where we see the drops, we should deform the notes a bit. For this purpose we use the Polygonal Lasso Tool (Feather 4 px) to create selection of the areas, that should be deformed.
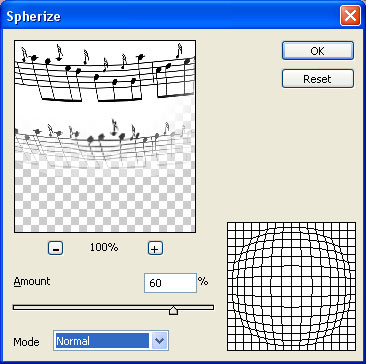
For the selected area we use Filter > Distort > Spherize with the following parameters:
On the same principle we deform the image for the rest of the drops on petals. We get an interesting dew effect on the notes.
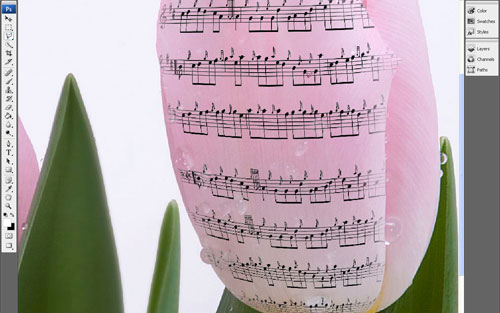
The rest of the petals are processed in the same way.
As a result we got a wonderful tutorial on design overlay on flower petals. Feel free to experiment and you will get an excellent effect!

