In this Photoshop tutorial I’m going to show you how to draw a magnifying glass and do the right thing reflected in it.
In the beginning you should find appropriate picture to work with. I used this one picture of newspaper. Feel free to use it also if you want. Ok, after finding right picture we can start our tutorial. Create new document about 500×500 pixels and copy our picture to this document.
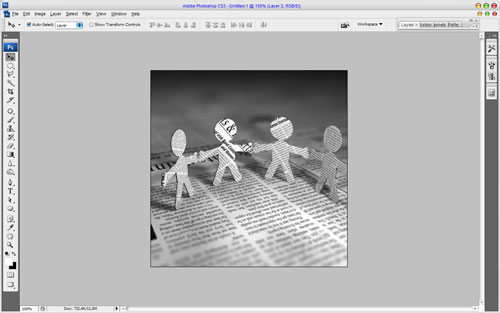
After that use the Elliptical Marquee Tool to create round selection for magnifier glass as shown on the picture below and press Ctrl+D to duplicate selected area to the new layer.
Move to layer under again and reduce it a little bit, your picture should look as mine:
On this step we are done with background. Then move to the layer with copied fragment and load it selection again with Select > Load Selection, then apply Filter > Distort > Spherize with next presets:
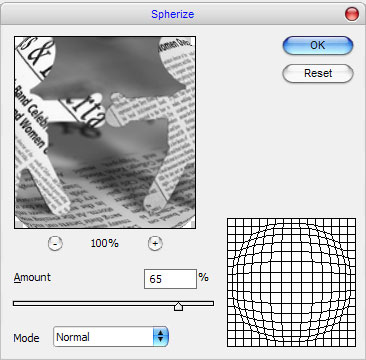
The result should be next:

Then remove selection with Ctrl+D and apply Filter > Sharpen > Sharpen to our layer.

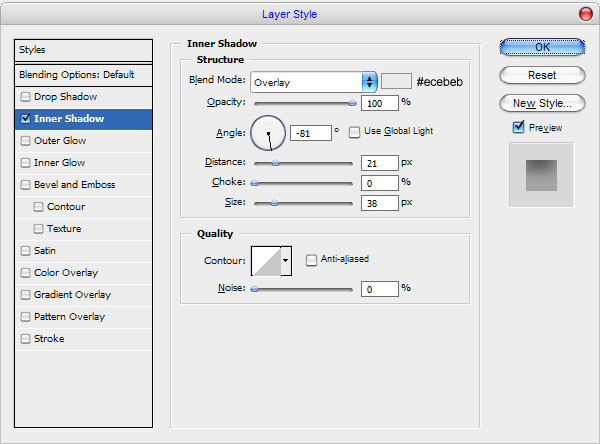
Apply Inner Shadow layer style for current layer:

Now, I would like to add some glare to our magnifier glass. Create new layer, select Elliptical Marquee Tool to make the same selection as you can see on the picture below and fill it with white color.

Remove selection and apply Filter > Blur > Gaussian Blur to blur this ellipse about 15 pixels.

Then use Ellipse Tool to create another one, but much less size glare on the new layer.

Ok, we are done with glass, now we need to create frame and handle for it. Create new selection similar to mine on the picture below, then create new layer and fill selection with color of #272c2d.

After that use Select > Modify > Contract to contract selection about 4 pixels, press Delete button to clear selected area.

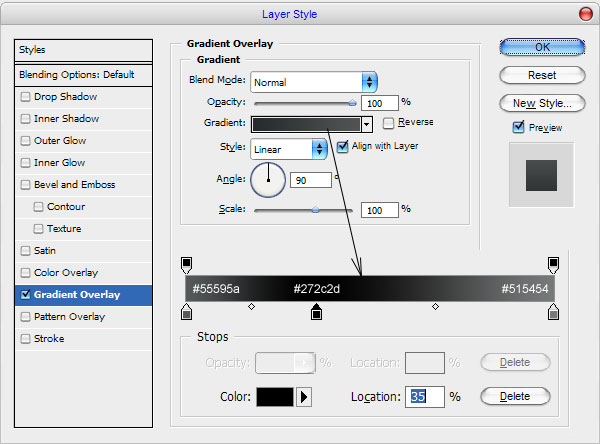
Remove selection with Ctrl+D, then duplicate layer with Ctrl+J and move lower layer 3 pixels down. Now, apply Gradient Overlay layer style to lower layer.

Ok, now duplicate current layer one more time and move 3 pixels down, then duplicate it and move 3 pixels down again.

Ok, go to the next step. Merge all parts of frame together. As for me, magnifying glass looking good, but not finished yet. I would like to add more glare to our glass. For that create new layer, and use the Elliptical Marquee Tool again to create selection. Then fill this selection with white to transparent gradient as on my picture below:

Move selected area 5 pixels right and down, after that press Delete button to clear selection.

Remove selection with Ctrl+D and apply Filter > Blur > Gaussian Blur to blur selection about 1 pixel.

Ok, on this step we are done with glass. Time to create handle for our magnifier. Use the Rectangular Marquee Tool to create selected area as you can see on the picture below and fill it with color of #dfdfdf on the new layer.

After that select the Burn Tool (Range: Midtones, Exposure: 100%) and hard round brush about 10 pixels, holding Shift button create first dark line.

Reduce brush size to 4 pixels and add more dark lines:

After that create new one selection the same thickness as previous one and fill it with color of #515557.

Select Burn Tool (Range: Midtones, Exposure: 100%) to add a few dark lines again.

After that select the Dodge Tool (Range: Midtones, Exposure: 70%) and hard round brush to make same dodge work.

Ok, now we are almost done with holder, deselect chosen area with Select > Deselect, then use Edit > Free Transform to rotate and move or holder to the same position as you can see on the picture below.

We are done with this tutorial, hope now you have the same good result as me.


