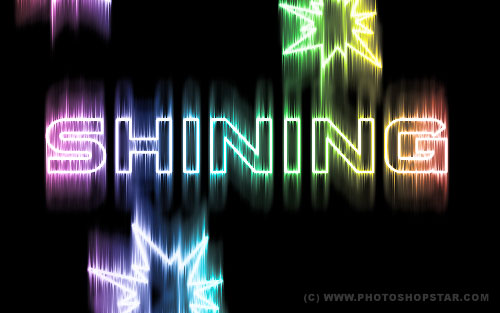
So, in this Photoshop tutorial I’m going to be showing you how to make cool shining effect using a couple of filters.
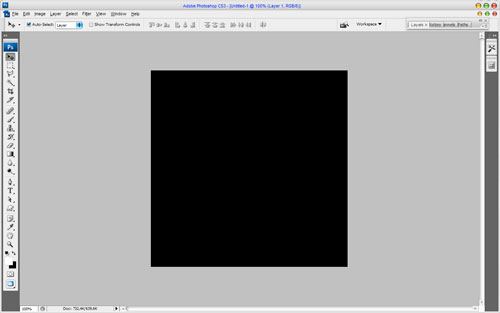
Alright, you can start by first creating a new document, as usual; I used a document size of 500×500 pixels. Then fill it with black color.
Now you’ll want to write out your text that we’re going to add the effect to. Select the Horozontal Type Tool and write out the word ‘Shining’ with the following text settings: Sui Generis font, size of 70 pt, Crisp. This font is commercial. Feel free to try a different font or you know, buy or ‘get’ a nice font from somewhere.

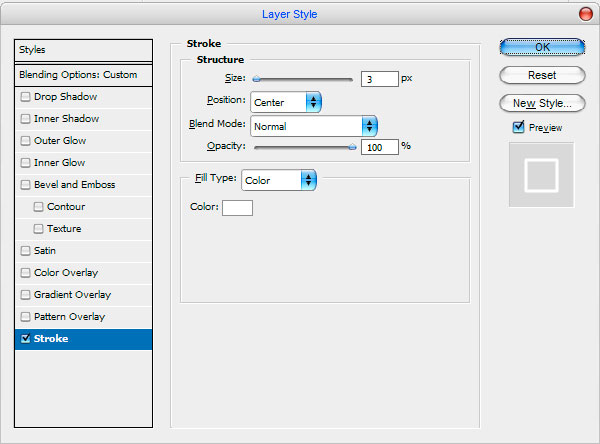
Now set up fill opacity to 0% for this layer and apply Stroke layer style for this layer:
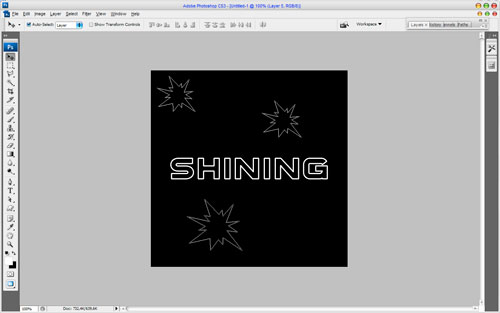
Now we have something like this:

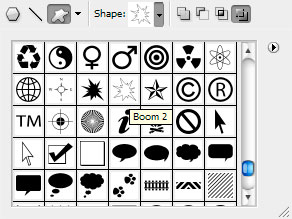
Ok, now select the Custom Shape Tool (you need to make sure that you’re working with Paths instead of Shape Layers) and select some appropriate shape, like Boom 2:
Now before we can start making our stars, I would like to note you that you need to get out the Brush Tool before and set up with the following settings: soft round brush with size of 3 pixels. Also set foreground color as white. Draw out your shapes:
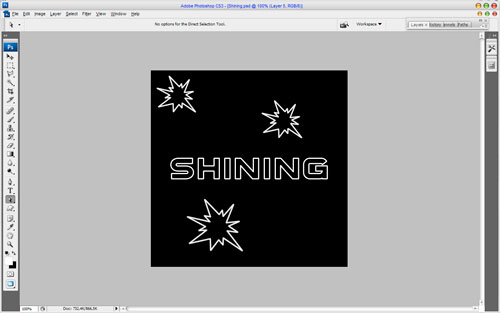
Then select Direct Selection Tool, after that right-click on shape and select Stroke Path.
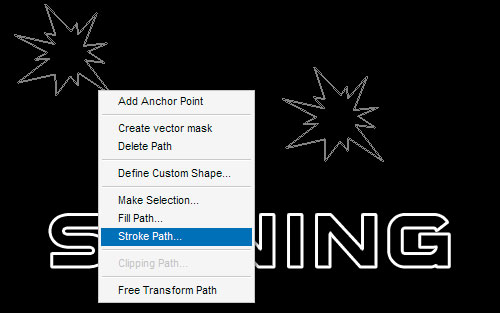
A little dialog box will appear as in the screenshot. Choose Brush.
Ok, now merge layers with shapes and the text to one layer. Use Select > Load Selection to select objects and apply Quick Mask Mode (the background must be red in this mode). Rotate image with Edit > Transform > Rotate 90° CW:
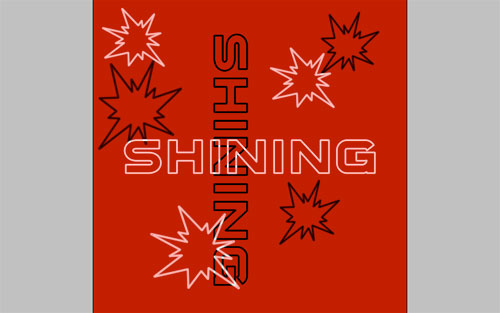
Then apply Filter > Stylize > Wind with the next presets:
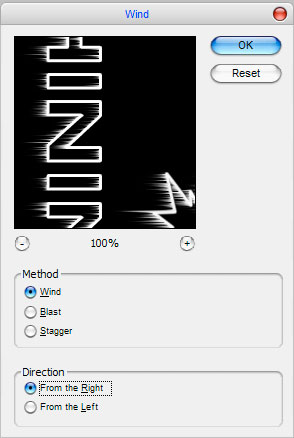
Apply Filter > Stylize > Wind again, but this time presets are different:
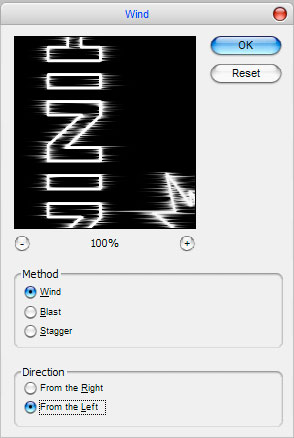
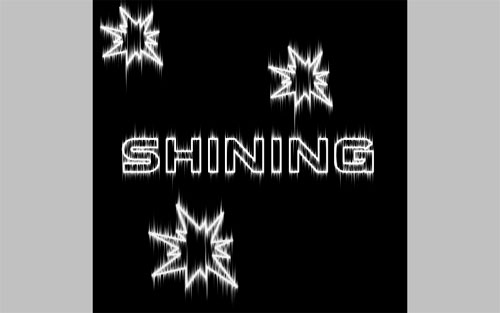
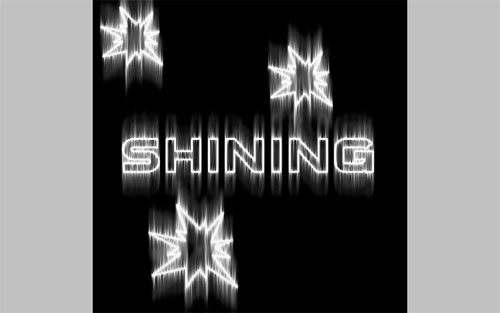
Now we something like this:
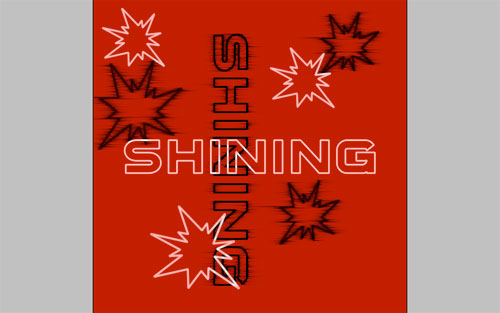
Apply Edit > Transform > Rotate 90° CCW to rotate image back and then go back to Standard Mode. Now we have some selected area. Create a new layer and fill the selected area with white color.
Duplicate this layer and apply Filter > Blur > Motion Blur with similar settings to these:
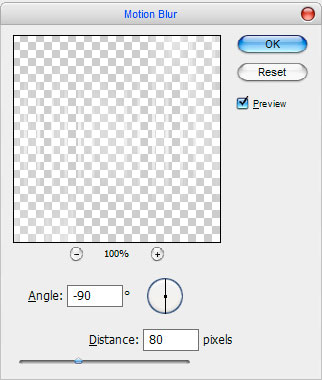
Apply Filter > Blur > Motion Blur again with other settings:
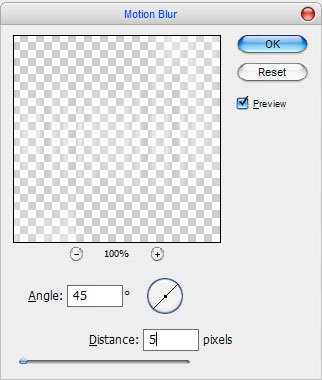
See the result:
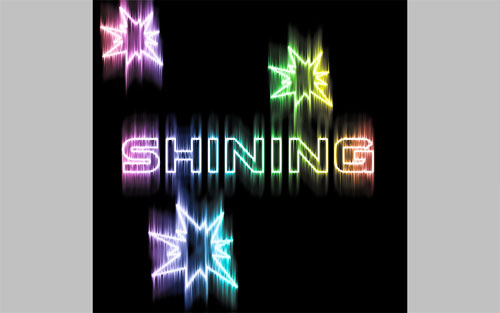
Merge two of these layers in one. Then create a new one layer and fill it with one of standard Photoshop gradients:
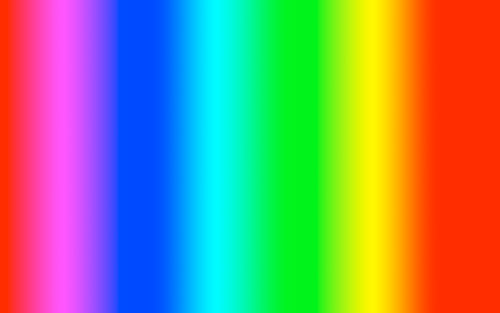
Go to previous layer and select it with Select > Load Selection, then press Ctrl+Shift+I to invert selection, go back to gradient layer and press Delete to clear selected area. Change layer mode to Color.
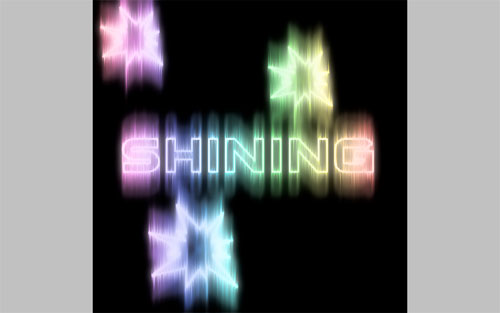
Merge these two layers again, then press Ctrl+J to duplicate it. Apply Filter > Blur > Gaussian Blur to the upper layer:
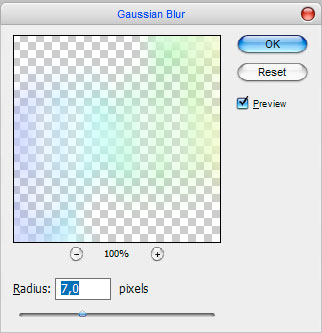
Your picture should look as mine:
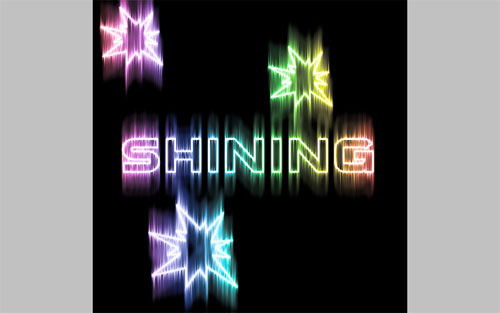
Now mess with the layer mode & opacity/fill. I tried Soft Light with opacity of 50%.
Thanks for reading the tutorial, everyone!

