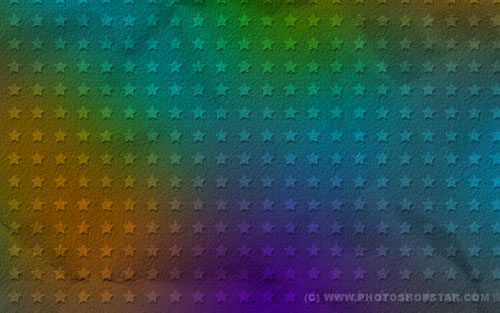
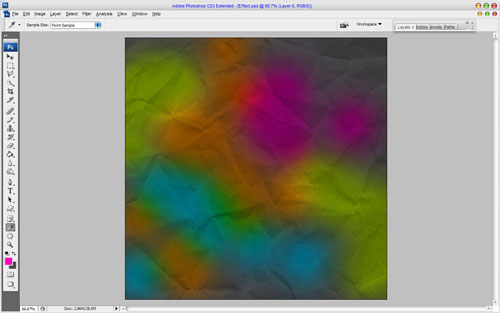
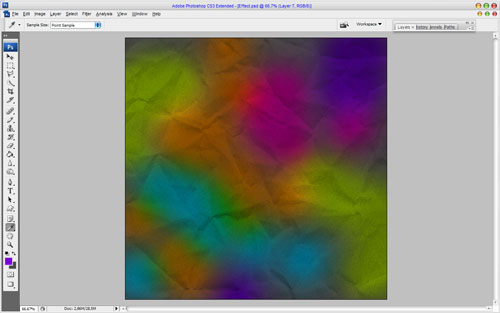
Sure, you love to receive gifts, but also you love to make it to. Ok, in this small simple, but useful tutorial I’ll show you how to create your own packaging gift paper to make your gifts unique.
Ok, in the beginning create a new document about 1000Ñ…1000 pixels. If you want to make print of this paper in future use the resolution (DPI) of 300, but I just tried the default resolution (DPI) of 72. Fill canvas with grey color (#4a4a4a).
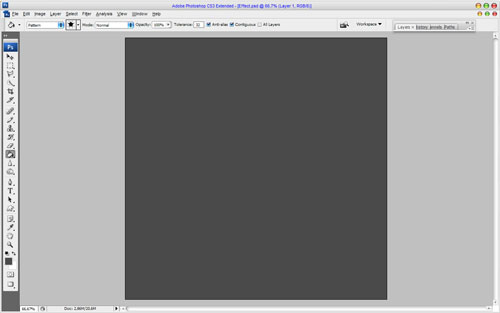
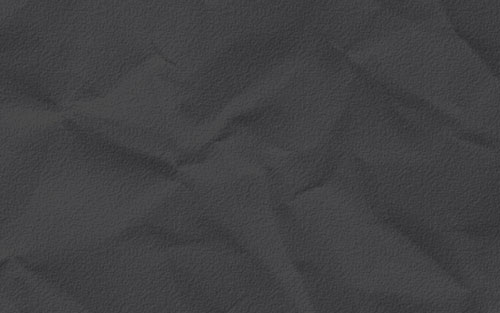
After that I would like to bring some texture to the canvas. You can feel free to use this one. Open up this file and copy image to our main canvas. Change layer mode to Multiply for pattern layer.

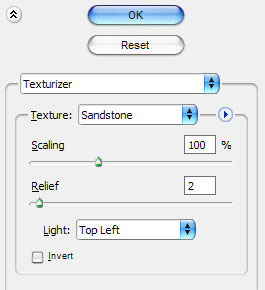
For the relief effect apply Filter > Texture > Texturizer with similar settings to these:
Now we have a relief like this:
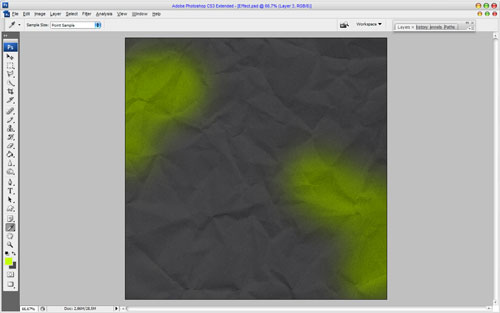
Ok, next we create a new layer. Then with the Brush Tool selected, choose the soft round brush about 300 pixels from the standard Photoshop palette and create some green prints with color of #c6ff00. Change layer mode to Overlay.
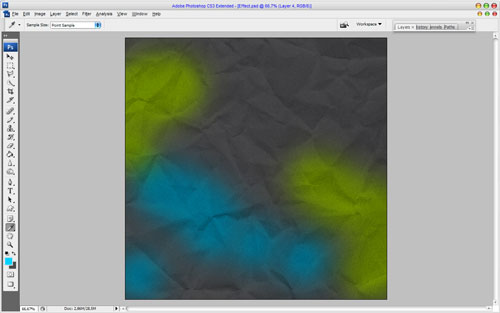
Create a new layer and add more prints with blue color (#00d1fd). Change layer mode for this layer to Overlay also.
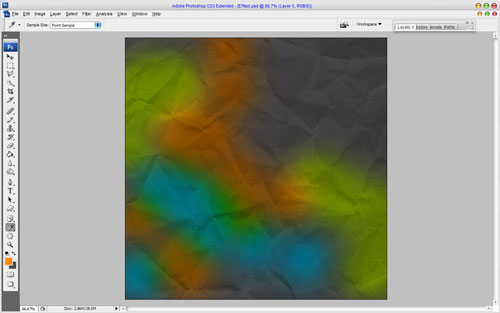
Add a couple of prints more in the same way using following colors: #fe8a00, #fe00b9 и #7601da.
Ok, now time to add the stars and we are done. So, create a new document about 23×23 pixels, transparent background. Then select the Custom Shape Tool and add white star as on my picture below.
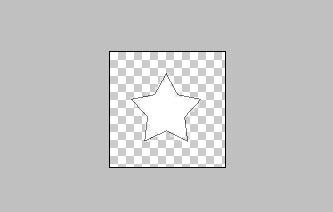
Uuse Edit > Define Pattern to save this picture as pattern and close current document without saving. Go back to our main canvas, create a new one layer and apply the Paint Bucket Tool to fill this layer with stars pattern.
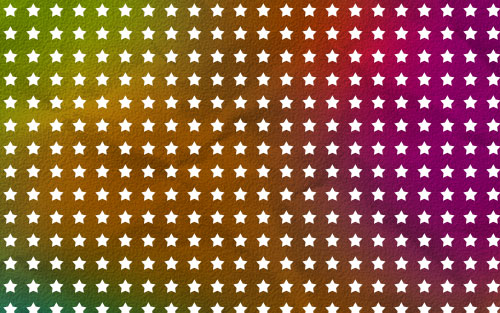
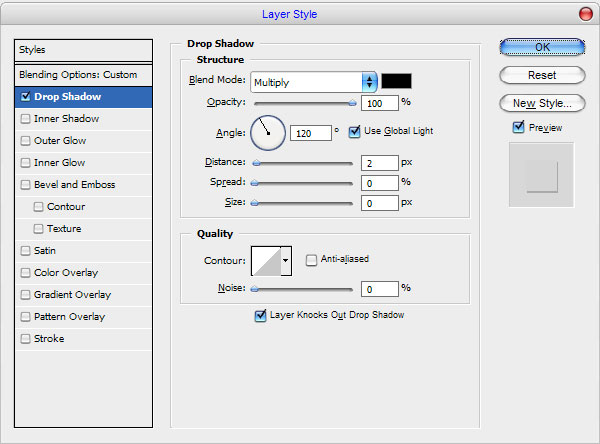
After that apply the Drop Shadow layer style for the current layer.
Change layer opacity to 25%.
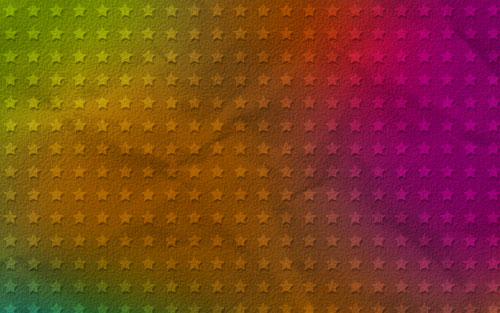
That is it for now! Cool packaging gift paper for your nice gifts ready now. Thanks for reading this tutorial!

