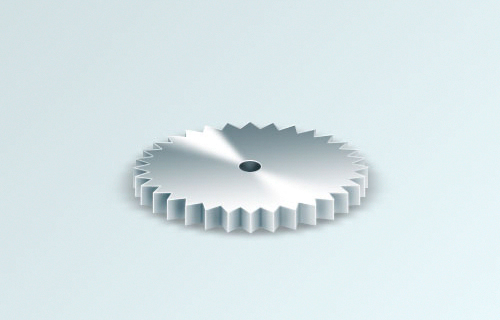
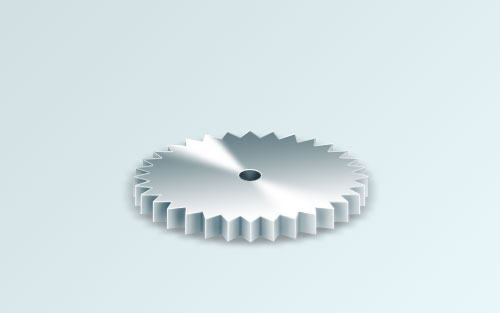
Are you hungry for new tutorials how to create objects in Photoshop? Ok, I have one interesting tutorial for you.
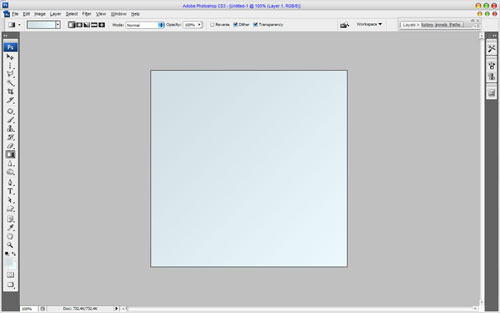
Ok, let’s start! Create a new document sized 500×500 pixels. Drag a linear gradient with colors of #eaf8fb and #d0dee1 as shown on a picture below. It will be background for putting gear wheel on it.
After that start with creating gear wheel. Select Shape Tool and choose on of standard Photoshop shapes
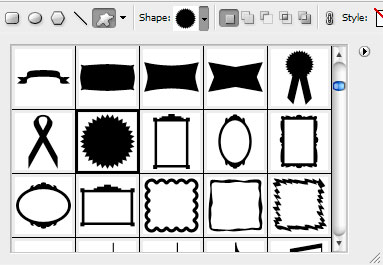
and draw out it in the middle of our canvas with white color.
Then reduce height about 60% for this shape and rasterize it with Layer > Rasterize > Shape:
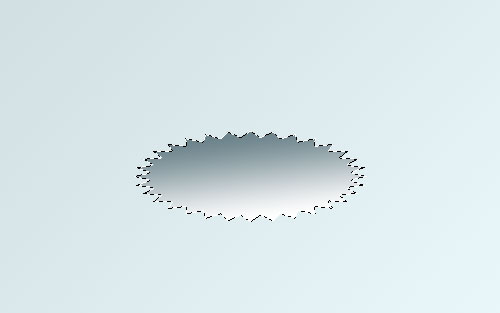
Load selection of shape with Select > Load Selection and fill it with grey to transparent gradient on the same layer (use color of #6d848c).
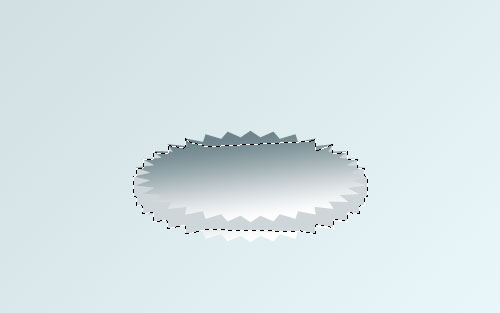
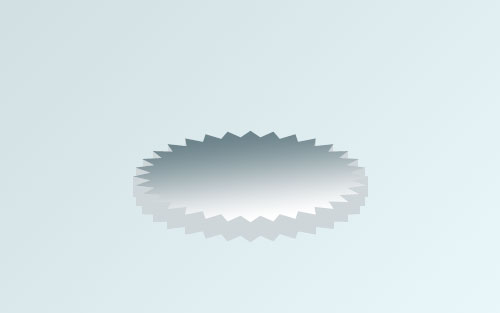
Remove selection with Ctrl+D. Now, we should add lower base and process lateral surface texture. Duplicate current layer with Ctrl+J and move lower layer 20 pixels down.
Then use the Polygonal Lasso Tool to connect the top edges and bottom edges of the gears with selection and fill it with whatever color you want.
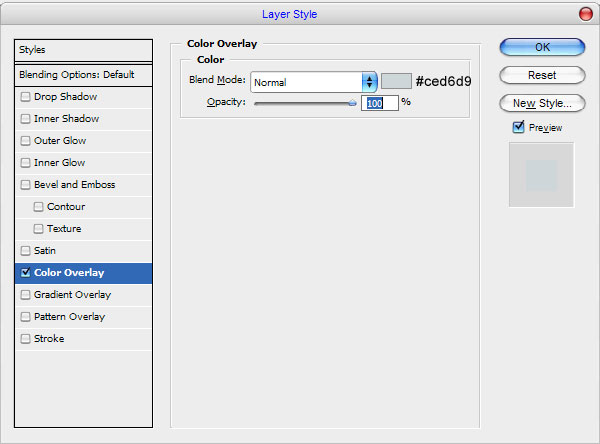
After that deselect chosen area with Ctrl+D and apply Color Overlay (link to 08) layer style for current layer.
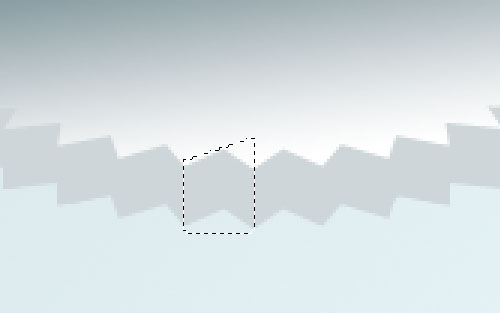
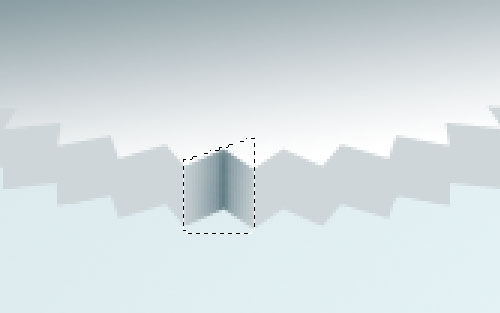
Then create layer under and merge it with previous to get all effects in one layer. Ok, now we need to add glares and shadows to lateral surface to show metallic sheen effect on it. Use Polygonal Lasso Tool again and select some area between two nearest lugs of gear wheel.
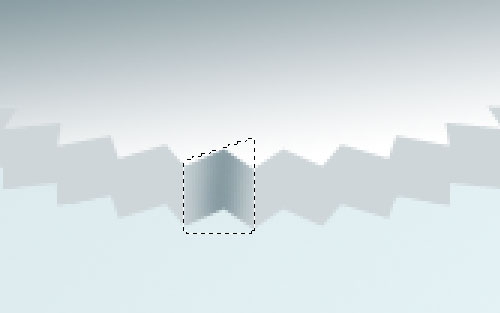
Then use Burn Tool (Brush: 15 px, Range: Shadows, Exposure: 50%) to add shadow in between two lags.
After that reduce brush size to 5 pixels and add dark shadow line in deepest part to increase metal texture reflection.
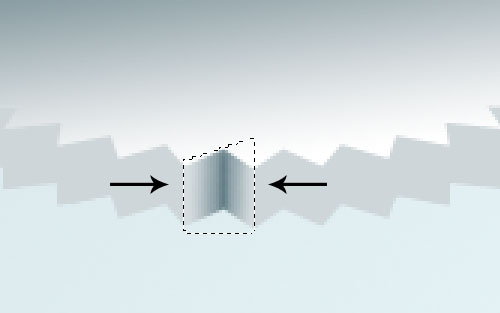
Change Burn Tool to Dodge Tool (Brush: 15 px, Range: Midtones, Exposure: 70%) and add a few glares from the left and right sides:
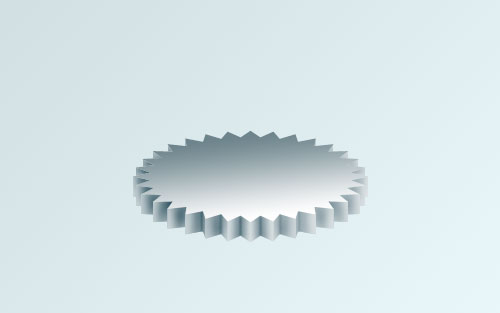
Remove selection with Ctrl+D. Add the same affect to each visible area between each lug.
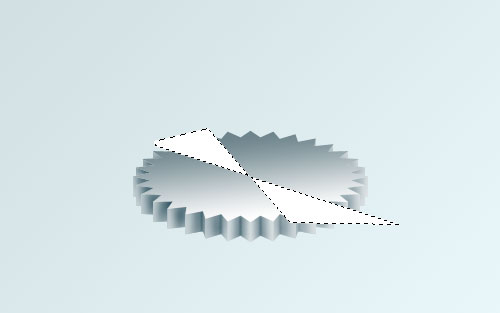
Ok, we are done with lateral area surface. Move to the next step. Go to the upper part of gear wheel and bring some glare there also. For this effect use the Polygonal Lasso Tool again, create the same selection which you can see on the picture below and feel it with white color on the new layer.
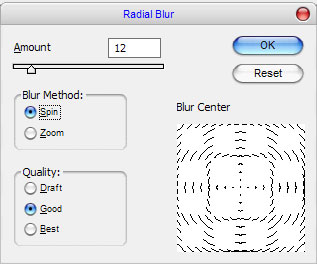
Remove selection with Ctrl+D and apply Filter > Blur > Radial Blur with similar settings to these:
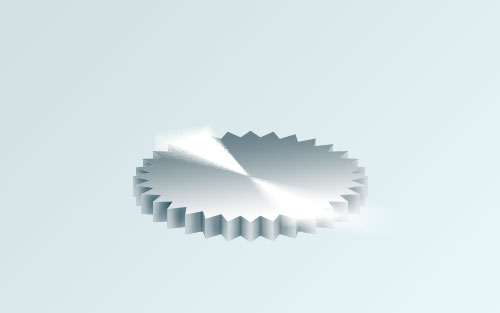
Your result should be the same as mine:
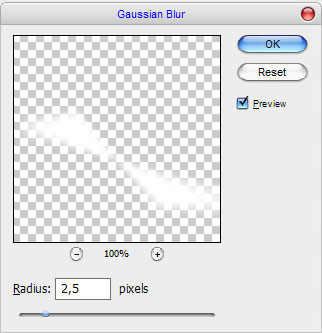
Then apply Filter > Blur > Gaussian Blur with next presets:
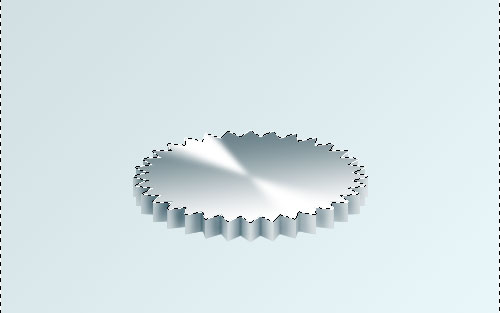
We received picture like so:
Now, press Ctrl and click the upper part layer thumbnail in the layers palette to create selection and use Ctrl+Shift+I to invert it, then press Delete button to clear selection.
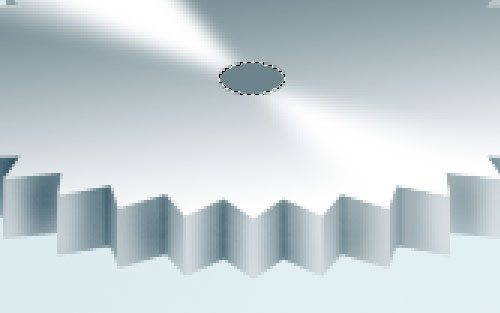
Remove selection with Ctrl+D and after that merge all layers in one except background layer. Move to the next step. We need to create a hole inside the gear wheel. Get out the Elliptical Marque Tool and create selection similar to mine and fill it wit color of #6d848c.
Select Burn Tool again to make some small dodge work.
Deselect chosen area with Select > Deselect. Ok, now time to add the verge of gear wheel. For this effect use the Line Tool (Weight: 1px) and add white lines on each verge of gear wheel.
Merge all layers with white lines in one, then use the Eraser Tool (Opacity: 50%) and a soft round brush about 70 pixels and make little clean work.
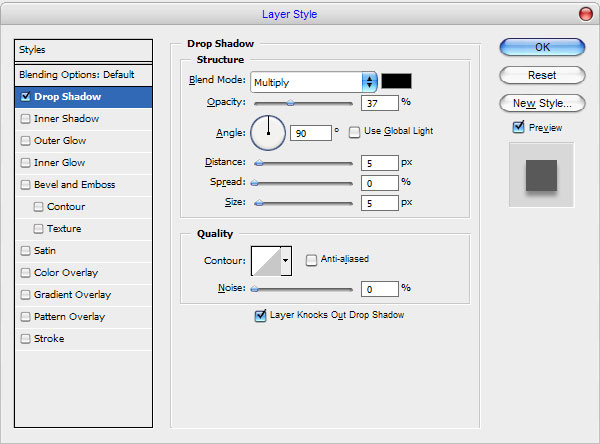
Move to the last one step. To finish off our tutorial we gave to add some shadow under the gear wheel. Merge all layers except background layer in one and apply Drop Shadow (link to 25) layer style for new received layer:
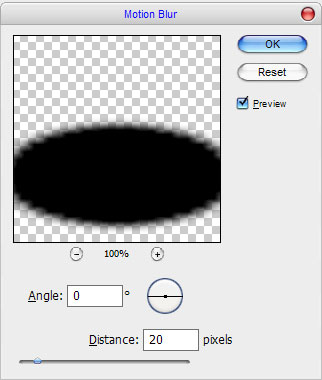
Now we need to extract shadow effect to separate layer. Use Layer > Layer Style > Create Layer for this option. Move to new layer with shadow under the current layer and apply Filter > Blur > Motion Blur for it.
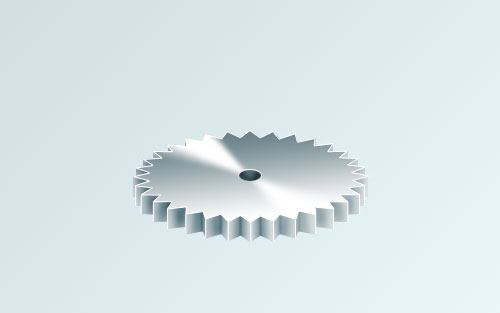
Now, we have something like this:
After that select Smudge Tool (Brush: 70 pixels) to increase the drop shadow on the sides just a little bit.
We are done with this tutorial. Now we have realistic view gear wheel created by ourselves.

