This Photoshop tutorial will explain you how to design similar to the vector bow using Dodge Tool and Burn Tool.
Now, firstly, you’ll have to create a new document in which you can make this design. For this tutorial I’m going to be using a size of 500×300 pixels with the default resolution (DPI) of 72 and add in the background that you want. I used linear gradient with colors of #fea289 and #fef43e.

Ok, now select the Pen Tool and create a shape like on my screenshot using color of #eb1502:
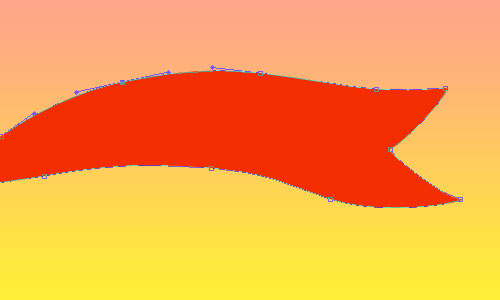
After that rasterize shape with Layer > Rasterize > Shape. Create two new shapes in the same way.
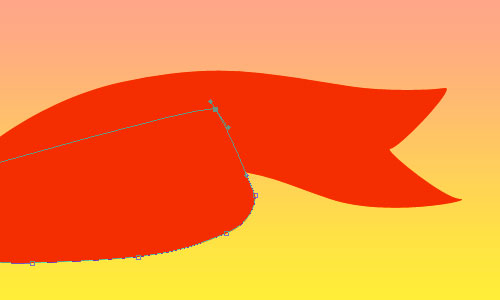

Select the Burn Tool (Brush: 45 px, Range: Midtones, Exposure: 25%) and make a little burn-work with one of the shapes like on picture below.
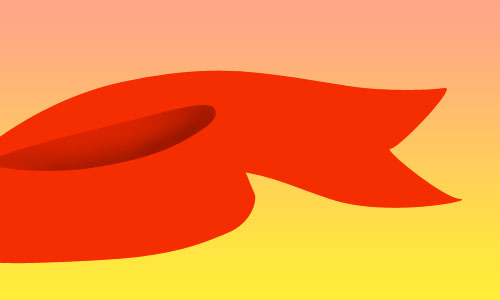
Go to the lower layer and select it with Select > Load Selection, after that apply Select > Modify > Contract to contract selection about 3 pixels. Create a new layer and fill selected area with yellow color (#ffe826).
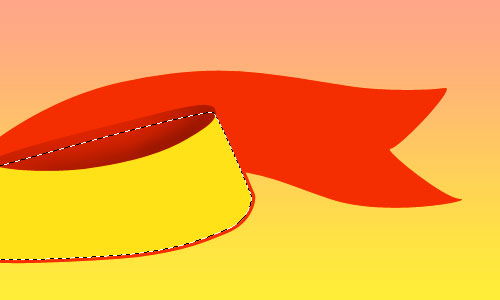
Apply Select > Modify > Contract one more time and contract selection about 3 pixels again. Then press Delete to clear selection and remove selection with Ctrl+D.
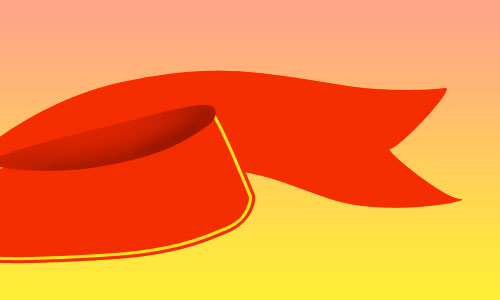
Select the Eraser Tool and a sharp round brush about 20 pixels to cut away part of yellow line like on my picture below:
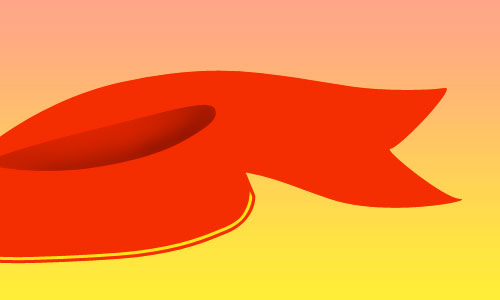
Looks like unfinished line now. To finish this line use the Brush Tool and a sharp rounded brush about 3 pixels to draw the part of line (use the color of #ffe826):
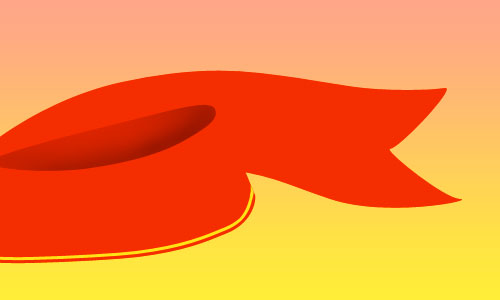
Now, merge this layer with previous. Ok, not looking so great, yet! I would like to add some design to the ribbon. We can use brushes for this. You can use my brushes or your own it does not meter. Select the color of #ffe826 and print the design as on picture below.
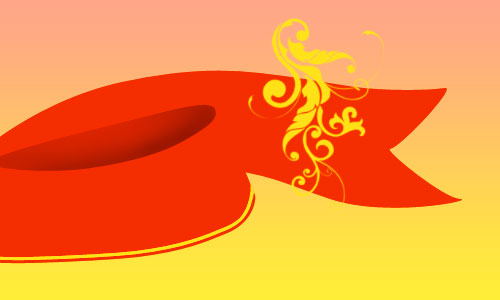
Use Edit > Free Transform to rotate it a little bit like on my screenshot:
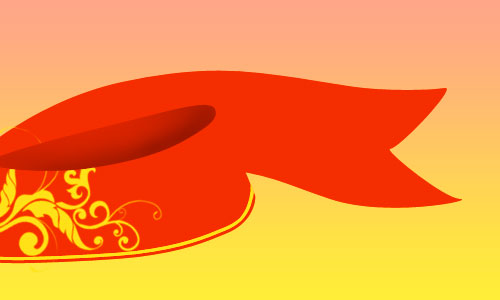
Select the Polygonal Lasso Tool and make selection as below to cut away unnecessary part of design and press Delete to clear selected part.

Remove the selection with Ctrl+D and merge this layer with previous. Get out the Dodge Tool (Soft round brush about 45 px, Range: Midtones, Exposure: 50%) and make a little dodge-work to create highlight on the ribbon.
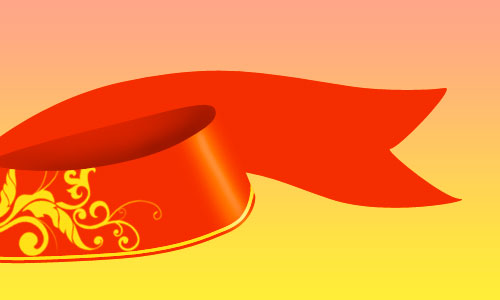
Now, select the Burn Tool (Soft round brush about 40 px, Range: Shadows, Exposure: 50%) and make darken part of the ribbon to bring it dimensional view.
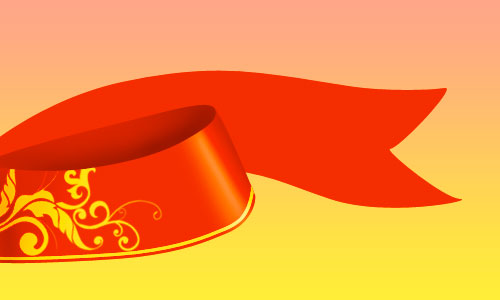
Ok, time to finish off the bow design. Go to the lower layer with ribbon and select it with Select > Load Selection, use Select > Modify > Contract to contract selection about 3 pixels and fill the selection with color of #ffe826.
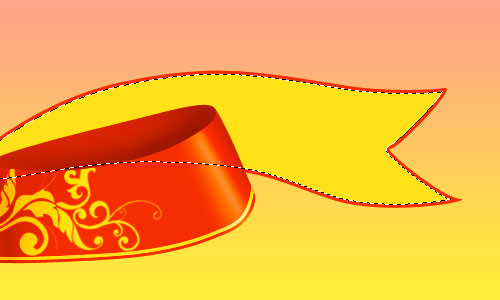
Now use Select > Modify > Contract to contract selection about 3 pixels again and press Delete to clear selected area.
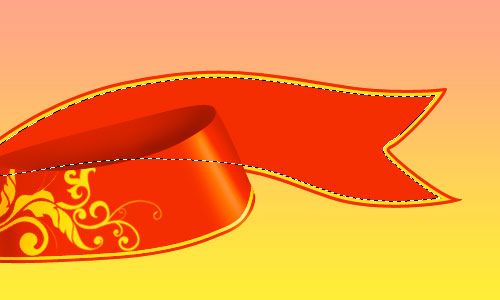
Remove the selection using Select > Deselect (or use Ctrl+D). So, after that get out the Eraser Tool and a sharp round brush about 20 pixels to cut away part of yellow line like below:

Use the Brush Tool and a sharp rounded brush about 3 pixels to finish off lines with color of #ffe826.
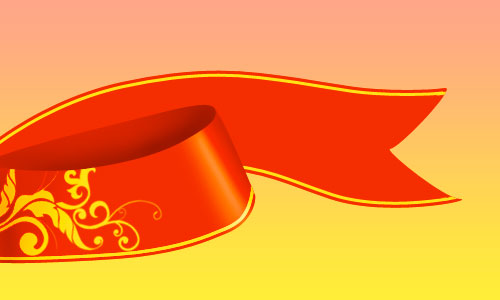
Merge this one layer with previous and then use the Dodge Tool (Soft round brush about 45 px, Range: Midtones, Exposure: 50%) to make a couple of highlights on the ribbon:
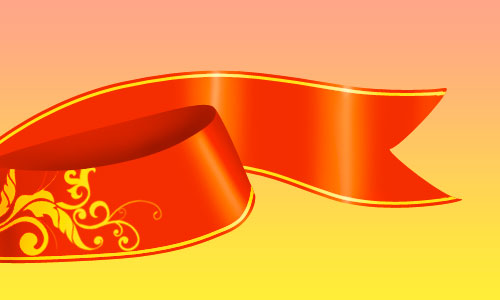
Now, time to bring dark spots to the ribbon to make it more realistic. For this effect use the Burn Tool (Soft round brush about 40 px, Range: Shadows, Exposure: 50%) to get the result as on my picture you can see below:
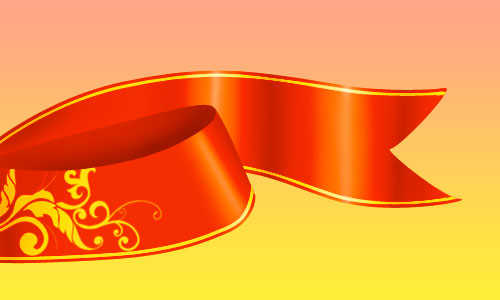
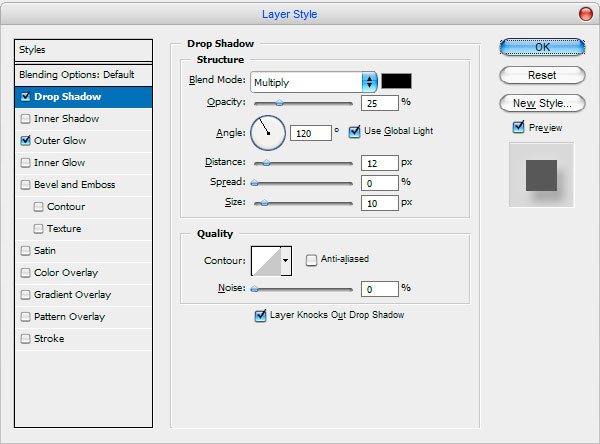
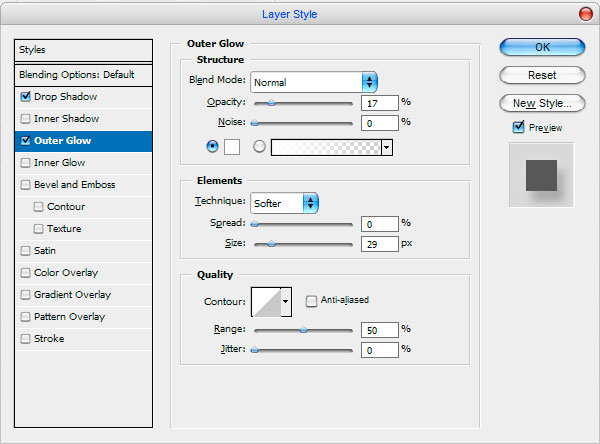
After that merge all of layers of the bow in one and apply following Blending Options:
• Drop Shadow
• Outer Glow
See the result now:

Well, we’re done for this tutorial! I hope it was sufficient and useful for you. Good luck!

