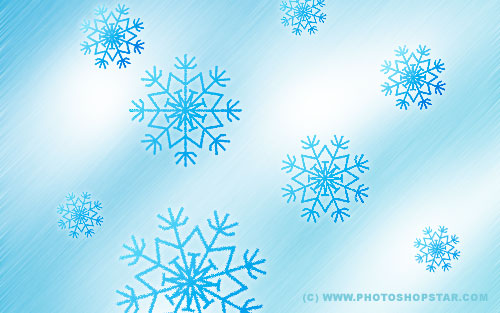
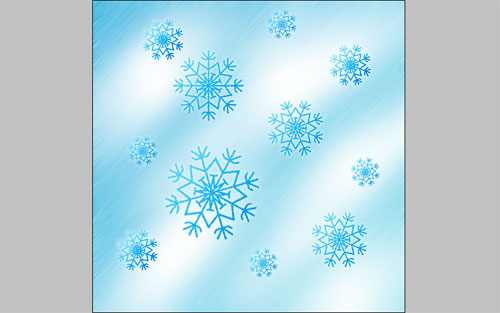
Do you like winter and miss this season? In this way this tutorial special for you! We will create snowflakes everywhere.
Start by making a new document in Photoshop. After creating your document, fill the background with a gradient. For this select some appropriate colors, for example colors of #8cdbe8 and #49aedd.
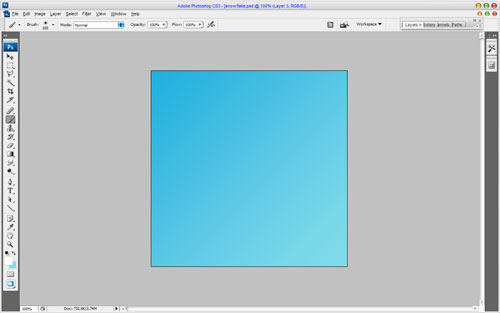
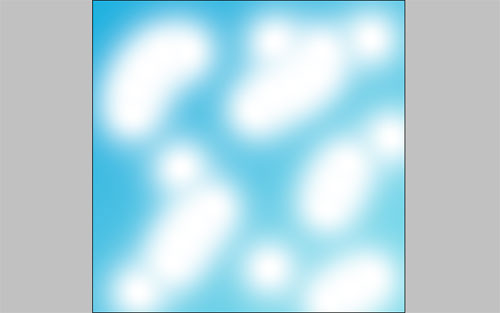
Now create a new layer, then select the Brush Tool and a soft round brush with size about 150 px. Make a couple of strokes, using white color.
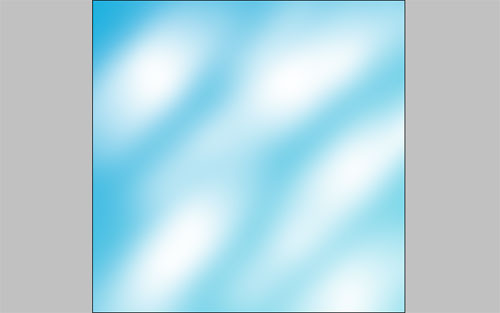
After that apply Filter > Blur > Motion Blur with the next presets:
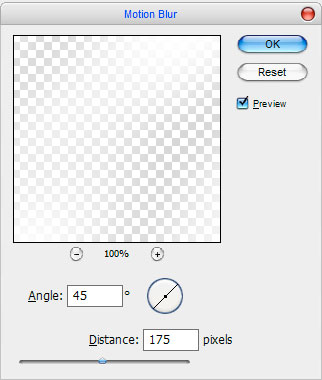
Now we have something like this:
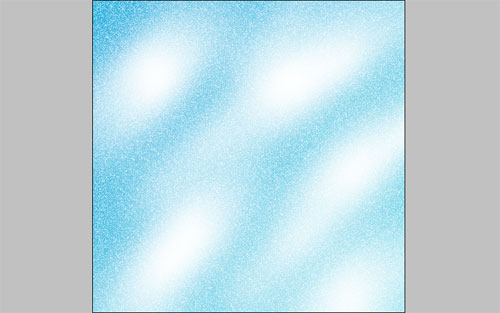
Ok, then create one more new layer and fill it with black color, then apply Filter > Noise > Add Noise with similar settings to these:
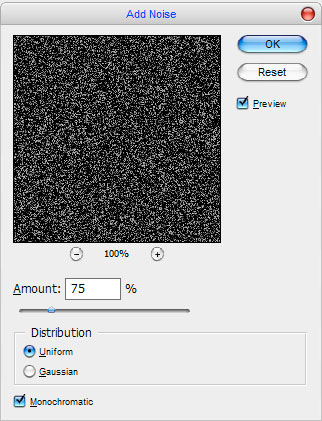
After that change layer mode to Screen:
Ok, now apply Filter > Blur > Motion Blur with the next presets:
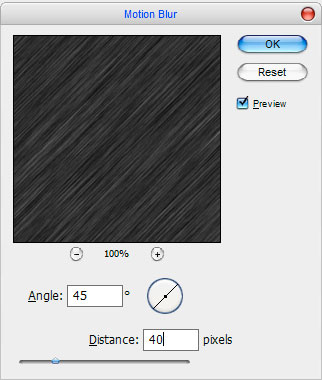
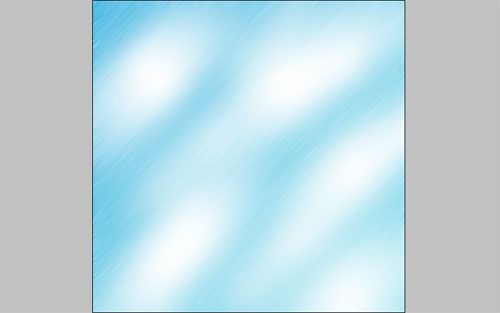
You can see the result below:
We are done with a winter background; now let’s start to create our own snowflakes. Select the Line Tool (Weight: 5 px) and make a couple of lines using color of #4bb4f0 like on picture below:
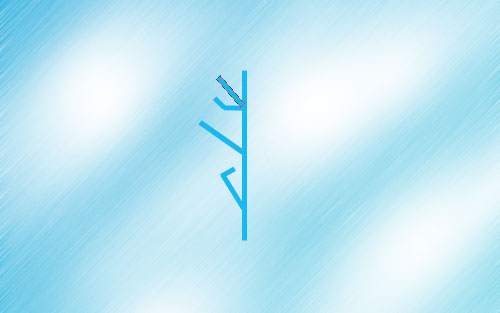
Merge all lines in one layer and press Ctrl+J to duplicate this layer. Apply Edit > Transform > Flip Horizontal to make horizontally reflected copy.
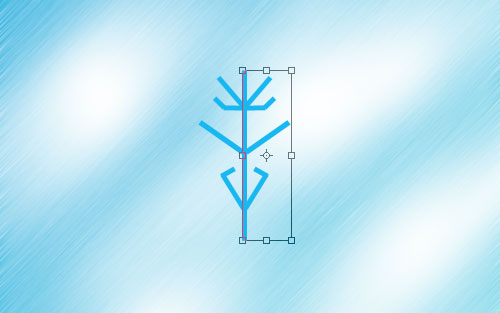
Ok, now merge two of these layers again and press Ctrl+J to duplicate this layer one more time. Apply Edit > Transform > Flip Vertical to make vertically reflected copy.
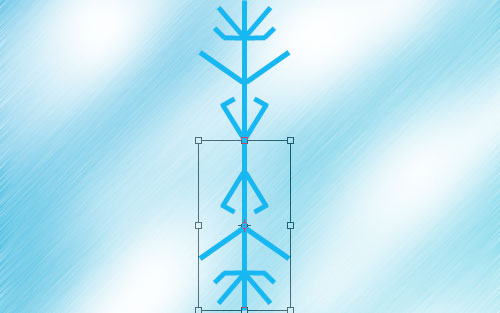
After that merge two of these new layers again, press Ctrl+J and rotate copied layer with Edit > Transform > Rotate 90 CW:
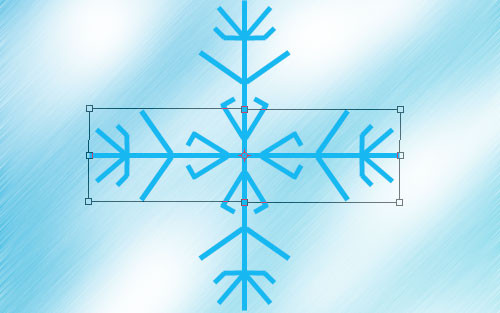
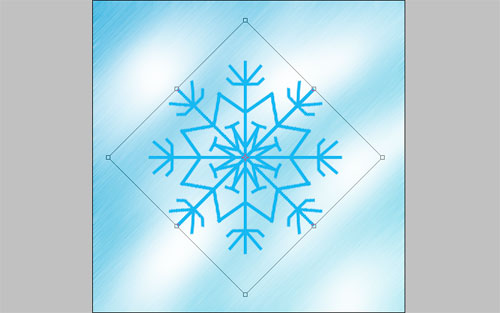
Merge two of layers again, and press Ctrl+J again and apply Edit > Transform > Free Transform for new copied layer.
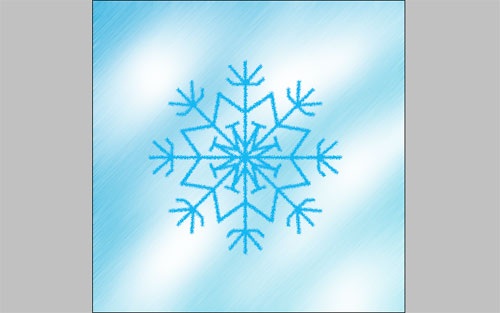
Merge two of these layers the last. We are done with snowflake shape. Now I would like to stylize its view. Apply Filter > Stylize > Diffuse with similar settings to these:
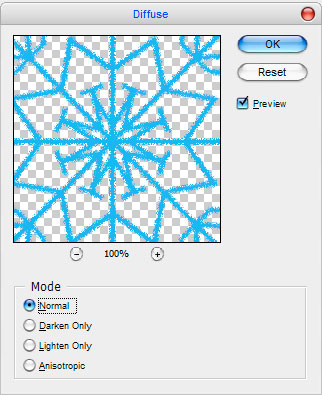
We’ve to get something like this:
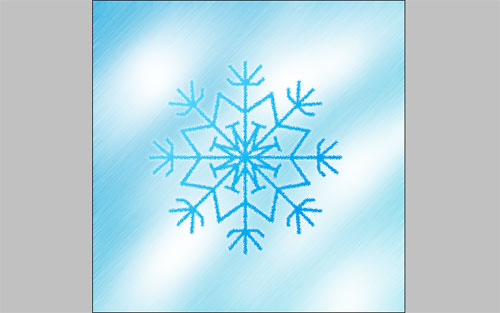
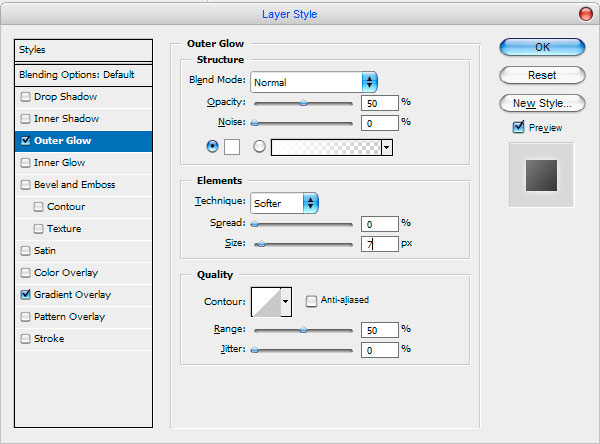
Ok, after that apply Outer Glow and Gradient Overlay layer styles to this layer:
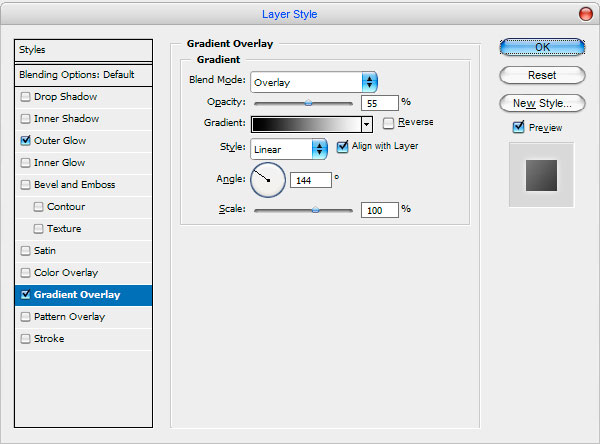
Our picture should look as below:
After that I would like to create a little snowfall!
Well, everyone, looks like we’re finished. I hope you enjoyed this tutorial!

