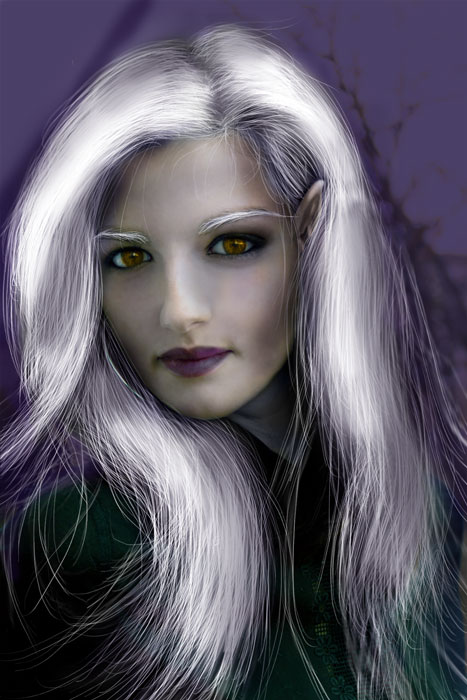
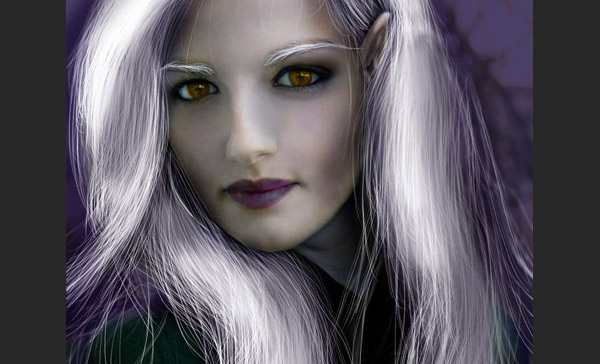
In this Photoshop tutorial you will learn how to make drawing-style picture in a fantasy style from one photo. This tutorial is not difficult but it is more suitable for people who have some experience in Photoshop drawing.
Final Image Preview

Resources
Note: if you have a graphics tablet you can use it and you will get better results. But you can also do this tutorial with a computer mouse.
Step 1
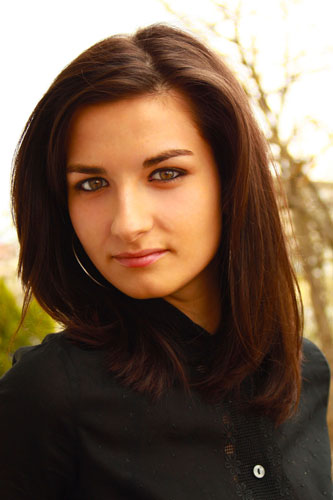
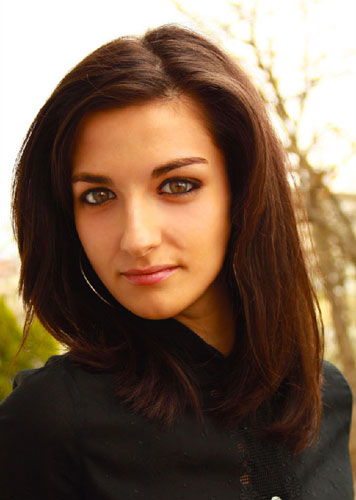
Start by opening the photo in Photoshop.
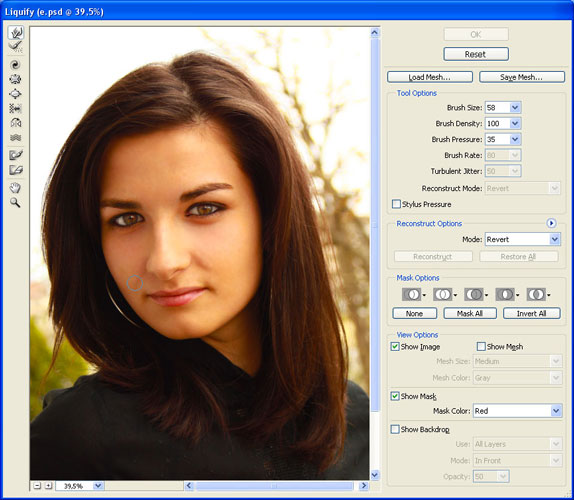
Let’s start by changing the proportions. Go to Filter > Liquify and work on changing the shape of the face and make the eyes bigger. Make sure Forward Warp Tool is selected and use it to increase the size of the eyes.
Step 2
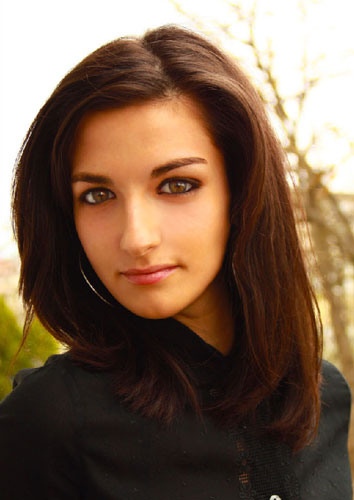
Select the Healing Brush Tool to remove skin defects if they are present on the photo.
Step 3
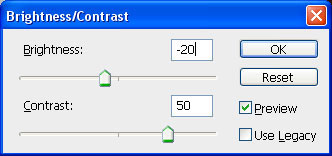
We need to reduce brightness and increase contrast with Image > Adjustments > Brightness/Contrast.
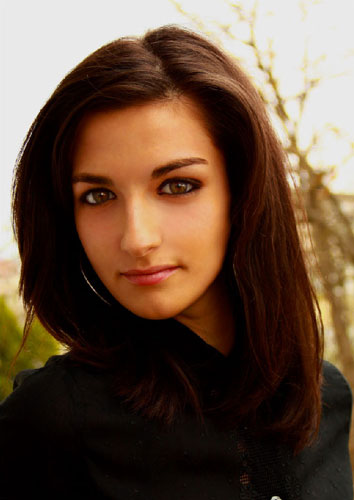
Change the color balance by going to Image > Adjustments > Color Balance.
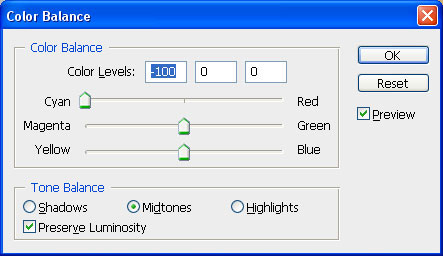
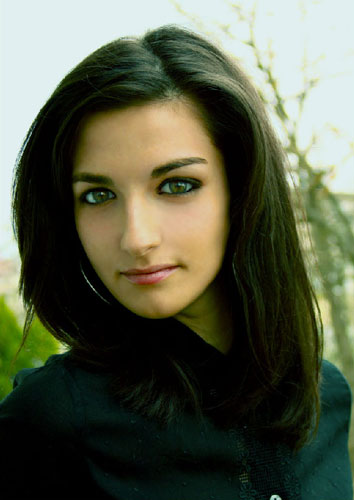
Go to Filter > Liquify again to increase the fantasy effect on the photo (eyes, lips and face shape especially).

Step 3
Create a new layer (Ctrl+Shift+N). Select the Brush Tool and press F5 to open the window with Brush Presets or go to Window > Brush. Select Soft Brush, 80px and 20% hardness. Change foreground color to #230b47. Choose Shape Dynamics option and update Control to Pen Pressure (if you have a graphics tablet). If not leave the Control option off and we will work with the computer mouse. Apply the brush to the photo background. Finally, change layer opacity to 70%.
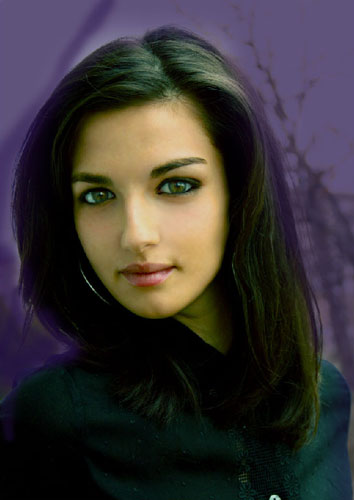
Duplicate layer with Ctrl+J. Change the layer mode to Soft Light and opacity to something around 50%-60%.
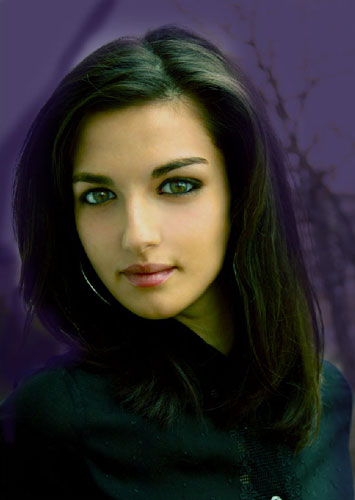
Step 4
Create a new layer above all other layers. Now we need to create the ear shape. Select the Eyedropper Tool and click on the face area to get the color sample. Now with the Brush Tool (soft brush) start creating an ear shape and use other colors and different brush sizes to get a more real ear.
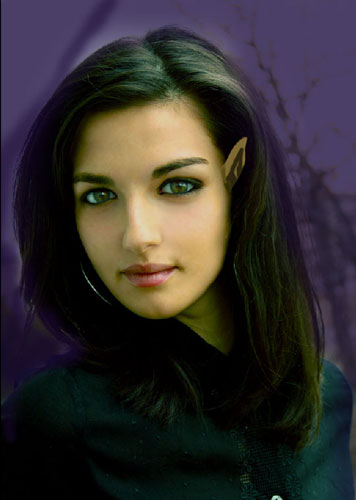
Keep creating the ear shape.


Finally we need to get some texture to apply to ear. Go to the original photo and with the Rectangular Marquee Tool selected make a small selection of skin. Copy selection.

Paste the selection on our psd file and a new layer will be created. Place the new layer on top of all other layers and place the skin exactly over the ear. Use Image > Adjustments > Desaturate to desaturate.
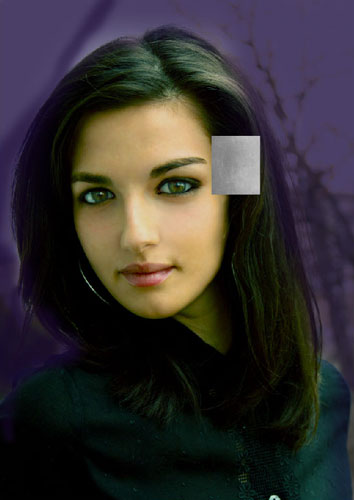
Change layer mode to Soft Light.

Load selection of the layer with the ear (press Ctrl and click ear layer thumbnail on layers palette).

Select the ear texture layer. Invert selection with Selection > Invert and press the Delete button to clear selected area. Remove selection with Ctrl+D.

Step 5
Create a new layer on top. Select the Brush Tool (soft round brush) and paint over the hair and neck with white. This layer will be called “hair”.
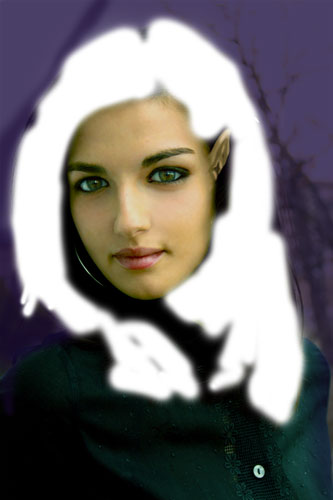
Change layer blending mode to Color.
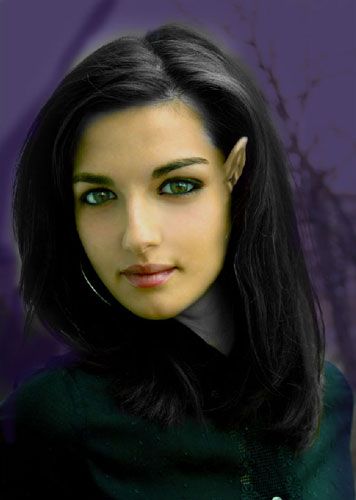
Create a new layer on top. Set foreground color to #e8ddfc and with the Brush Tool selected (soft brush, opacity: 10%) apply brush to face.
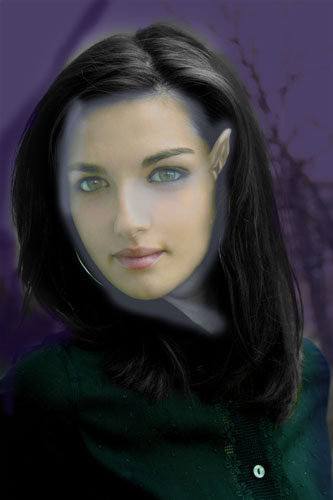
Change layer blending mode to Color.
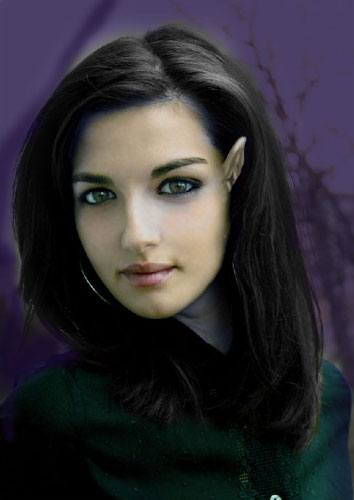
Duplicate layer “hair”. Move on top of all layers and change blending mode to Overlay.
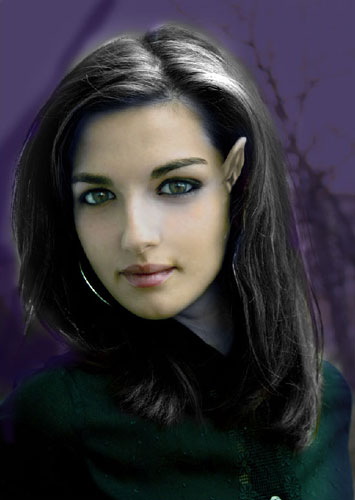
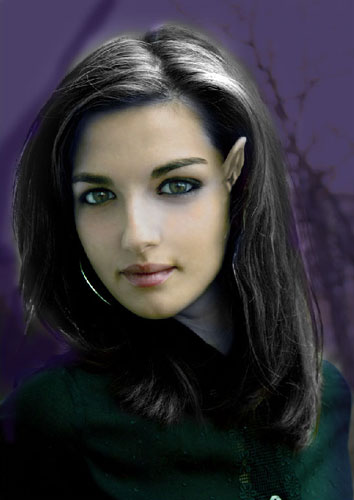
Select Brush (diameter of around 3-4px) and draw new hair with white (if you have a graphics tablet use it). Check next screenshots.
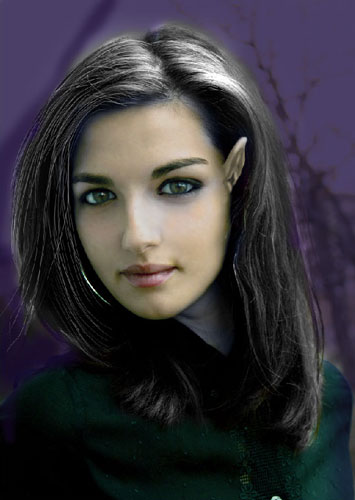
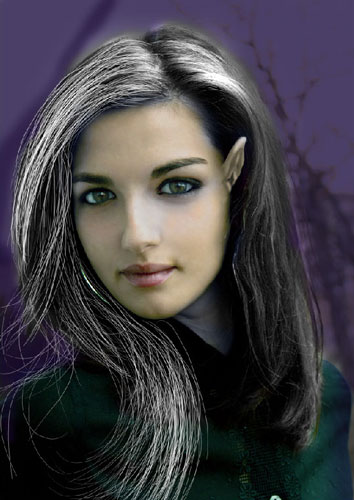
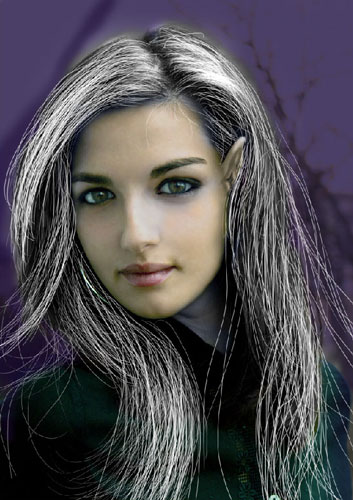
Step 6
Repeat the same process now for eyebrows and name the layer “eyebrows”.

Step 7
Duplicate “hair” layer with Ctrl+J.
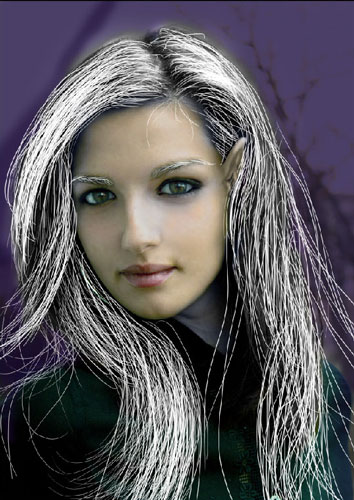
Merge both “hair” layers into one. After that select the Smudge Tool (Strength: 65%) and use the Spatter 59px which is one of the standard Photoshop brushes to make the hair smoother and more realistic looking.

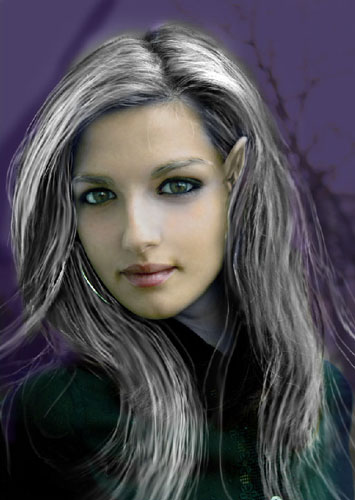
Step 8
Create a new layer above all other layers. Select Brush Tool (Opacity: 70%) and draw more hair with a 1 pixel brush using white. It will give a more natural look to the hair.
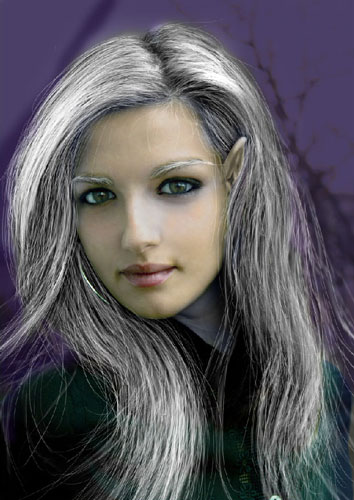
Duplicate the layer with Ctrl+J and move it a little bit.
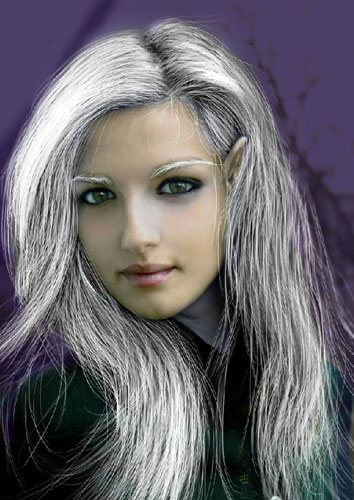
Create a new layer again. Choose the Brush Tool (Soft brush with opacity 10-20%) and paint over sections of the hair, where the largest amount of hair is present. Once done, select the Eraser Tool (Opacity: 35%) to clear a little bit where the hair ends.
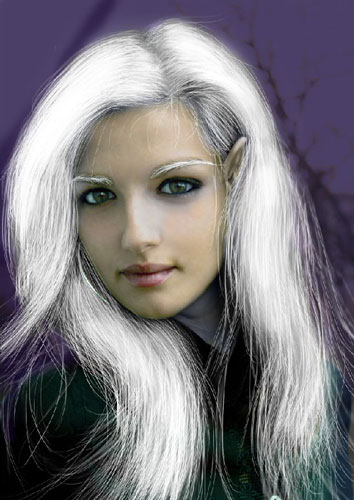
Step 9
Now we need to bring more volume to the hair. Create a new layer and set blending mode to Multiply. Select the Brush Tool (Opacity: 20% and soft round brush) and darken the hair around the face with black. Apply Brush Tool also to lips.
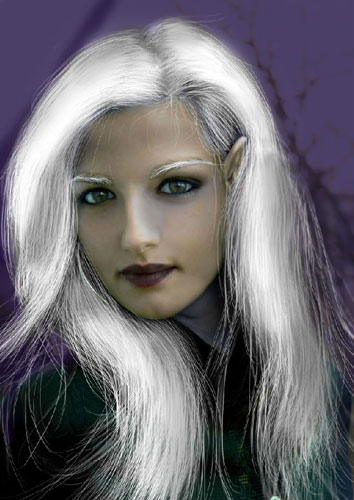
Create a new layer on top of previous layer and change layer mode to Color. Select some very bright color for the eyes and paint slightly.
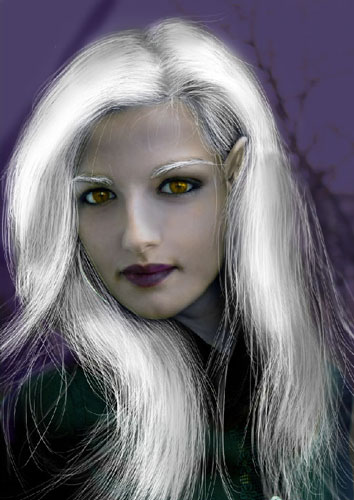
Step 10
Now we are going to make the face more voluminous. Create a new layer on top of all other layers and change layer mode to Soft Light. Use the Brush Tool (Opacity: 10% and a soft round brush) to darken the shadow side of the face use black (#000000) and lighten the highlights with white (#ffffff).
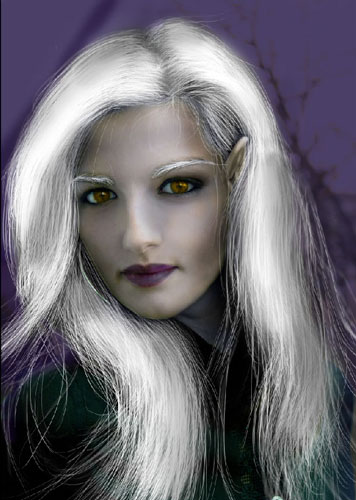
Step 11
Now we have to consider reflection on the picture. As we can see the background is purple, so we should have the same color shade on hair, clothes and face. To do this create a new layer, assign blending mode to Soft Light, take a sample of the background color using the Eyedropper Tool, then add a purple hue to all of the picture using the Brush Tool (Opacity: 30-40% with soft round brush).
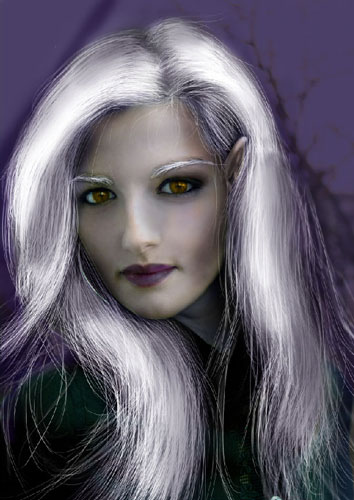
To finish off the tutorial we have to remove the button from the clothes. Create a new layer and select the Clone Stamp Tool (select the parameter Sample All Layers) and remove the button using this tool.
Final Image
And we are done with this tutorial. Hope you liked it.
