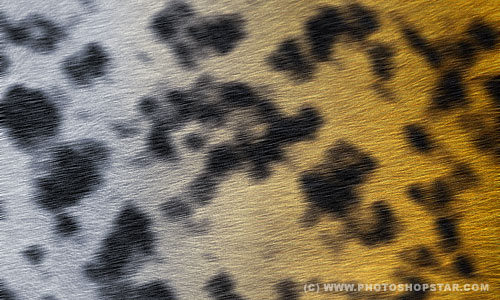
Here is one more interesting Photoshop tutorial how to create leopard texture. This not so difficult tutorial will be useful both for beginners as well as professionals.
Well, start with creating a new page sized 500×300 pixels, white background and choose black as the foreground color and orange (#ffaf00) as the background color. After that apply Filter > Render > Clouds:
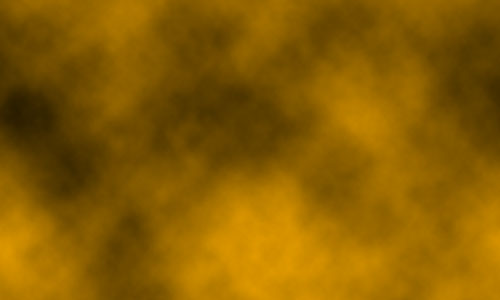
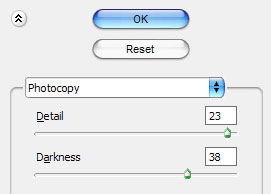
Here is the result so far. Don’t worry that it looks muddy. Then let’s isolate the spots. Use Filter > Sketch > Photocopy with following presets as on picture below:
See the result now.
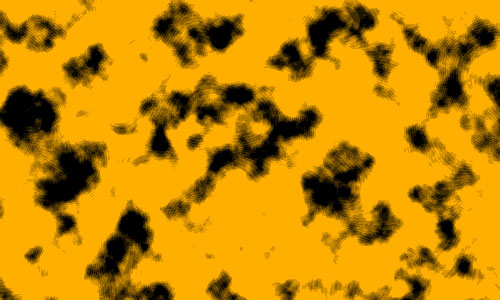
Ok, go on. Apply one more Filter > Artistic > Smudge Stick. Use next presets:
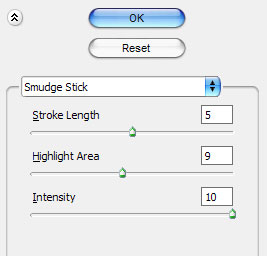
Now, looks better, but not so good yet.
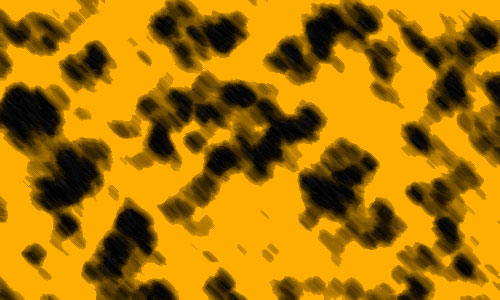
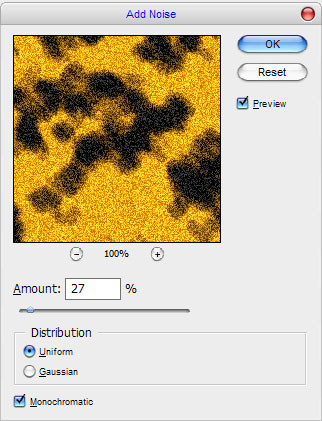
Go to the next step. Now, for the final fur effect apply another one Filter > Noise > Add Noise:
The result should be next:
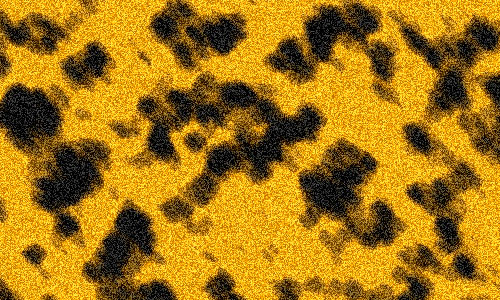
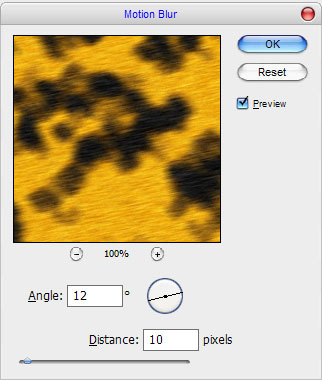
The noise will look like fur with a little bit of a motion blur. Apply Filter > Blur > Motion Blur, previously exposed, such parameters as mine:
Here is our leopard texture using nothing but Photoshop.

Then select the Sharpen Tool (Brush: 500 px, Mode: Normal, Strength: 40%) and add some sharpness to our texture.

Ok, the last one thing that we need to do is add texture of the animal wall. Use Google Images to find texture you need or feel free to use my texture. Open this file and bring it to the canvas. Move this layer under the layer with leopard texture. Change layer mode for upper layer to Multiply.
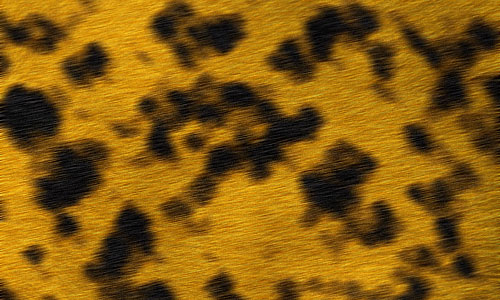
This Photoshop tutorial almost done, but not finished yet. Go to the layer with animal wool again and add some sharpness to the layer. Use the Sharpen Tool (Brush: 500 px, Mode: Normal, Strength: 40%) to do this. Your picture should look as mine:

That is it for now! Now we have great leopard texture. Don’t be afraid to experiment!
