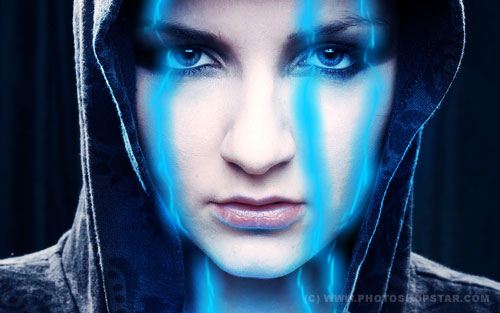
In this tutorial I will teach u how to create amazing laser beam based on illuminating effect and how to put it on the people body.
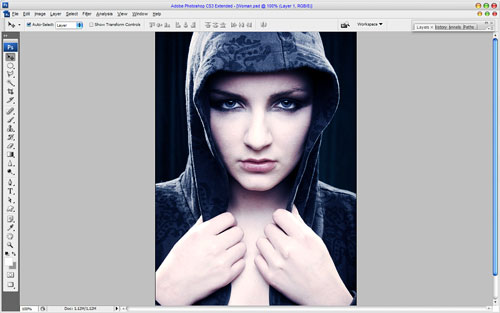
Get started by finding a suitable photo to work with. For this you’ll want to use Google Images or feel free to use my picture of young woman. Open up the picture and start the tutorial. I would like to add some cold blue hue to the picture. For this you may use Image > Adjustments > Levels with the same presets as you can see below:
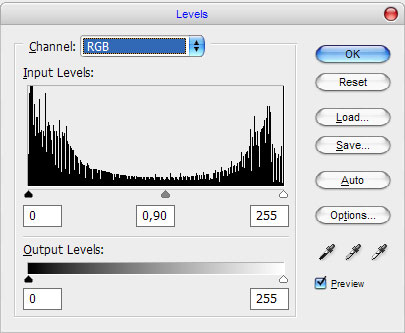
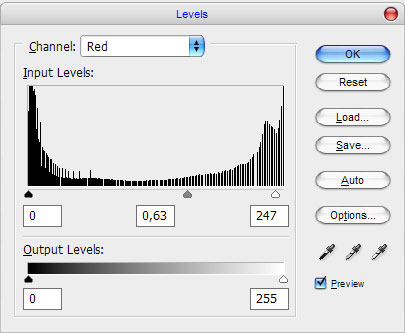
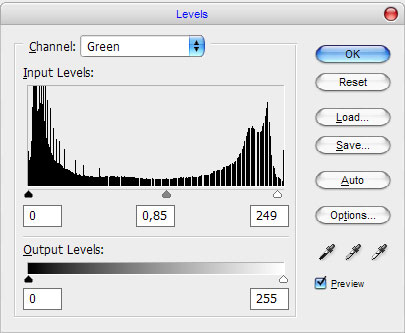
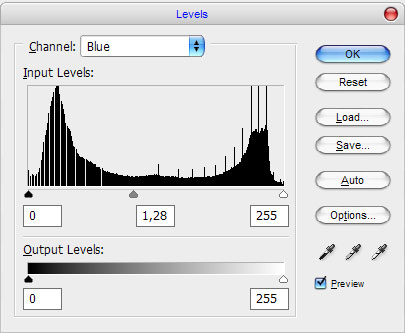
The result should be the same as mine:
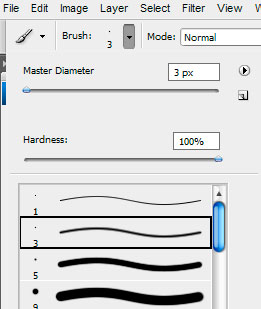
Ok, move to the next step. Time to add the first light beam. It is really so easy. Let me show you. But before we can start making the beam, I would like to note you that you need to get out the Brush Tool before and set up with the following settings:
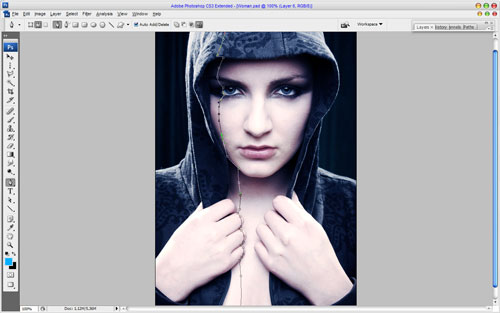
Also set foreground color to #00ccff. After that select the Pen Tool (you need to make sure that you’re working with Paths instead of Shape Layers). Draw out the curve line using paths. Don’t forget that woman body has some reliefs, so in this case the line should be relief also because beam is refracted on the body and clothes.
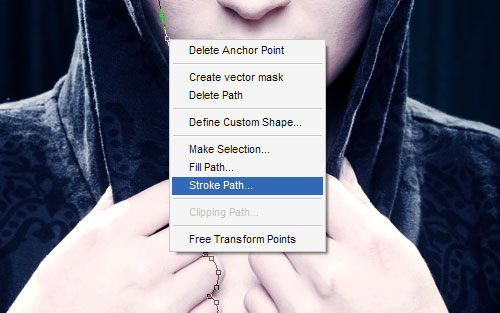
Then right-click and select Stroke Path.
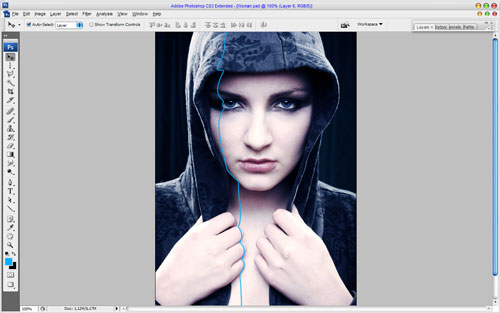
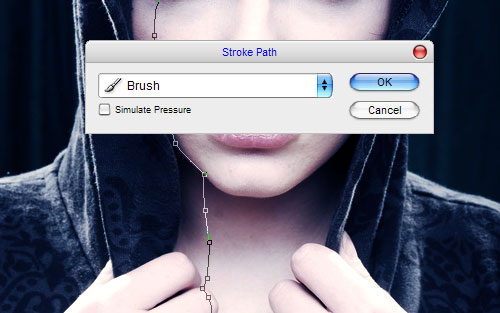
A little dialog box will appear as in the screenshot. Choose the Brush resource and press Ok.
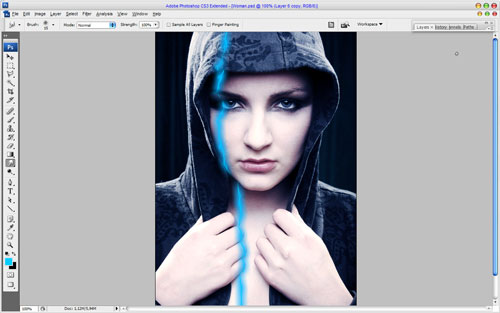
Next right click again and select Delete Path. So, your picture uses to look as mine:
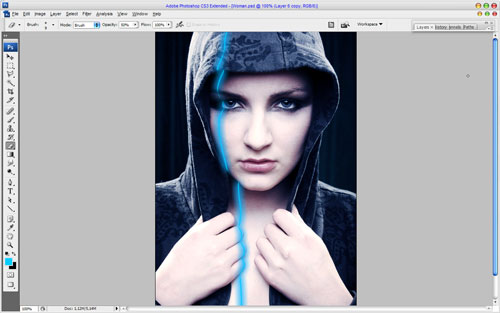
Ok, good start! After that apply Outer Glow layer style to the current layer:
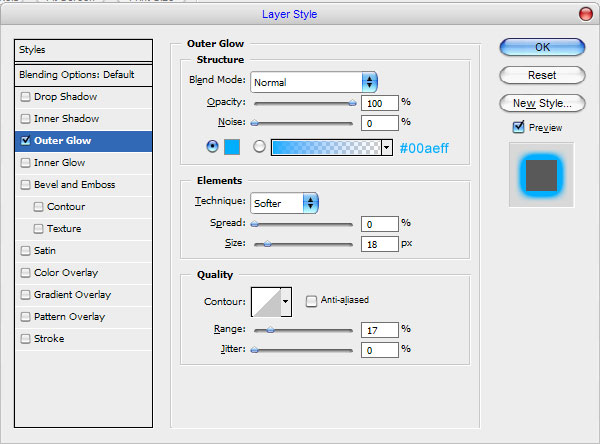
And the result should be next:
Then, select the Eraser Tool and a soft round brush to clear line in a sharp fracture line places.
After that get out the Smudge Tool (Strength: 100%) and for the brush resource chose one of the standard Photoshop brushes and reduce it size till 15 pixels.
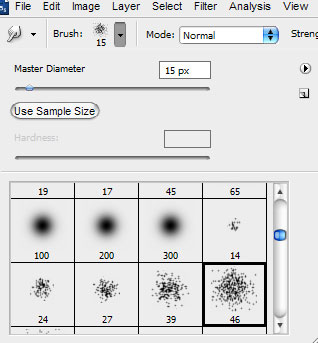
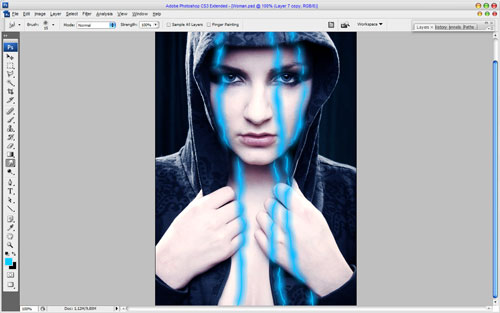
Then make some strokes as on my picture below:
Ok, looking good, isn’t it? Make the same thing two more times:
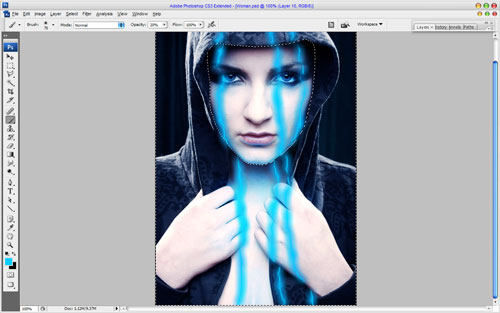
Good, three laser beams will be enough for now. Then move to the second part of this tutorial. I think that we should add some highlight from the beams on the woman’s body and clothes. Get out the Polygonal Lasso Tool and select the face area. After that create a new layer and change layer mode to Overlay for this layer. Then choose the Brush Tool (Soft brush about 80 pixels, Opacity: 20%) and add some blue spots using the color of #00ccff like on my picture below.
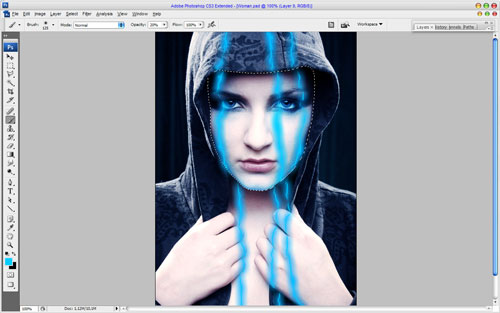
Now, reduce brush size till 8 pixels and underscore the lips lines.
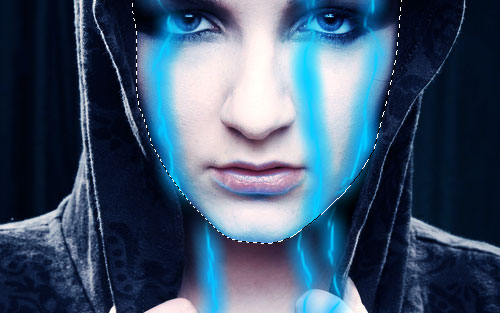
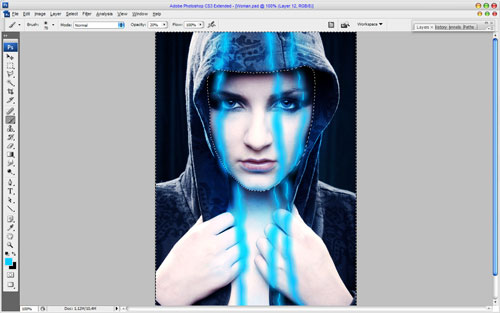
Ok, we are done with face area. After that invert selection with Select > Inverse and process the hands and neck areas in the same way also.
And the last one area that we need to add the blue hue is clothes.
Ok, now remove selection with Ctrl+D. So, on this step we are done with tutorial!
Laser beams looks amazing and fantastic as for me. Feel free to experiment and you will get the best results!

