In this tutorial i will show you how to create a seamless pattern in Photoshop.
Final Image Preview

Step 1
Create a new document with size of 600 x 300 pixels and 72 dpi and fill it with color black.

Step 2
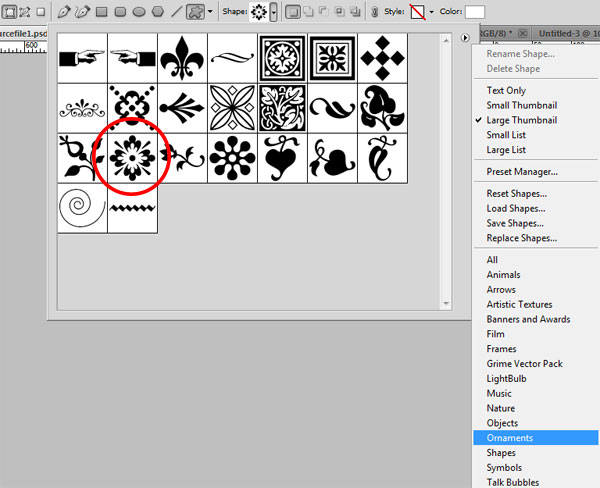
Now we are going to start creating our pattern. Select the Custom Shape Tool, go to Shape and if not loaded click on arrow on right side and select Ornaments. Select shape as seen on image below.
Step 3
Select white color and create shape.

Step 4
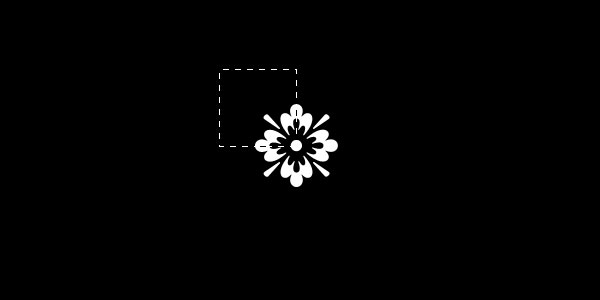
Rasterize this shape with Layer > Rasterize > Shape. After that select Rectangular Marquee Tool to create selection as seen on image below. You have to select only 1/4 of flower, this proportion is important for our future pattern.
Step 5
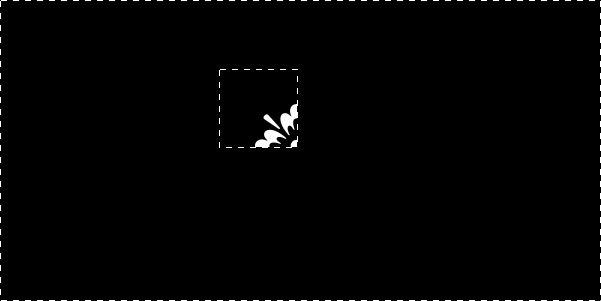
Invert selection by going to Select > Inverse and press Delete to clear selected area.
Step 6
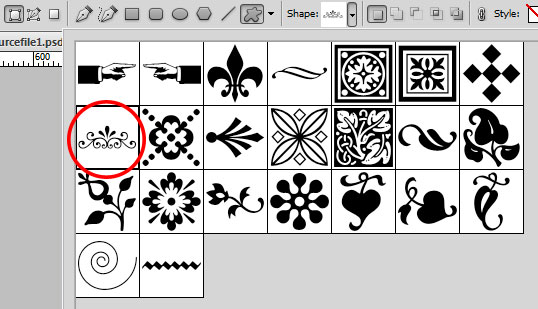
Remove selection width Select > Deselect (Ctrl+D) and select Custom Shape Tool to add another shape.
Step 7
Add shape to the canvas.

Step 8
Press Ctrl+T and rotate this shape about 45 degrees and move it a little bit below. Hold the Shift button when rotating the shape to get the exact angle of rotating object.

Step 9
Select and merge both layers with shapes into one with Ctrl+E and duplicate new layer with Ctrl+J. Use Edit > Transform > Flip Horizontal to flip new layer horizontal and move it right like shown on image below.

Step 10
Merge again both layers and after that duplicate again new layer with Ctrl+J. Use Edit > Transform > Flip Vertical to flip duplicated layer vertical and move it below like shown on image below.

Step 11
Merge both layers together. Press Ctrl+T to reduce the size of shape created keeping Shift key pressed.

Step 12
Now press Ctrl+A to select all on our canvas and press Ctrl+C to copy selected area. Go to File > New (Ctrl+N) to create a new document. Add 2 px more to width and height values presented there and change background to Transparent.
After document created, fill layer with color #003e16 and finally press Ctrl+V to paste copied shape to this document.

Step 13
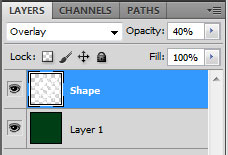
Change layer mode to Overlay and reduce Opacity to 40%.

Step 14
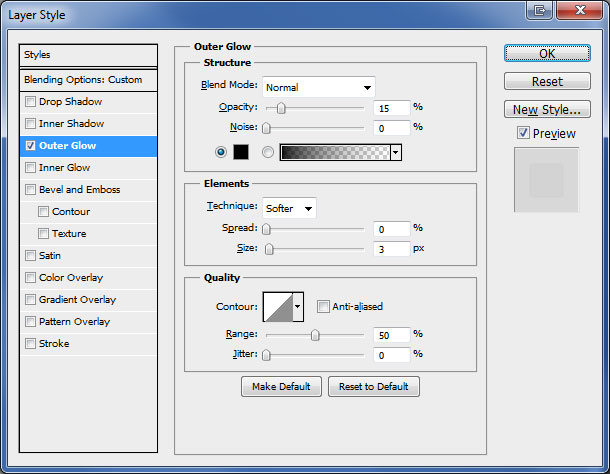
Go to Layer > Layer Style > Outer Glow and apply settings below.

Step 15
Go to Edit > Define Pattern to save this image as pattern, give pattern a name and close current document without saving. After that you can create a new document of any size and fill it with our pattern for example.
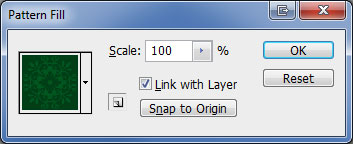
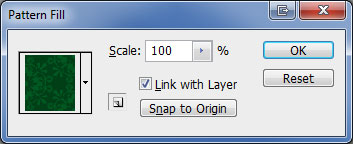
Create a new document, select Layer > New Fill Layer > Pattern and select pattern created.
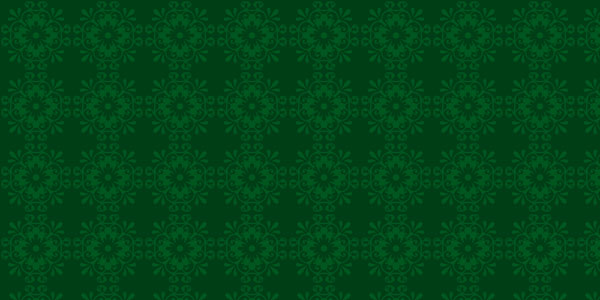
And we have a custom pattern created. But we can create a different pattern based on shape we created.
Step 16
Go back to our main canvas and copy current shape three more times and arrange it as shown below:

Step 17
Merge all four layers with shapes into one layer. Select Rectangular Marquee Tool to create selection like show below.

Step 18
Press Ctrl+C to copy selected area. Go to File > New (Ctrl+N) to create a new document. After document created, fill layer with color #003e16 and finally press Ctrl+V to paste selection to this document.

Step 19
Change layer mode to Overlay and reduce Opacity to 40%.


Step 20
Go to Layer > Layer Style > Outer Glow and apply settings below.


Step 21
Go to Edit > Define Pattern to save this image as pattern, give pattern a name and close current document without saving. After that you can create a new document of any size and fill it with our pattern for example.
Create a new document, select Layer > New Fill Layer > Pattern and select pattern created.
Final Image
And now we have two different patterns created.

Keep working and create new patterns like these.
