The purpose of this tutorial is to show you how to create beautiful lines of different shapes that you can add to any image.
Final Image Preview

Resources
Step 1
Open Guitar Silhouette image on Photoshop. Go to Image > Image Size and change width to 1125px and height to 1500px.

Step 2
Select Brush Tool and press F5. Choose a hard round brush with 10 pixels and set up following presets for current brush:
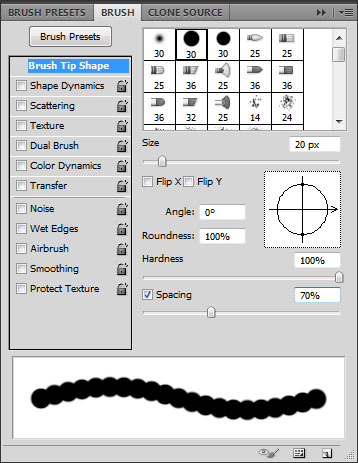
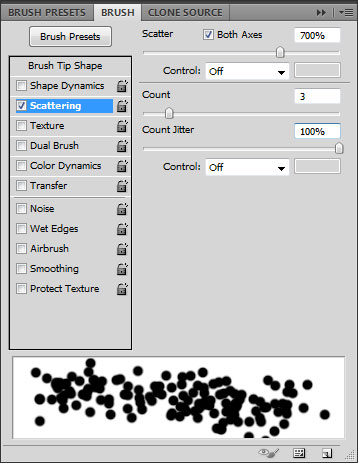
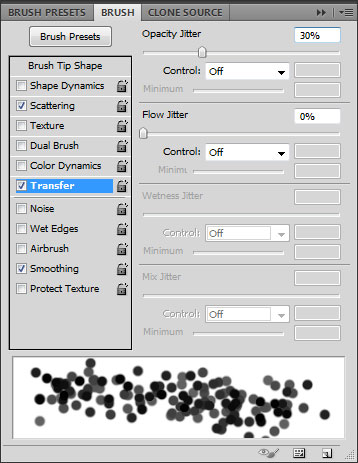
Step 3
Create a new layer and make a straight line (white color) by pressing Shift.

Step 4
Apply Filter > Blur > Motion Blur with these settings:
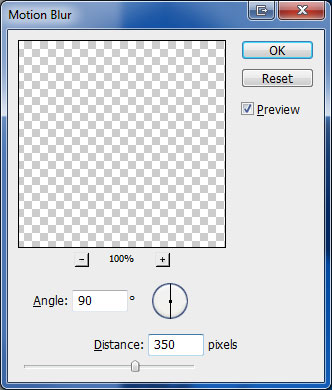

Step 5
Duplicate layer with Ctrl+J and merge copied layer with original one by selecting both layers and pressing Ctrl+E to increase effect.

Repeat process several times till you have something similar to what i have below.

Step 6
Go to Edit > Transform > Scale and transform line.

Step 7
Duplicate layer a few times and move each copy right to get same effect as below.

Step 8
Merge all the layers with lines into one layer and apply Filter > Transform > Scale to transform it.

Step 9
Now make selection of current layer with Select > Load Selection.

Apply Gradient Tool with Transparent Rainbow gradient (one of standard Photoshop gradients) for the left part of selection of layer.
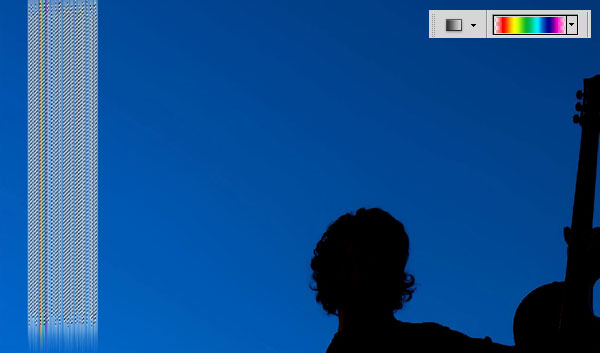
Repeat same process applying Gradient Tool to parts of selection but keeping some parts in between with white so line will look more fractional (It will create impression that the line consists of a set of lines).

Remove selection with Ctrl+D.

Step 10
Apply Edit > Transform > Scale to make line longer.

Step 11
Now we go to Edit > Transform > Warp to transform line to similar position as you can see on my screenshot below.
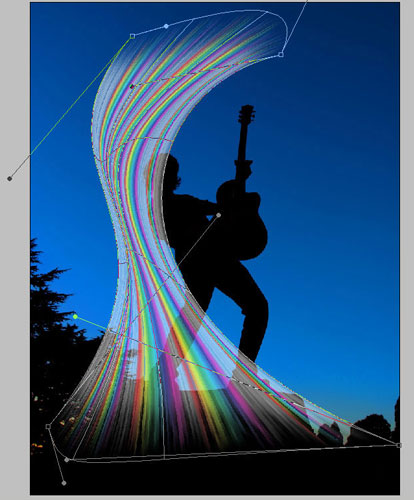
You can Transform the line in whatever way you want to decorate your image.

You can also make different shapes with line as you can see on my example below:
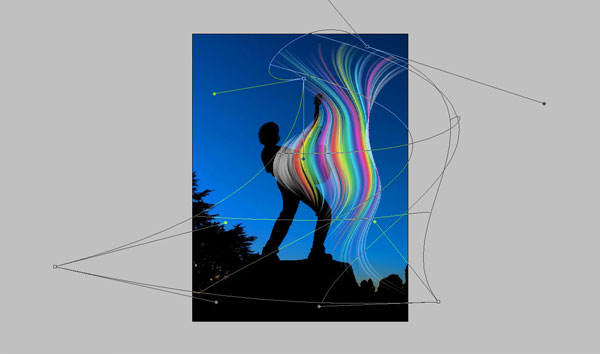
Final Image
Add more lines repeating all steps and position them on canvas and you have learned to created beautifull lines in a simple way.

