
Here I’ll show you how to make professional processing of hair in Photoshop, add different shades and bring some shine to the hair.
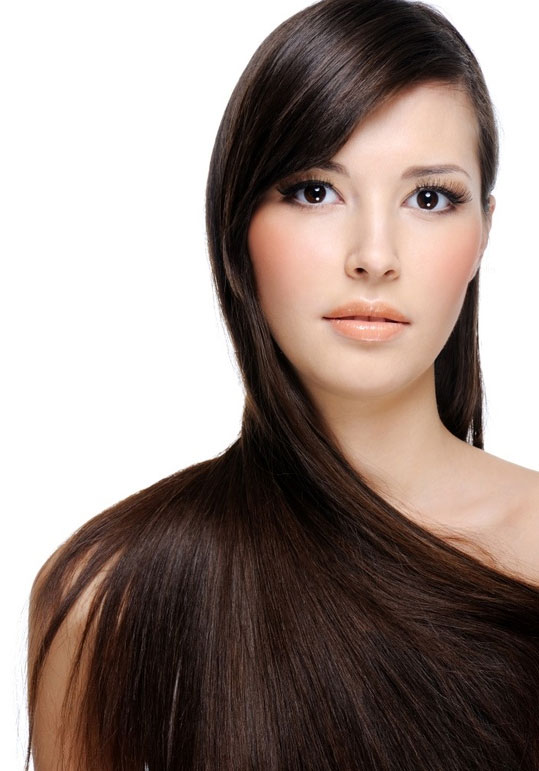
Ok, in the beginning you should find appropriate picture of woman with a long hair to work with. You can find the picture on Google Images or feel free to use mine. Open up the picture and begin making this tutorial with me.

The first thing that you should make to bring some shine to the hair. Select the Dodge Tool (Brush: 100px, Range: Highlights, Exposure: 30%) and brightened some parts, as shown below:

After that select the Sharpen Tool to add a bit of sharpness in some places.

Ok, move to the next step. Now, proceed to the coloring of hair. I prefer to create multiple strands and make them different colors. For this effect use the Polygonal Lasso Tool to create selection as on my picture below and fill selected area with color of #ef8008 on the new layer.

After that create five more selections and fill each of them with such colors: #f51464, #cd1bd4, #416fb4, #41b0b4 and #b1ce06.

Ok, remove selection with Ctrl+D and apply Filter > Blur > Gaussian Blur with next presets:

Change layer mode to Overlay and see the result now:

After that duplicate current layer with Ctrl+J and reduce opacity to 20% for this layer.

Ok, we are done with woman fringe. Move to the lower part of hair. Create a new one layer and make a new selection with Polygonal Lasso Tool, then fill this selection with color of #b1ce06 on the new layer.

Add five more lines in the same way and using the same colors as before.

Ok, remove selection with Select > Deselect and apply Filter > Blur > Gaussian Blur with similar settings to these:

Change layer mode to Soft Light and you will see the result.

To increase the intensity of color duplicate layer with Ctrl+J and set opacity to 60% up for this layer.

Ok, on this step we are done with this tutorial. On the picture below you can see the difference before and after. Looks really nice as for me, isn’t it?
