In this Photoshop tutorial I’ll show you how to create a fantasy dreamy effect from an ordinary photo using adjustment layers, masking and blending modes.
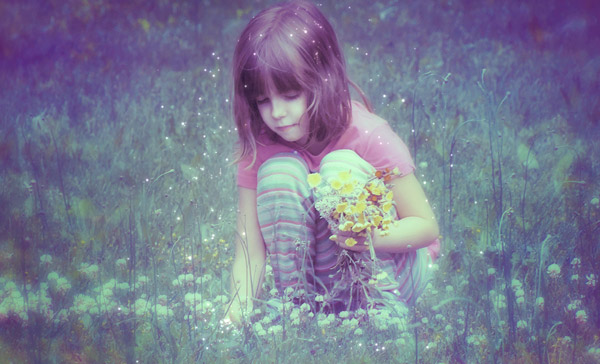
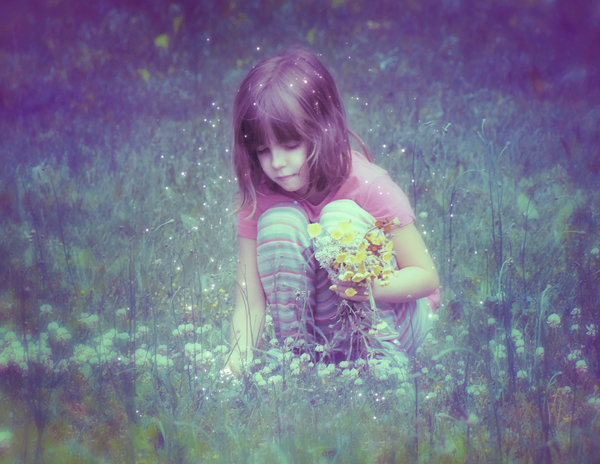
Final Image
Tutorial Details
- Program : Photoshop CS3
- Estimated Completion Time : 10-15 minutes
- Difficulty : Beginner
Resources
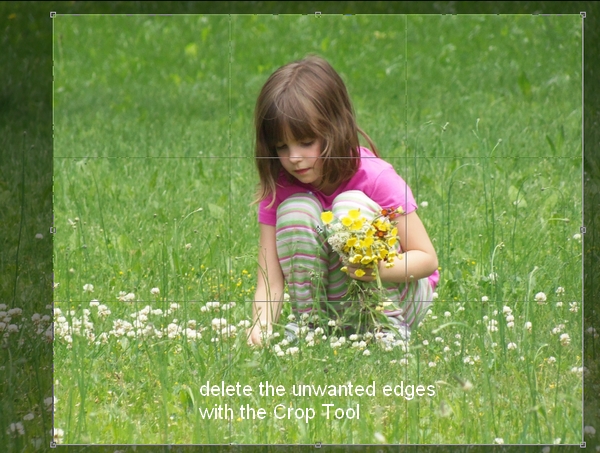
Step 1
Prepare your photo. I used the Crop Tool (C) to delete the unwanted edges and get more focus on the model:
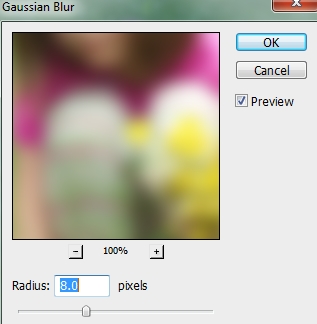
Step 2
Press Cmd/Ctrl+J to duplicate the background. Right click this layer, choose Convert to Smart Object .
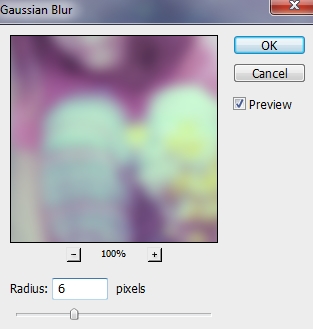
Go to Filter > Blur > Gaussian Blur and set the radius to 8 px:
On the Filter Mask use a basic, soft brush with black to erase the middle section and leave the blur effect only visible at the edges:
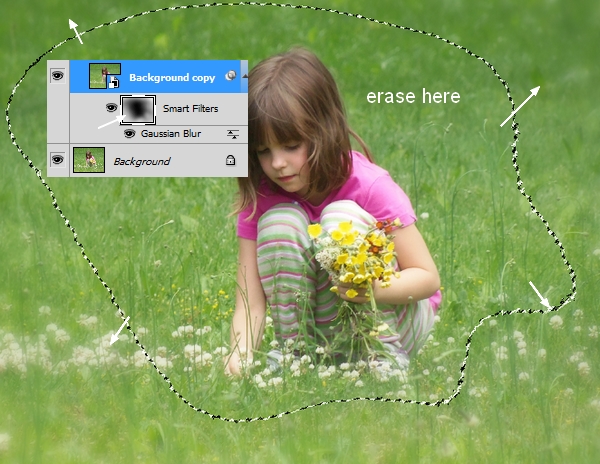
This step is to add some depth to the scene.
Step 3
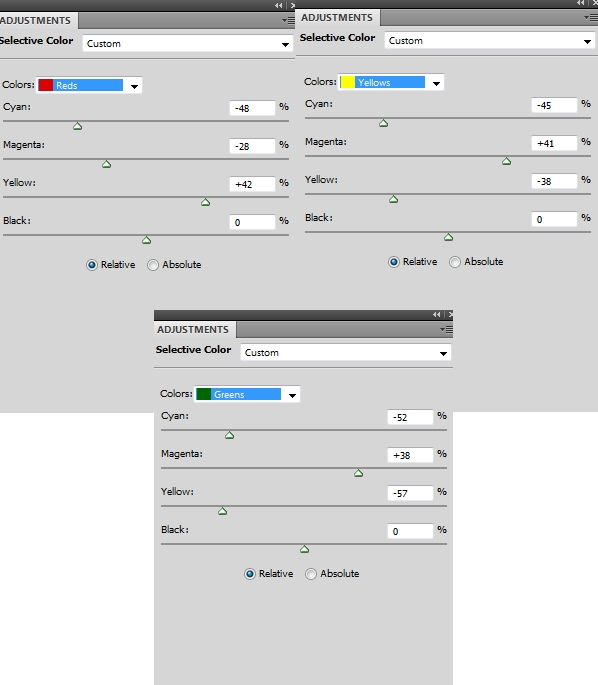
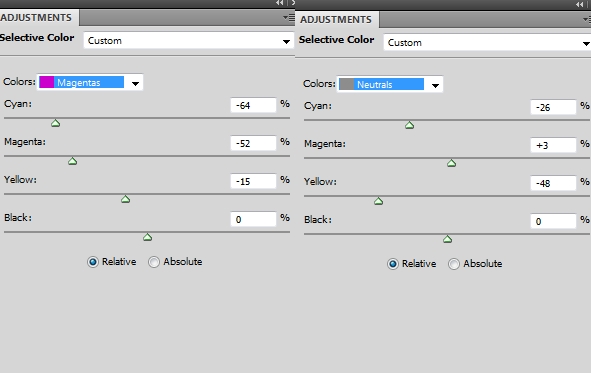
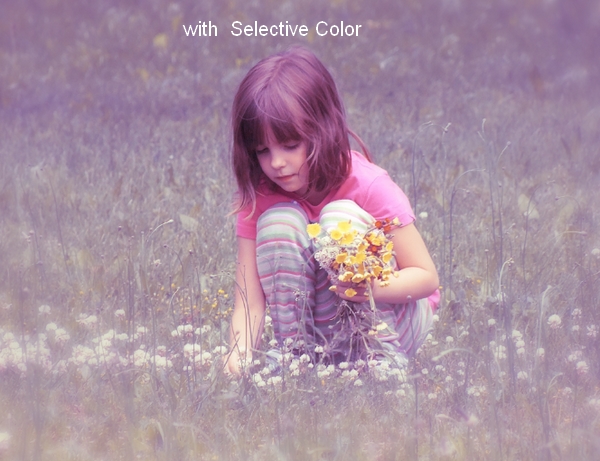
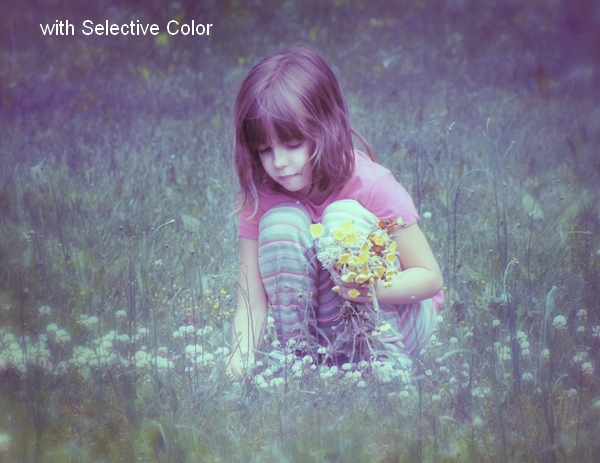
Go to Layer > New Adjustment Layer > Selective Color to change the color from green to purple. Remember that the settings below are only for reference and you need to adjust them to fit your photo. Also don’t adjust the colors your photo does not have.
Step 4
Make a Curves adjustment layer on the top of the layers and decrease the lightness:
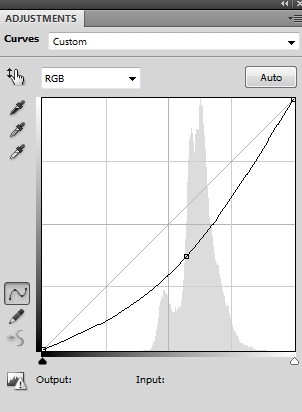
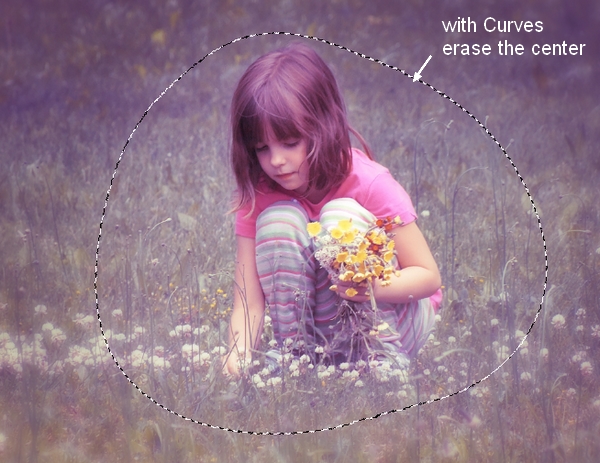
On this layer mask use a soft black brush to erase the center as we don’t want the model to be dark:
Step 5
I used another Curves adjustment layer to brighten the child:
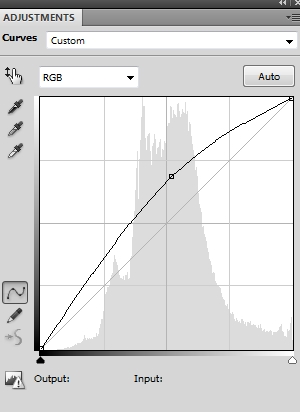
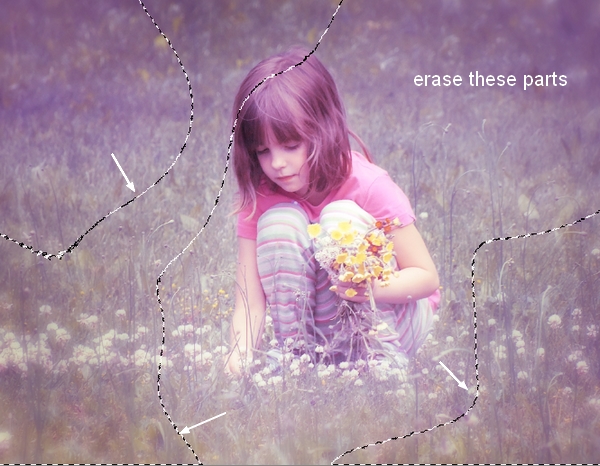
On this layer mask use a soft black brush to erase the parts below to reduce the lightness there:
Step 6
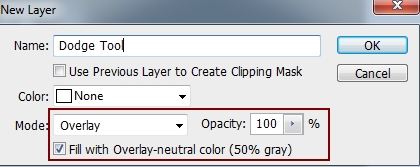
Make a new layer, change the mode to Overlay 100% and fill with 50% gray :
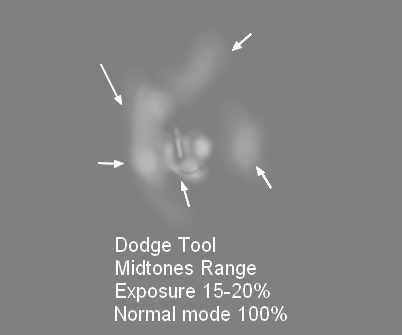
Activate the Dodge Tool (O) with Midtones Range , Exposure about 15-20% to brighten the hair and face. You can see how I did it in Normal mode and the result in Overlay mode:

Step 7
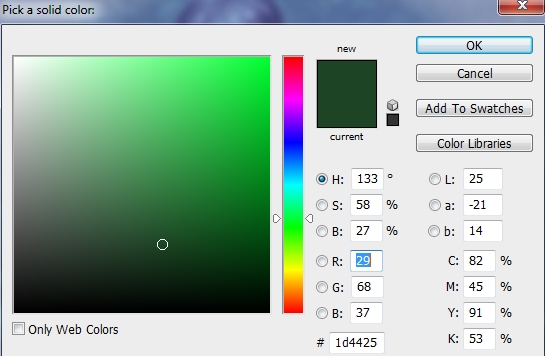
Create a new fill color layer on the top (Layer > New Fill Layer > Solid Color):
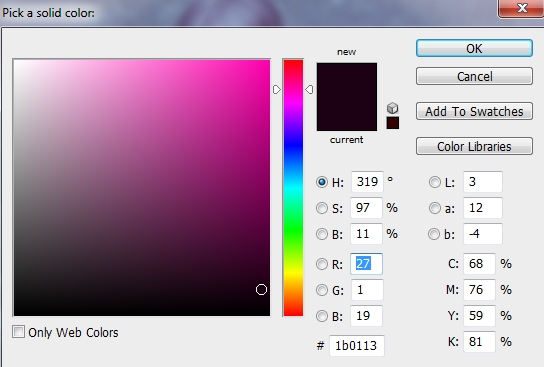
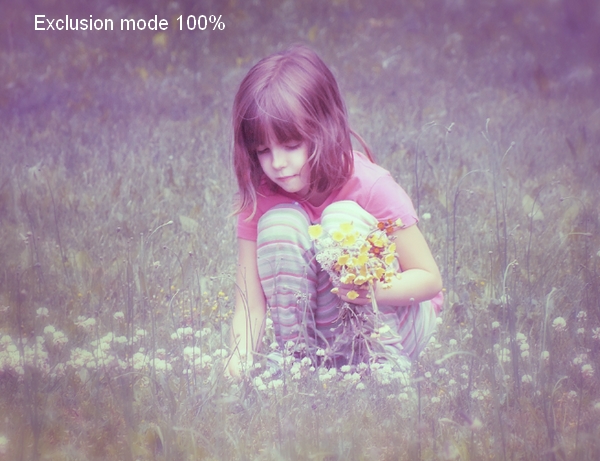
Change this layer’s mode to Exclusion 100% :
Step 8
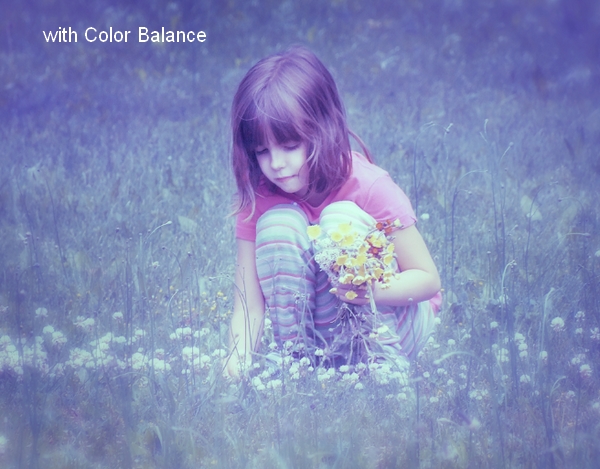
I used Color Balance to change the color of the picture:

Step 9
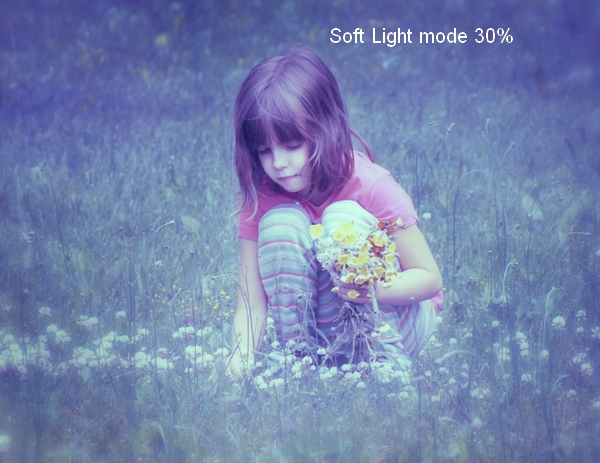
Create another fill layer on the top and change the mode to Soft Light 30% :
Step 10
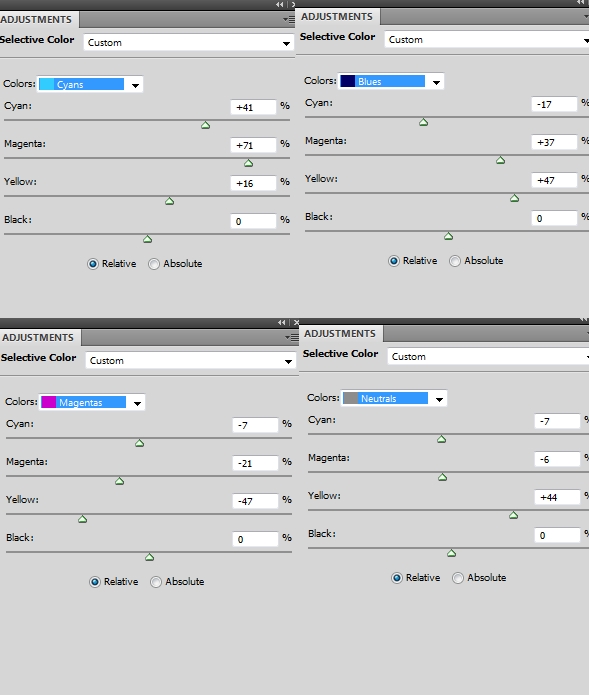
I used Selective Color again for this picture to add richness to the colors:
Step 11
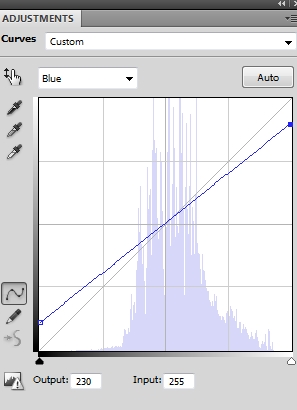
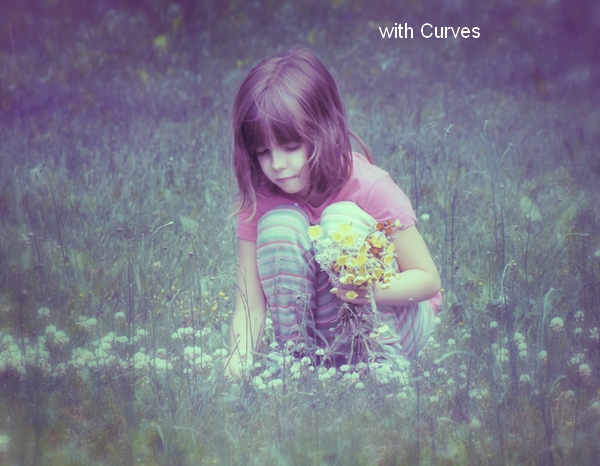
I used Curves to add some subtle warm tones to the scene:
Step 12
I used Vibrance to enhance the color:
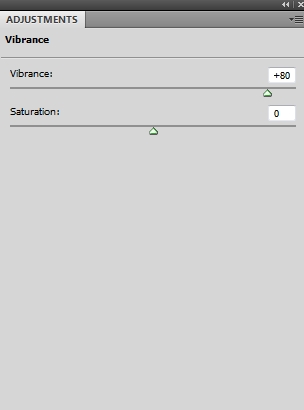
On this layer mask use a soft black brush to erase the child area to reduce the saturation there:

Step 13
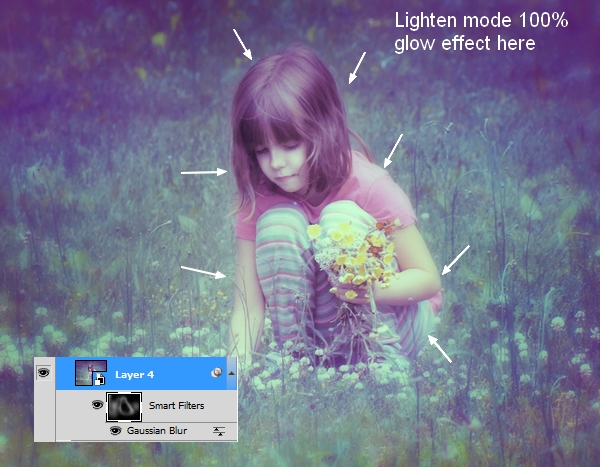
Press Cmd/Ctrl+Option/Alt+Shift+E to merge all visible layers into a new one. Convert this layer to a Smart Object . Apply a Gaussian Blur of 6 px:
Change this layer mode to Lighten 100% and use a soft black brush to reduce this blur effect on the background and the child to get a subtle glow effect around her:
Step 14
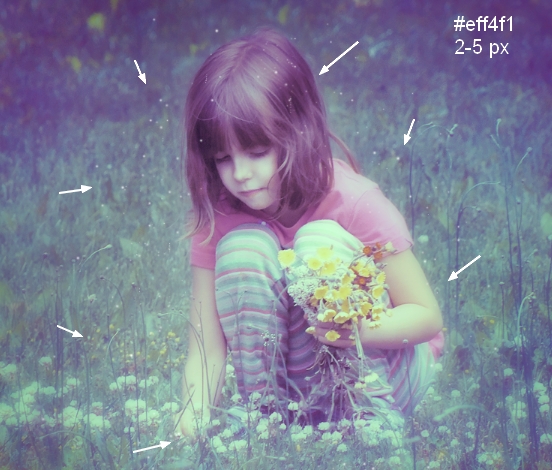
Make a new layer on the top. Use a soft brush with the color #eff4f1, the size about 2-5px to spot around the child area:
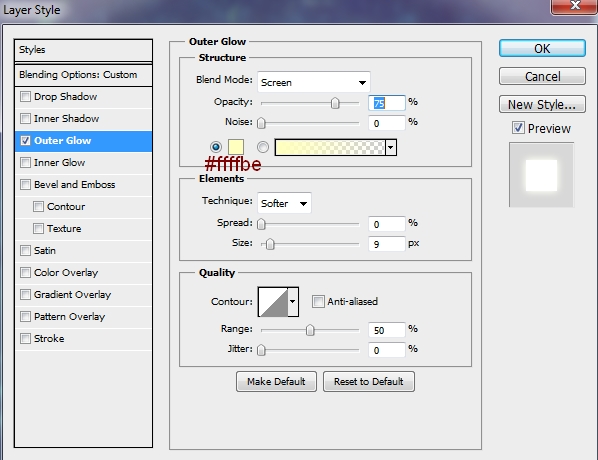
Double click this layer, choose Outer Glow :
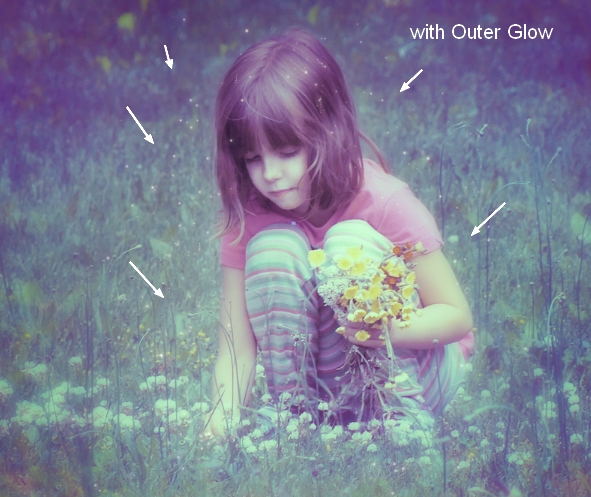
Step 15
On the glowing dots layer, press Cmd/Ctrl+G to make a group for it. Change this group mode to Linear Dodge 100% . The effect looks a lot better!

And We’re Done!
I hope that you enjoyed the tutorial.