In this Photoshop tutorial we will create an abstract photo manipulation of a girl. This is a quick and easy tutorial and beginners will feel right at home.
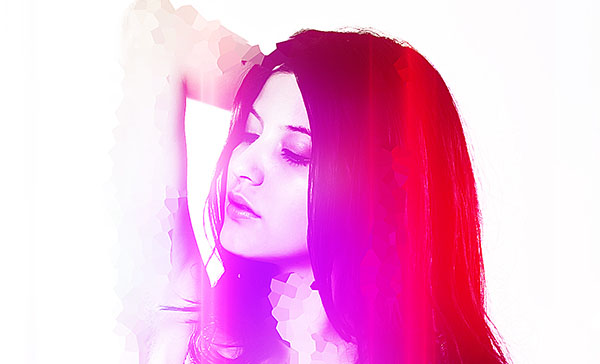
Final Image
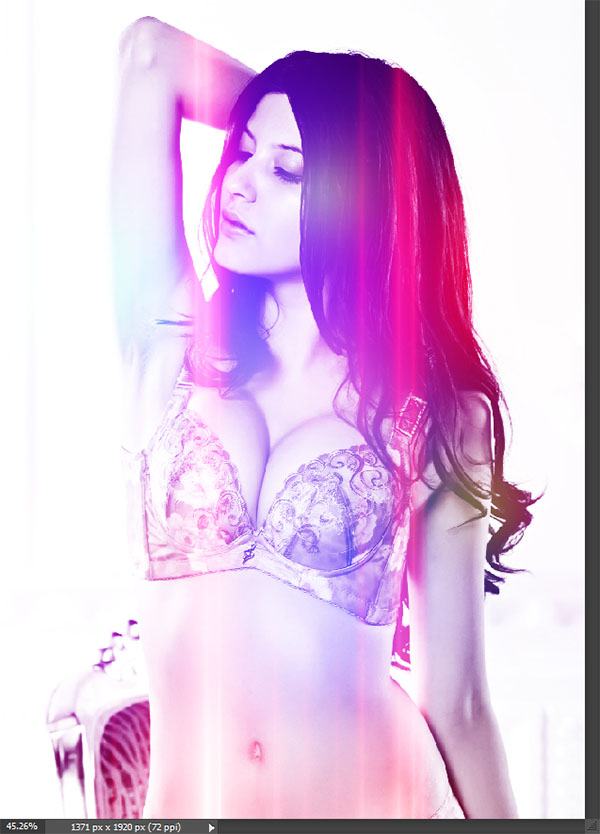
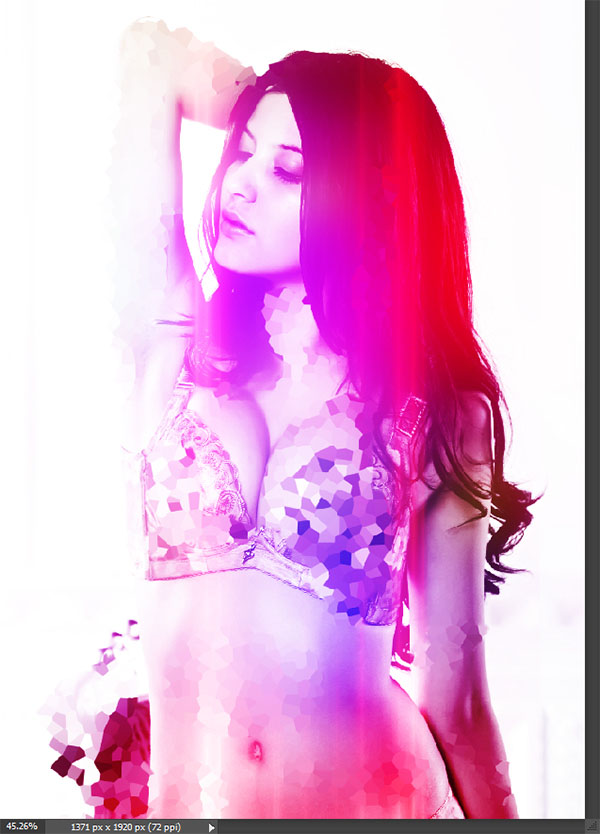
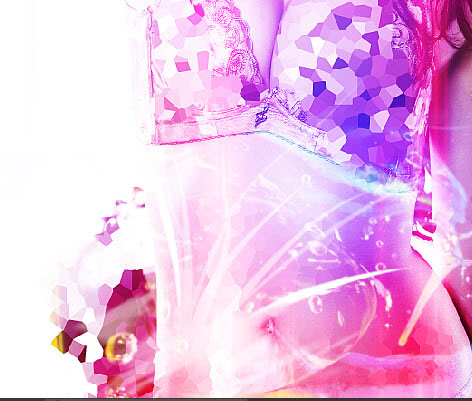
As always, this is the final image that we’ll be creating:
Tutorial Details
- Program: Adobe Photoshop CS3
- Estimated Completion Time: 30 minutes
- Difficulty: Beginner-Intermediate
Resources
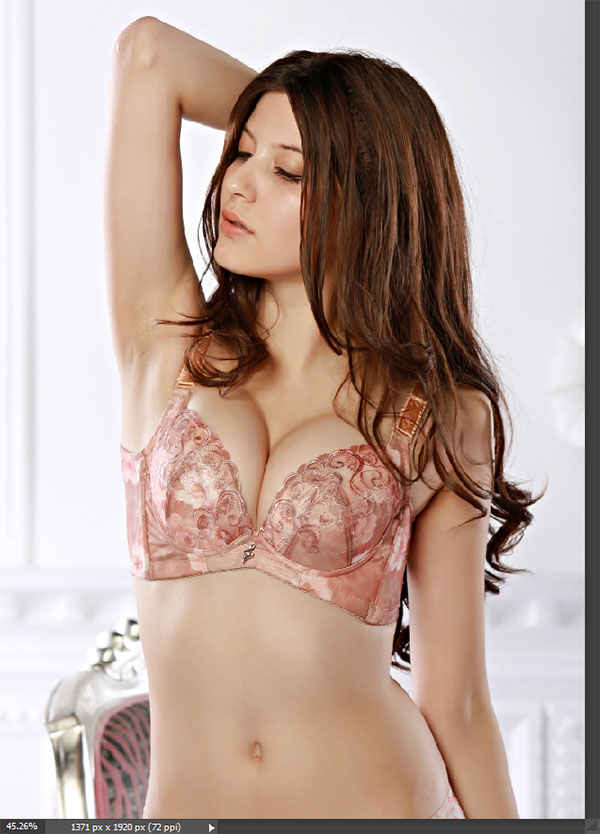
Step 1
Open the file “Girl”.
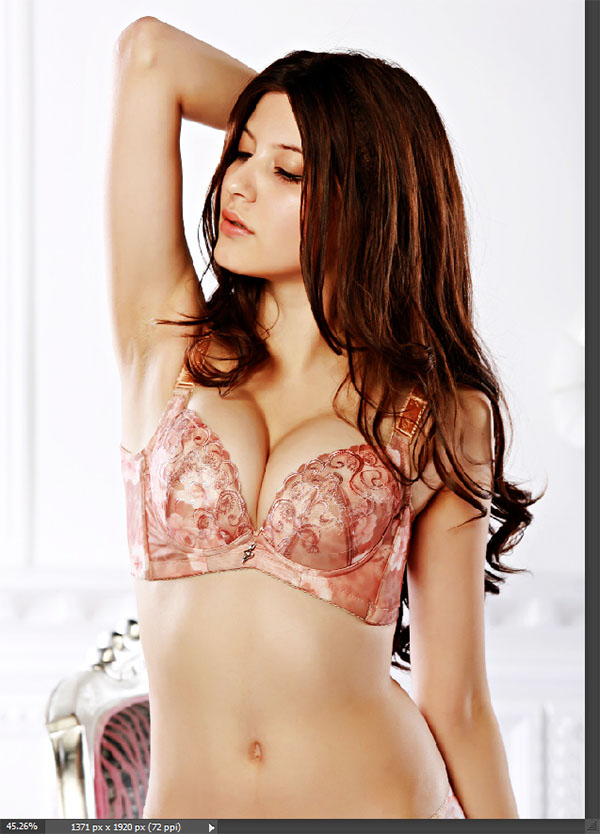
Step 2
Duplicate the background layer by pressing Ctrl + J and change the blending mode to Soft Light to increase contrast and intensity.
As you can see by duplicating the background layer and changing the blending mode to Soft Light we can give any photo an instant boost in intensity and contrast. For a more powerful effect you can use the Overlay blending mode.
Step 3
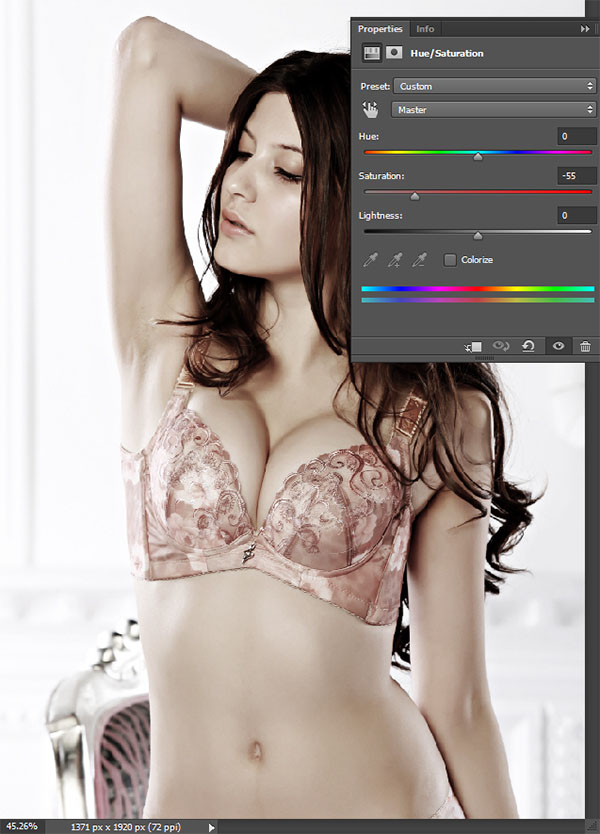
Create a new Hue/Saturation Adjustment Layer (Layer > New Adjustment Layer > Hue/Saturation) and use the settings shown below to reduce the color intensity.
You should do this with almost every photo manipulation you make. The reason for this is that by removing most of the original colors you can easily add your own without having ugly and heavy colors.
Step 4
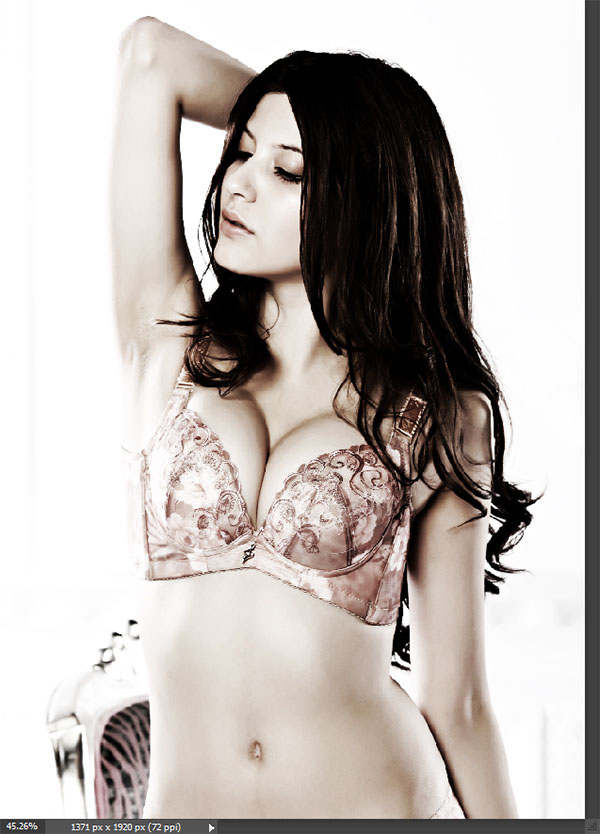
Create a new Black & White Adjustment layer (Layer > New Adjustment Layer > Black & White) and change the blending mode to Overlay to give the image intense black and white colors.
Again you can use this step with your photos to both color intensify and boost contrast and black and white colors.
Step 5
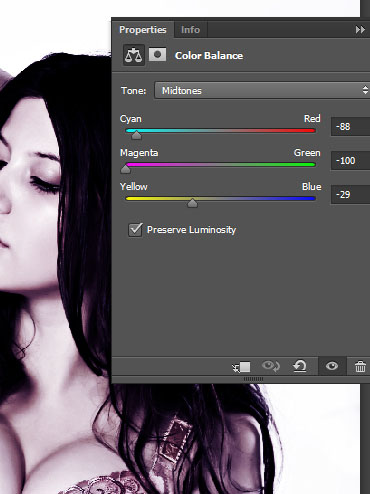
Create a new Color Balance Adjustment Layer (Layer > New Adjustment Layer > Color Balance) and use the settings shown below to bring forth a strong purple tint.
This color will serve as a base for our future adjustments.
Step 6
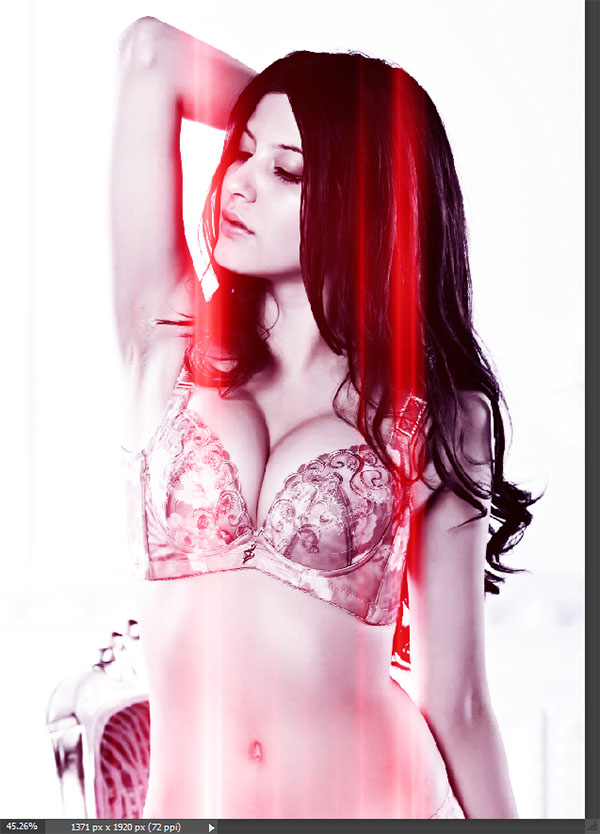
Now let’s add some light effects – they are also called light leaks or lomo leaks.
Open the file “Light Leak1” and select all by pressing Ctrl + A. Copy with Ctrl + C and go back to our scene. Paste with Ctrl + V.
In order to get rid of the black colors and only keep the light colors let’s change the blending mode to Screen.
You will see the black colors disappear and the light effect showing through.
Step 7
Repeat the instructions for step 6 but this time use the file “Light Leaks2”.
As you can see stacking light effects on top of each other with the Screen blending mode can give us quite pleasant effects. One worthy thing to know is that when using this technique you should avoid light effects that have too much white color – by doing that you will be stacking white on white and thus achieve a washed out effect.
Step 8
Open the file “Light Leak3”. Select all and copy paste the light effect into our scene. This time change the blending mode to Soft Light to achieve the effect shown below.
Why not Screen you might ask? Well because like I said in step 7 stacking too many light colored layers on top of each other with the screen blending mode will create a white washed out effect – if you don’t believe me try it for yourself and change the blending mode of this layer to Screen (but change it back to Soft Light afterwards).
Having a light layer using the Soft Light blending mode will give us both contrast and will allow us (if we so wished) to add more light effects with the Screen Blending mode. Think of it as taking a short break – 2 layers on Screen, one on Soft Light, 2 layers on Screen again, one on Soft Light.
Step 9
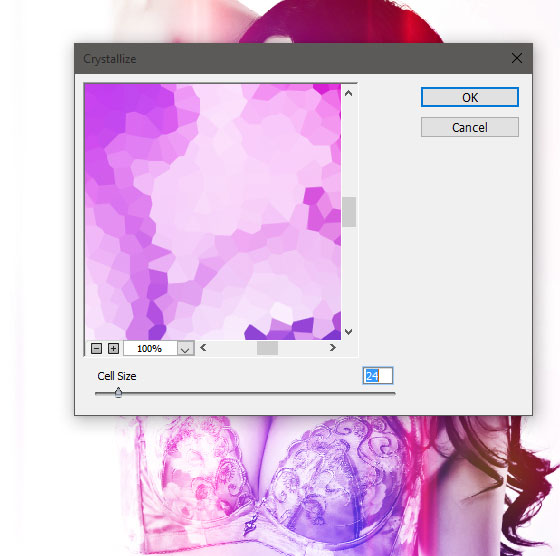
Create a new layer from all the visible layers by pressing Ctrl + Alt + Shift + E. Apply a Crystalize Filter (Filter > Pixelate > Crystalize) with the settings shown below.
Step 10
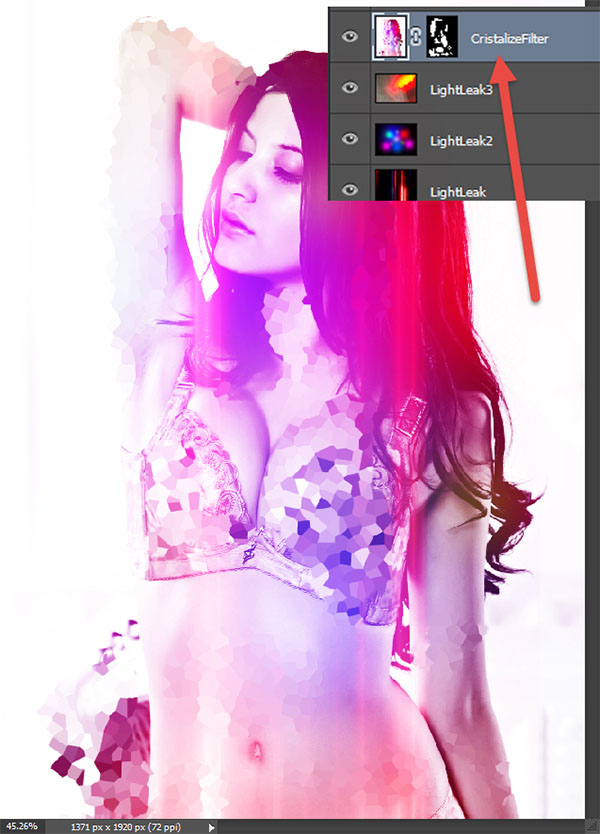
As you can see the crystalize effect is applied to all our scene but we want only some portions of this effect to be visible. In order to do that we’ll use layer masks – a very useful Photoshop feature.
Add a layer mask to the crystalize layer by going to Layer > Layer Mask > Reveal All. Select the brush tool (B) and choose the standard chalk brush at 100% Opacity.
Click on the layer mask to make it active and make sure you have black as a foreground color (press D to set default colors and X to switch them as needed) and paint over the areas you want hidden.
In a layer mask black hides and white reveals so by painting with black we will hide the layer in those areas.
Step 11
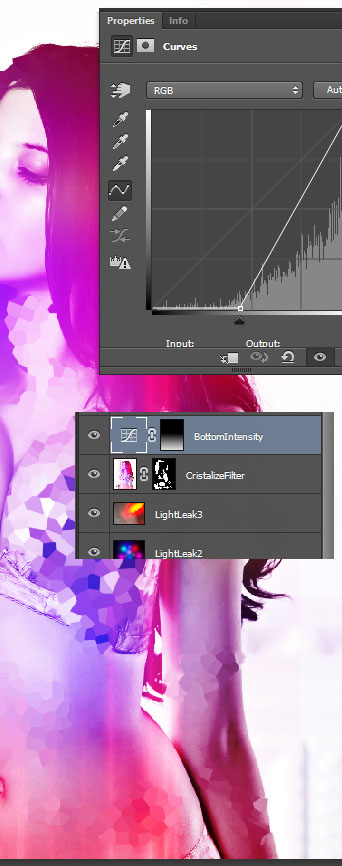
Create a Curves Adjustment Layer (Layer > New Adjustment Layer > Curves) and use the settings shown below.
Select the Gradient Tool (G) and with black and white as default colors drag from top to bottom in the layer mask to reveal the effect only in the lower part of the scene.
Step 12
We’re almost there!
Now it’s time for some final effects. Create a new layer from all the visible layers and apply a 100px Gaussian Blur (Filter > Blur > Gaussian Blur) and change the blending mode to Soft Light to soften and boost the colors.
Step 13
Create a new layer from all the visible layers again but this time apply a sharpen effect by going to Filter > Sharpen > Unsharp Mask and using the settings shown below.
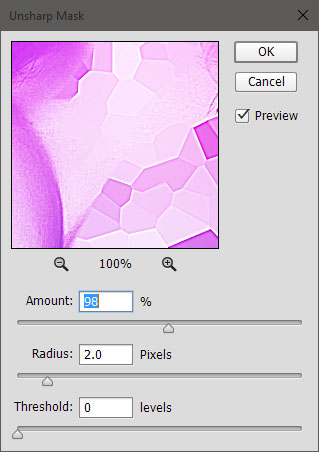
Step 14
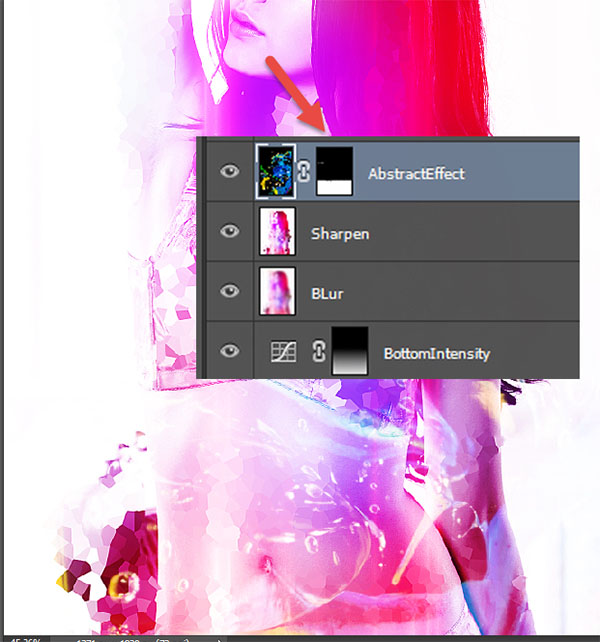
Open the file “Abstract Light Effect” and copy/paste it in our scene.
Change the blending mode to Screen and add a layer mask. In the layer mask use the standard chalk brush and paint with black the upper area – by doing so we will hide that unwanted upper section.
Step 15
Import the “Special Fx” brushes by double clicking on the .abr file.
Create a new layer (Ctrl + Shift + Alt + N) and create some special light effects on the bottom of the scene by clicking once or twice with two different Special fx brushes (white color as background at 100% Opacity).
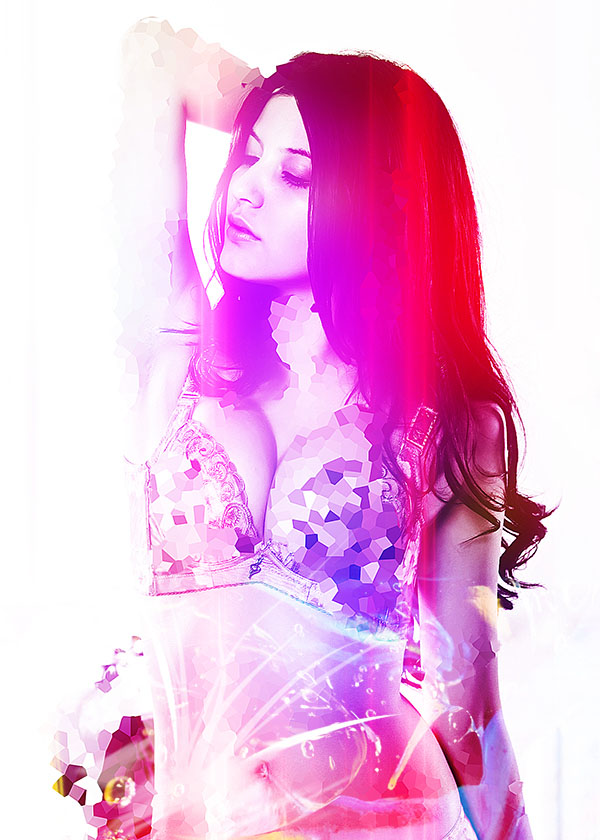
And we’re done!
And We’re Done!