In this Photoshop tutorial, I’ll show you how to create two realistic wood textures using only Photoshop tools.
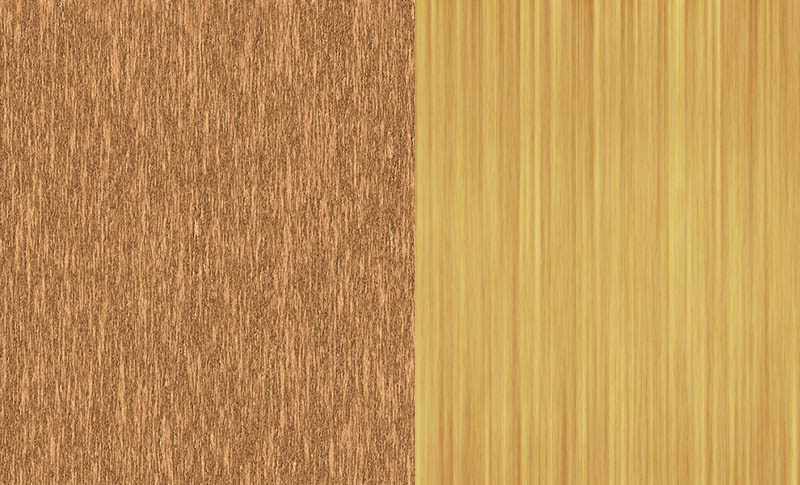
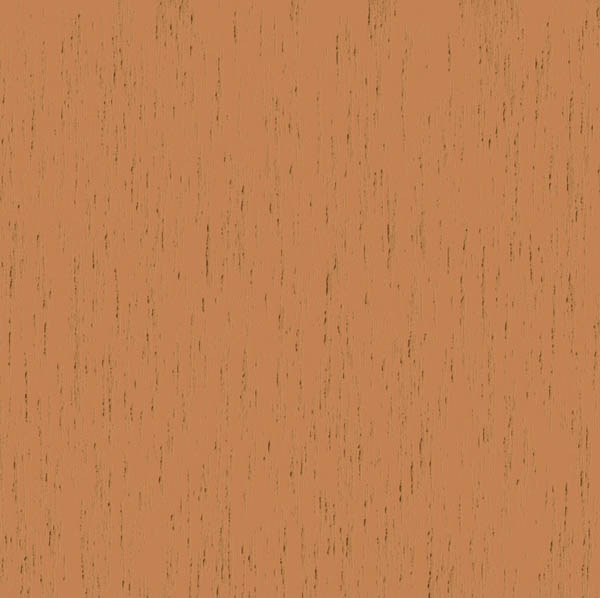
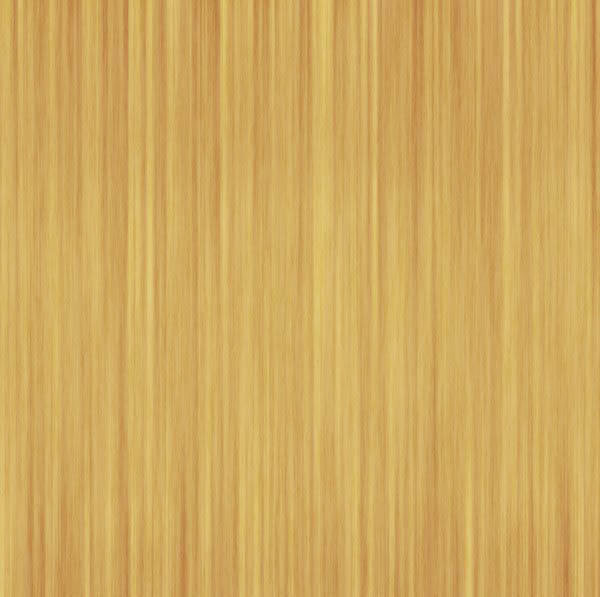
Final Image
Tutorial Details
- Program : Photoshop CS3+
- Estimated Completion Time : 30 minutes
- Difficulty : Beginner
I. Wood 1
Step 1
Create a new 1500×1500 px document in Photoshop and fill it with the color #c58352 .

Step 2
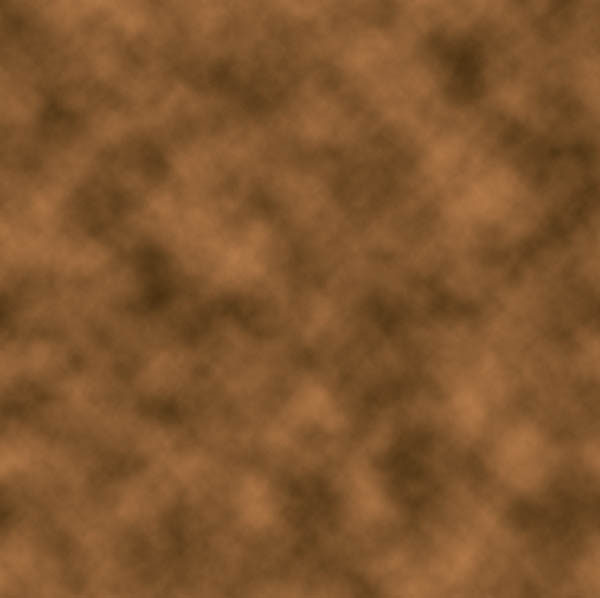
Hit Ctrl+Shift+N to make a new layer. Set the foreground and background to #bb7f4d and #472f0f and then go to Filter > Render > Clouds :
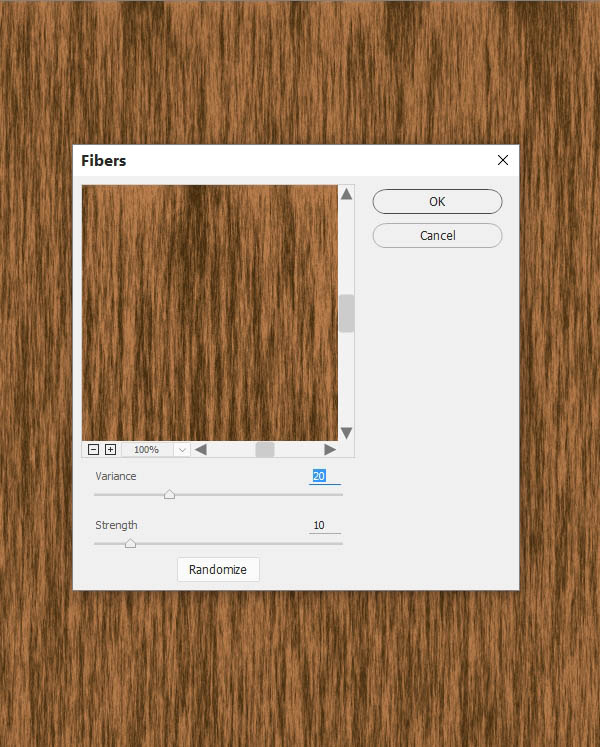
Step 3
Convert this layer to a Smart Object and go to Filter > Render > Fiber and pick the following settings:
Step 4
Create a Levels adjustment layer above the current layer and change the contrast to the nearly maximum.

Step 5
Make a new layer above the Levels adjustment layer. Choose the layer with the fiber effect and activave the Magic Wand Tool (W) . Click on the canvas to select the red details.
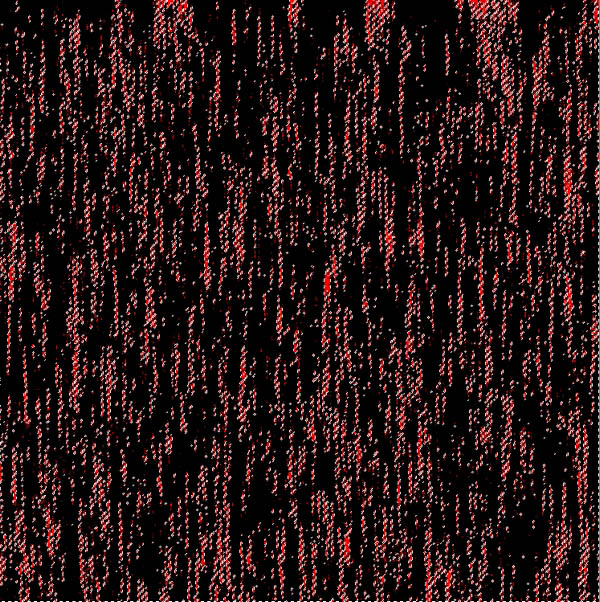 Press Ctrl+I to invert the selection and hit Ctrl+C to copy it. Choose the new layer and press Ctrl+V to paste the selected details into it. Hide or delete the Levels adjustment layer as we don’t need it anymore.
 I turned off the fiber layer to make you see the result more clearly.
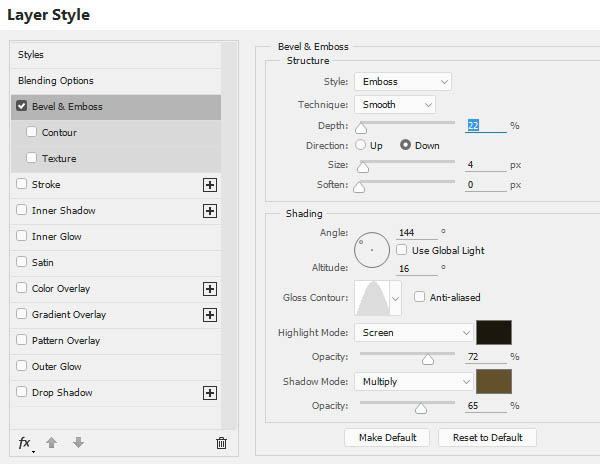
Step 6
Double click this layer, choose Bevels and Emboss . Set the Highlight color to #1c180e and the Shadow color to #64522c .
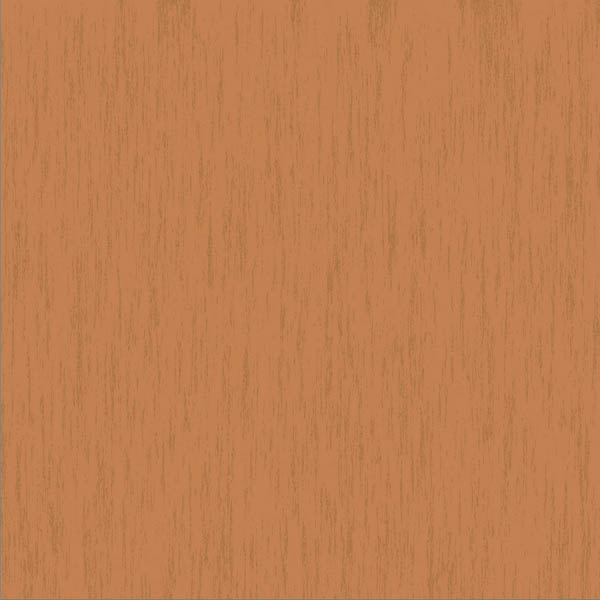
 Turn on the fiber layer and we get the result:
Step 7
Create a new layer and use the Clone Tool (S) to remove some similar details over the texture, make it appear more natural.
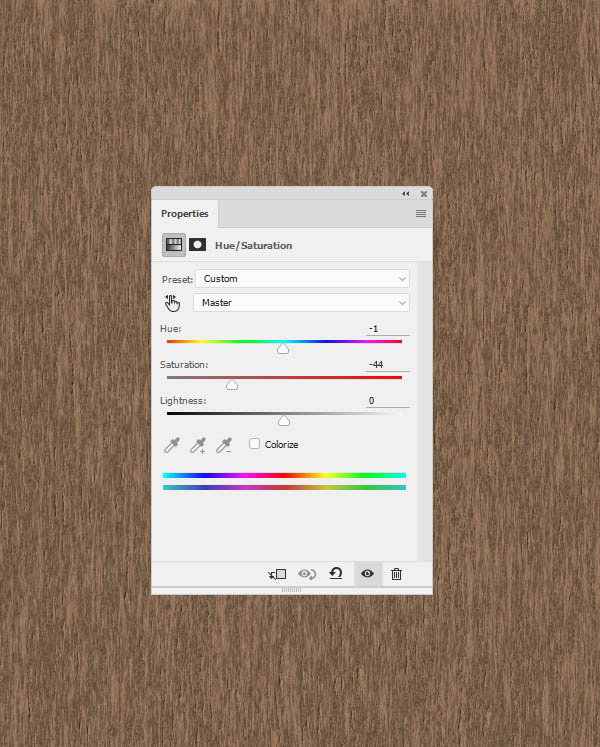
Step 8
Add a Hue/Saturation adjustment layer to desaturate the wood texture a bit:
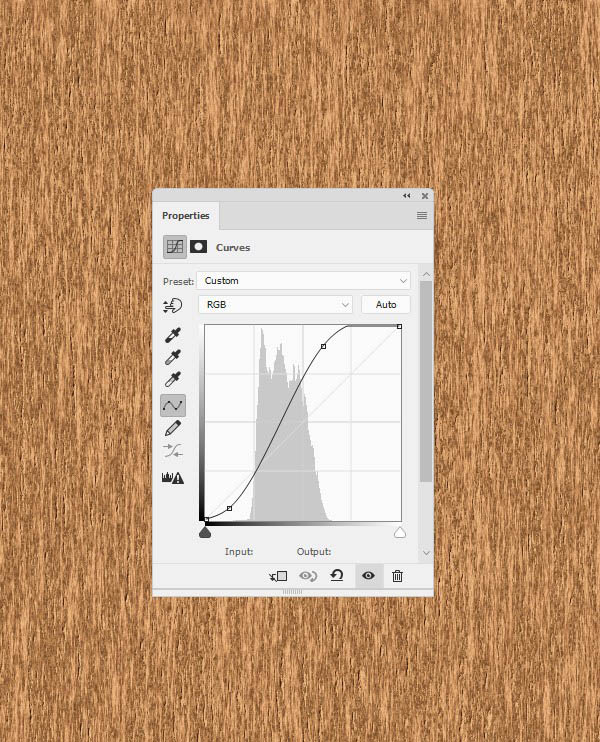
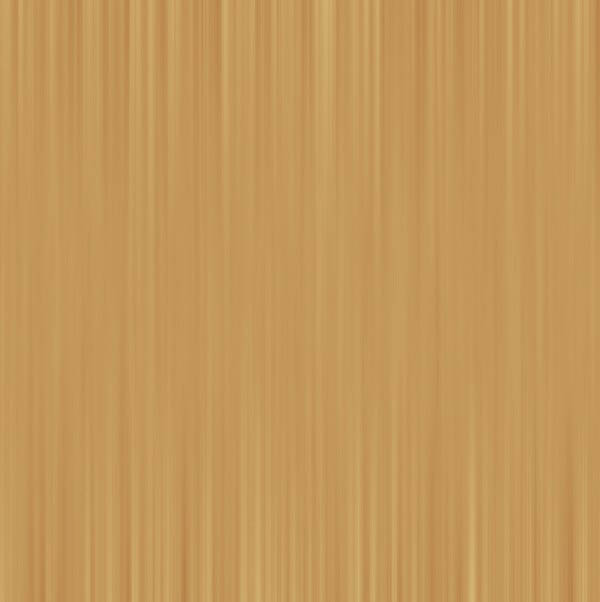
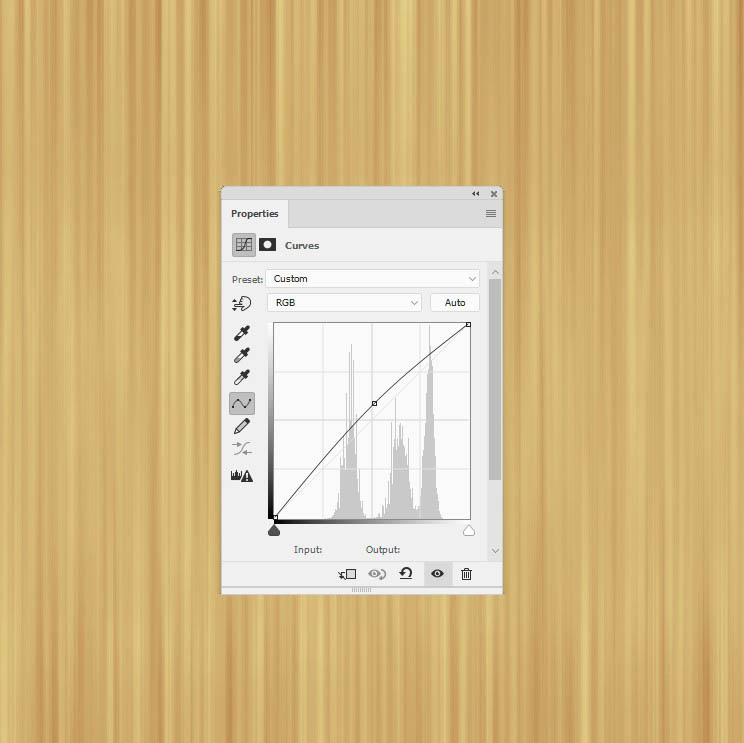
Step 9
Use a Curves adjustment layer to change the contrast and color of the texture.
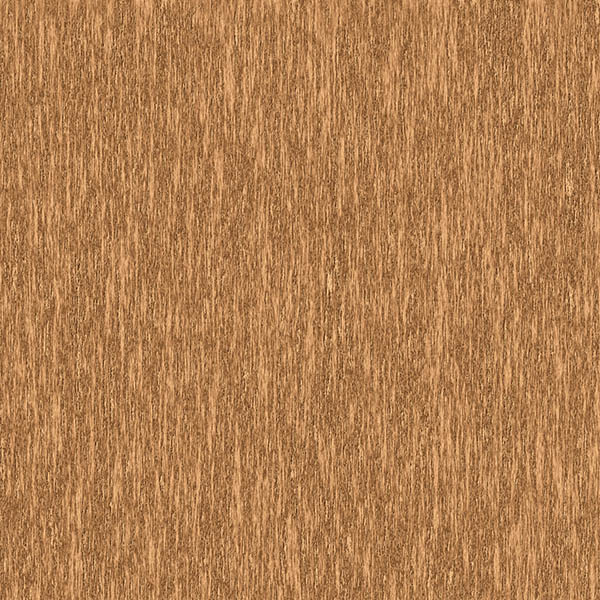
 Select all the visible layers and press Ctrl+G to make a group for them. Name it “wood 1”. Hide this group.
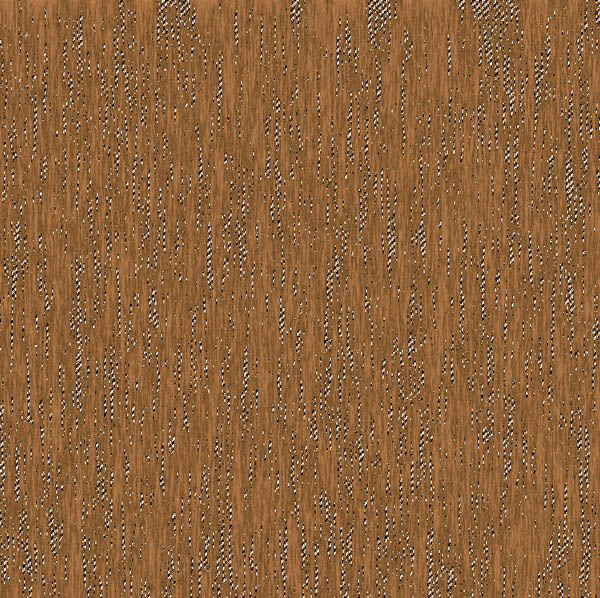
II. Wood 2
Step 1
Create a new layer and fill it with the color #c19356 . Convert this layer to a Smart Object .

Step 2
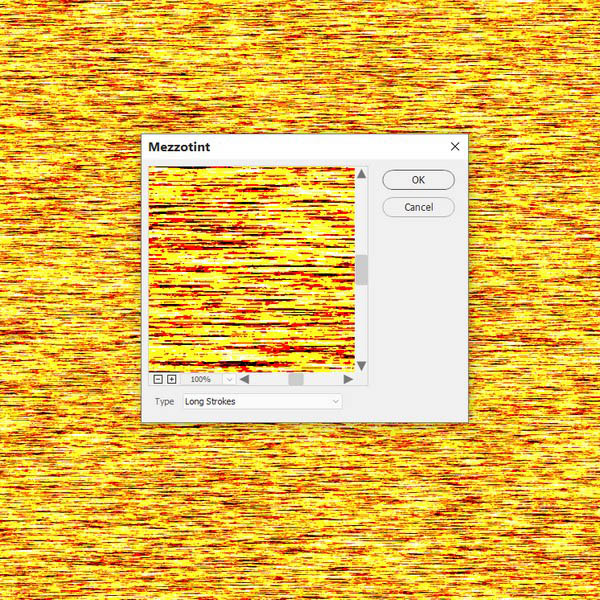
Duplicate this layer and go to Filter > Pixelate > Mezzotint and choose Long Strokes .
Step 3
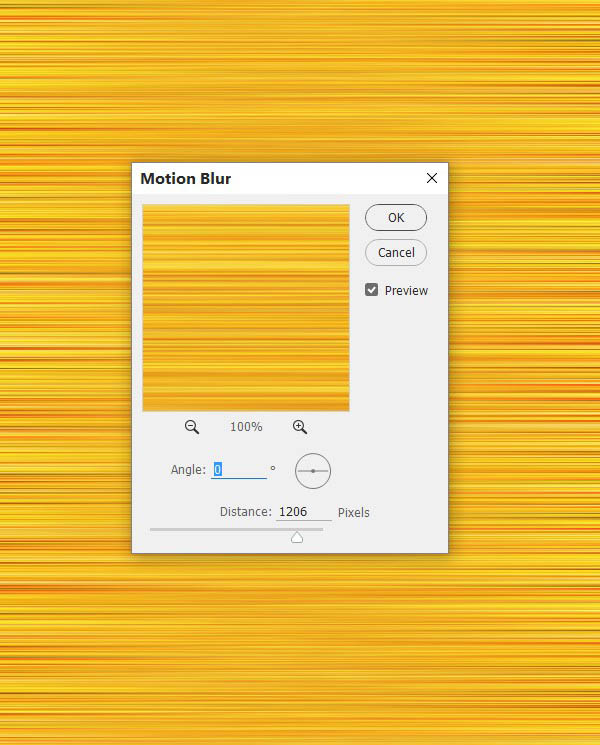
Go to Filter > Blur > Motion Blur and set the following values:
Step 4
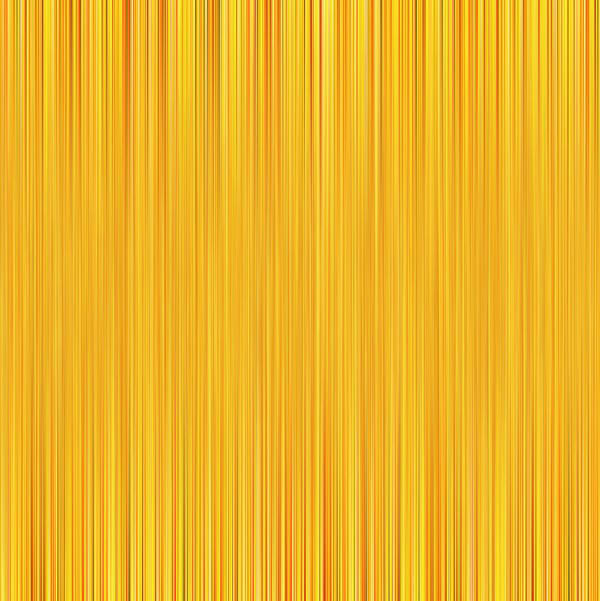
Duplicate this layer and rasterize it. After that go to Edit > Transform > Rotate 90 Clockwise .
Step 5
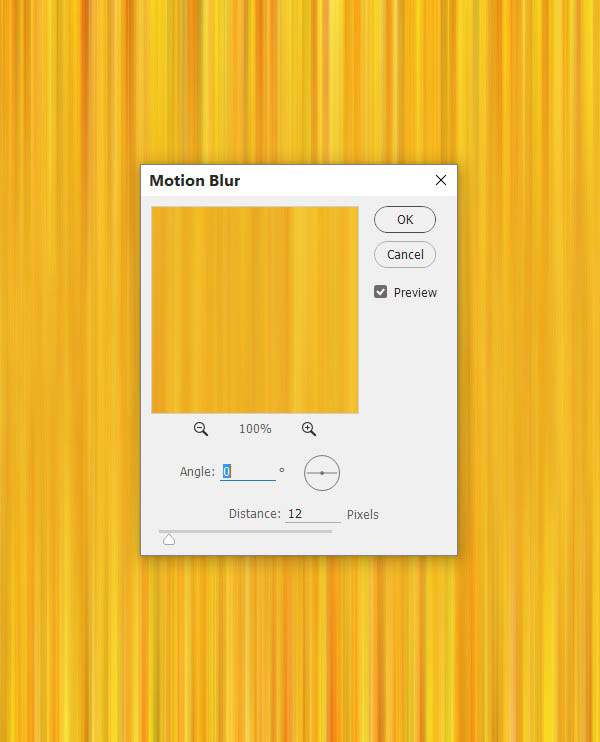
Convert this layer to a Smart Object again. Apply a Motion Blur :
Step 6
Make a Hue/Saturation adjustment layer to desaturate the result.
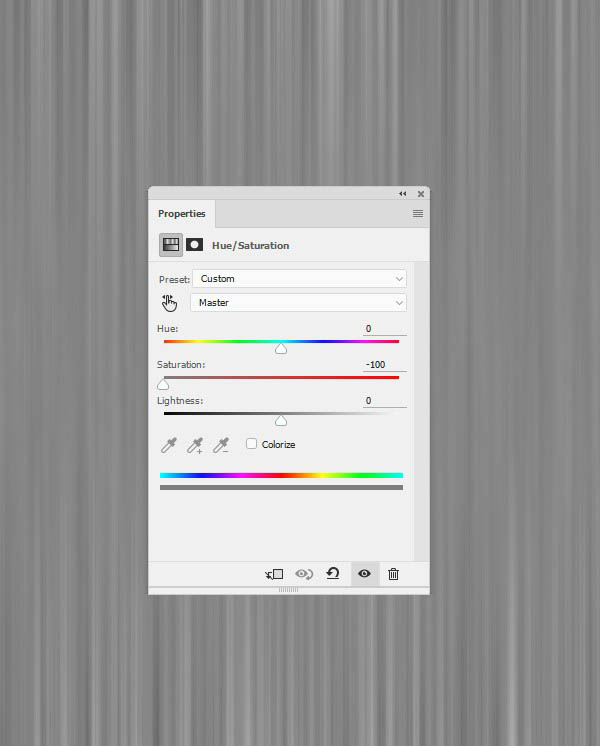
Step 7
Press Ctrl+Shift+Alt+E to merge all the visible layers into a new one. Hide all layers except the original fill layer and the merged one. Set this layer to Overlay mode 100% .
Step 8
The middle of the texture looks blurred and less detailed than the others. To fix it, duplicate the layer and add a mask to this layer. Use a soft black brush to erase the bottom and the top to make them less visible and match with the middle’s visibility.
Step 9
Duplicate this layer twice and move it down to the middle to increase the details for this section. Use a layer mask to blend them with the existing canvas and hide all the hard edges.
Step 10
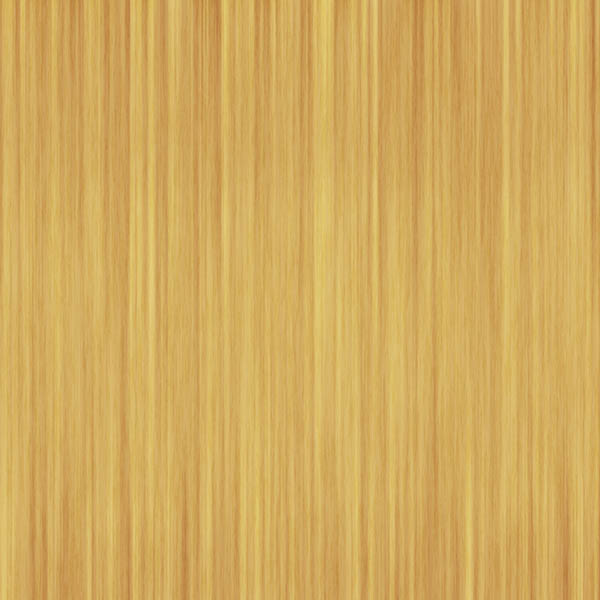
Make a group for all the layers which have Overlay mode. Set this group’s mode to Overlay 100% . Use a Curves adjustment layer to brighten the details of the texture.
Step 11
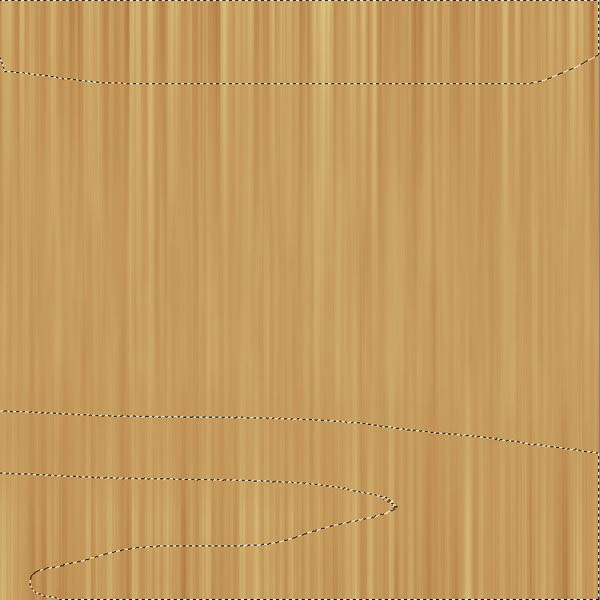
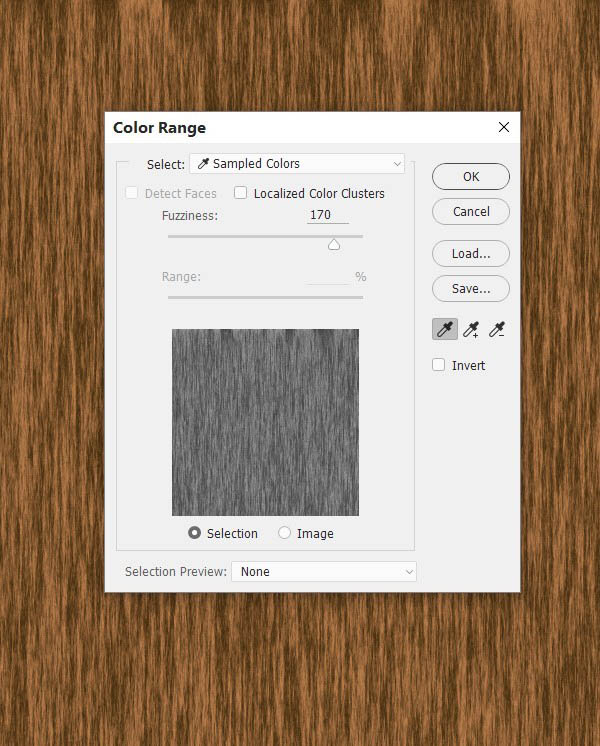
Go back to the “wood 1 ” group. Duplicate the layer from step 3 of section 1 and move it on top of the layers of the wood 2 group. Go to Select > Color Range and choose Fuzziness = 170:

Step 12
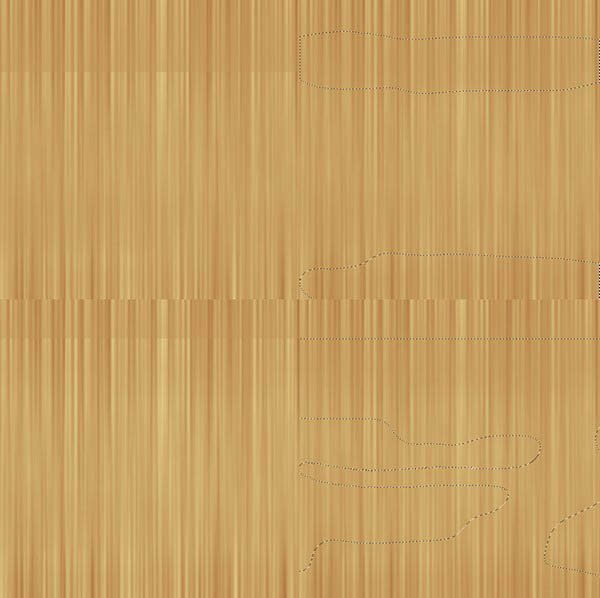
Press Ctrl+J to paste the selected area into a new layer and hide the original layer. Change this layer mode to Overlay 50%.
And We’re Done!
I hope that you’ve enjoyed the tutorial.