Today we are going to create our very own vector inspired portrait in Photoshop that you can readily use as your personal avatar whether it’s for Facebook, Skype or even your own website.
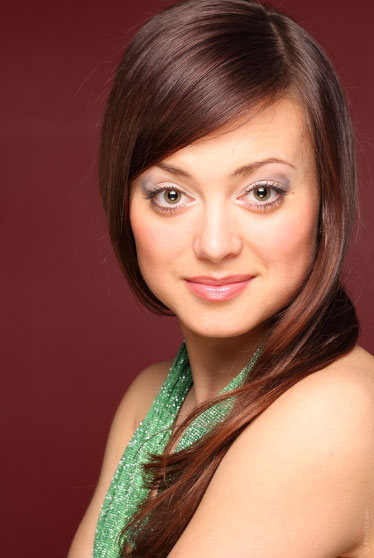
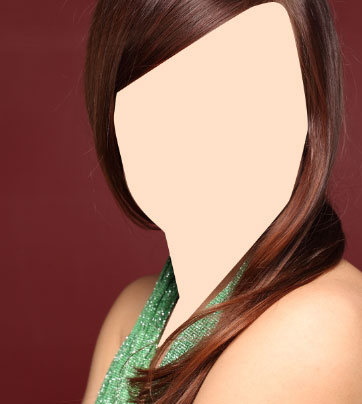
Though I will be using a stock image to do this you can do the same with your own photo, just make sure that it is a hi-res image and a fairly large size so that you can pick out details, shadows and distinguish color changes. Now that you know that little bit of important information power up Photoshop and let’s get started.
There are a ton of reasons Photoshop is one of the most preferred drawing programs out there for graphic designers. The program is powerful, allowing you to create and manipulate however you see fit, not to mention the various effects and filters available. Photoshop can be used for many things which include making your portraits stand out. Vector and vexel portraits are so popular that there are even apps that quickly do the job for you. You can do the same thing in Photoshop however and even create a cool color combination to give your portrait its own unique feel.
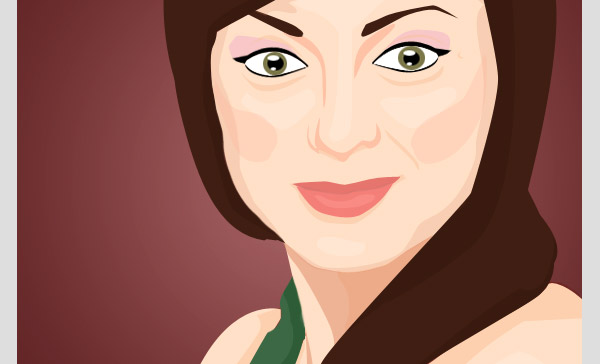
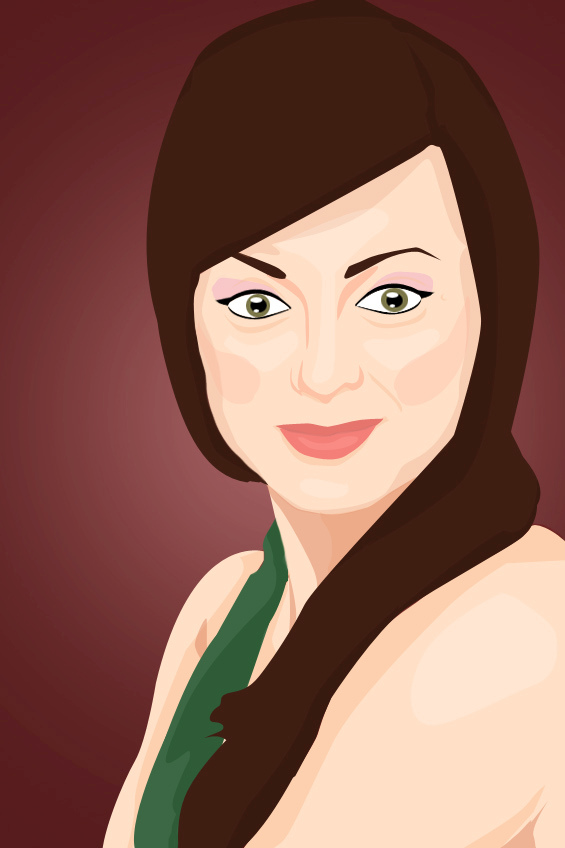
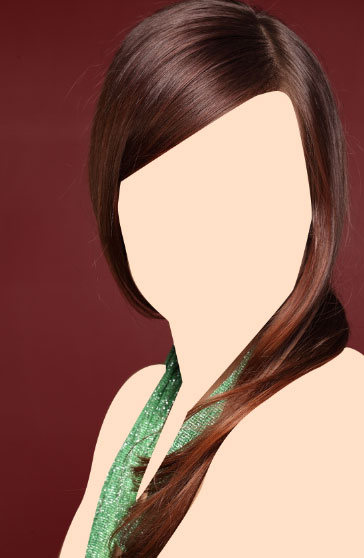
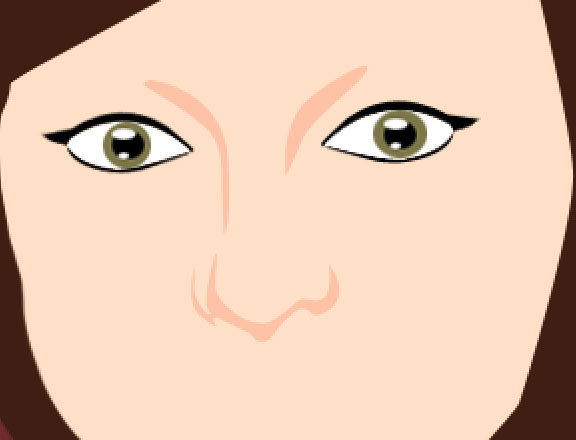
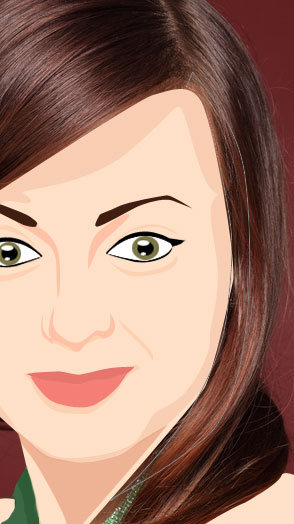
Final Image
Tutorial Details
- Program: Adobe Photoshop CS5 (CS3+ versions will work as well)
- Estimated Completion Time: 90 minutes
- Difficulty: Intermediate
Resources
Step 1
Before we can begin turning our photo into a vector style portrait we must first open it up in Photoshop. You can use whatever image you prefer but for this tutorial I will be using the image in the link above.
Step 2
Create a new layer to begin working on the skin. Use the color picker to pick the desired skin tone you want your person to have. In this case I am using #ffe0c7. Now that your color is selected use the Pen Tool to trace the face and neck like this.
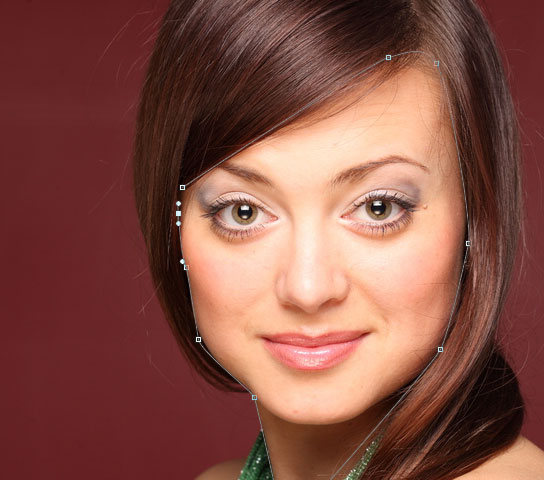
Once you have your skin traced and the path is created you can then fill it in.
Continue doing this until all of the skin is traced and filled as shown below.
Step 3
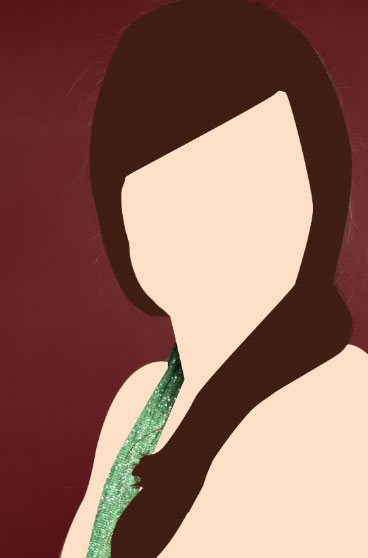
Make a new layer for the hair and once more use the color picker to select the most dominant hair color in your picture. If you want to add in highlights you can do that later. For the hair I will be using #401e12. Just like before trace the hair and then fill in the path.
Step 4
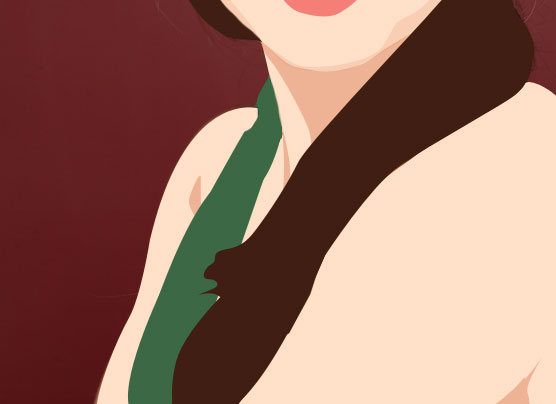
Once more create another layer so that you can lay down the base color of the clothing. Worry about the dominant colors only. The halter top will be filled in with #3c6844 like so.
Step 5
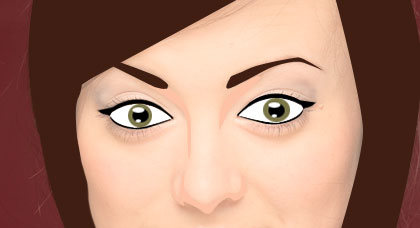
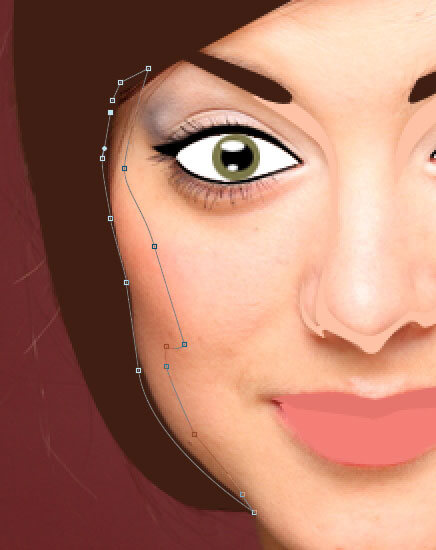
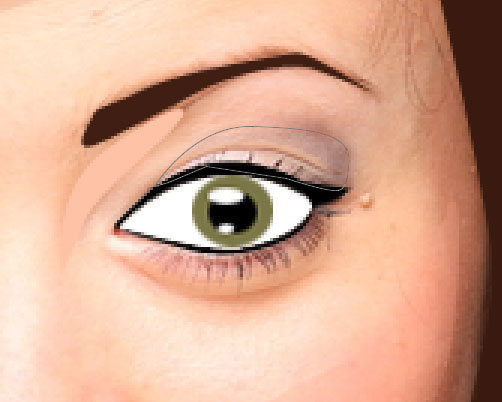
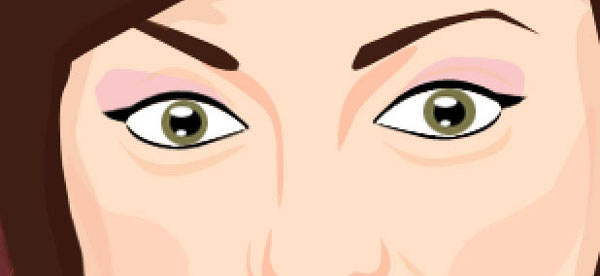
Lower the opacity of the skin layer enough so that you can see the facial features of the original image. Create a new layer for the eyes and change your foreground color to #000000. Begin tracing the outline of the top eyelash. Notice you do not have to be super detailed.
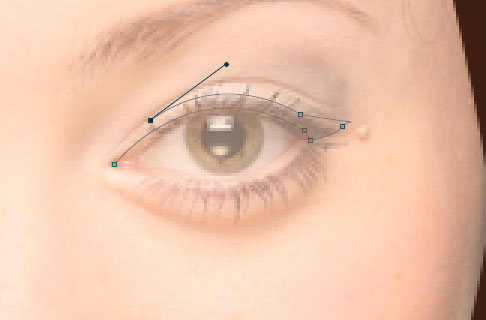
Fill in your path with your foreground color.
Outline the other eye so that both eyes are done.
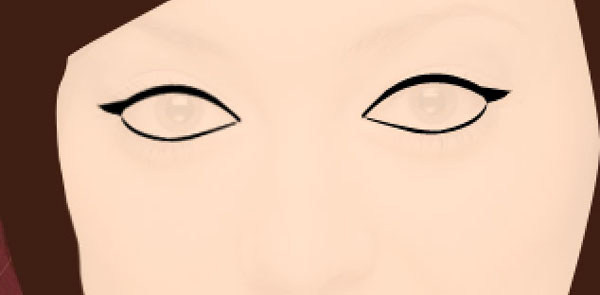
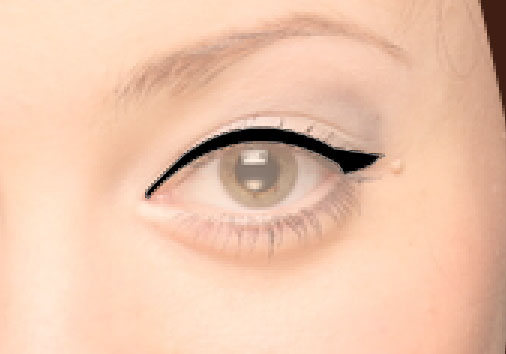
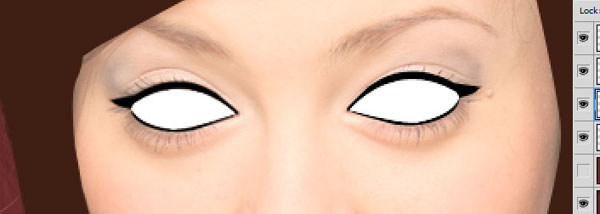
Step 6
On the same layer you want to fill in the whites of the eyes. Simply do this by making your foreground color #ffffff and then using the Paint Bucket Tool to fill in your eye outlines.
Step 7
Create a new layer for the pupil and iris. Hide the eye layer temporarily and use the Elliptical Marquee Tool to get the iris the right shape.
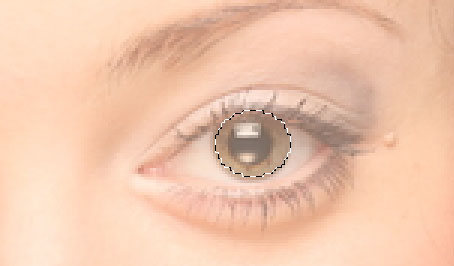
Fill the iris in with #7b7648.
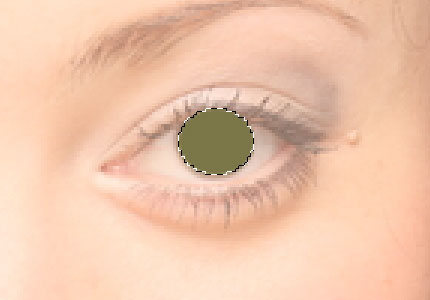
Now finish up by filling the pupil in with #000000 and the light source with #ffffff.
Step 8
We need for things like the eyelids and nose to stand out. To do this we need to simply use the colors of our face to make the shapes, in other words use the same shades on the facial features. Make a new layer and change your foreground color to #fec2a6. Begin tracing the nose.
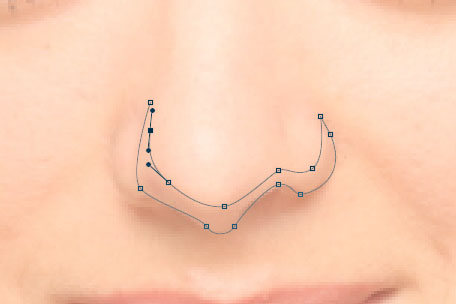
Fill it in and continue until you have a nose shape.
Step 9
Use the same color for the hair to fill in your eyebrows after you have the path traced.
Step 10
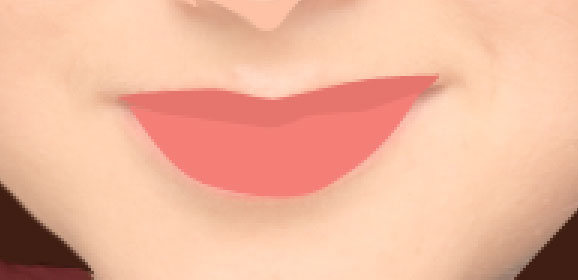
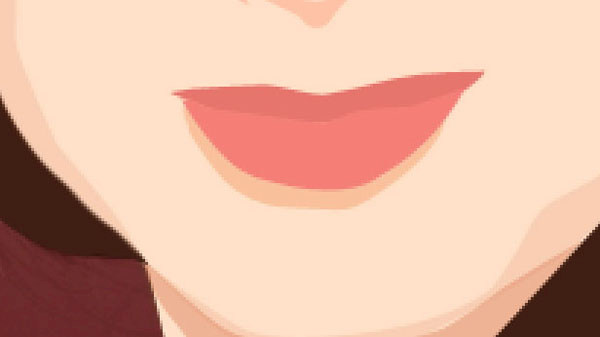
Make your foreground color #e6756d and create a new layer. Trace only the outline of the top lip.
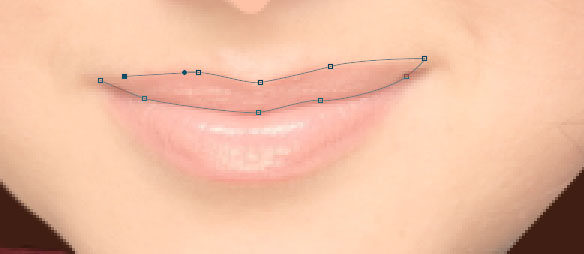
Fill in the top lip path with your color.
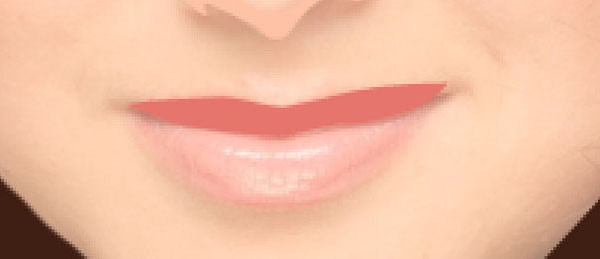
Finish the lips by using #f47f78 for the bottom lip.
Step 11
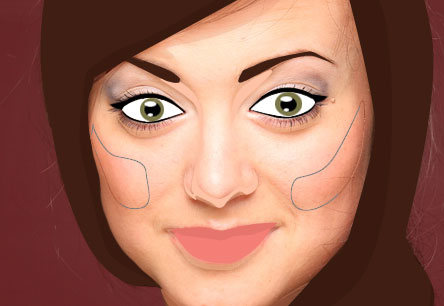
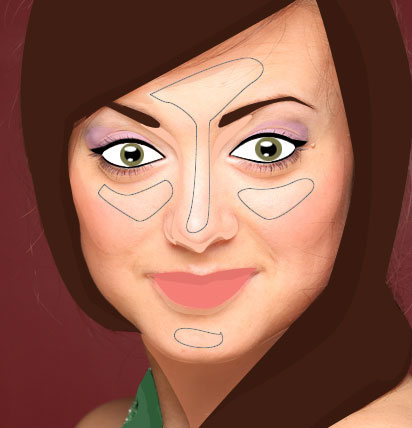
To give the face a more defined look we need to add more shadows around the cheeks and jaw like so.
Fill the outside shadows with #dd8561 and then drop the opacity to 20%.
Step 12
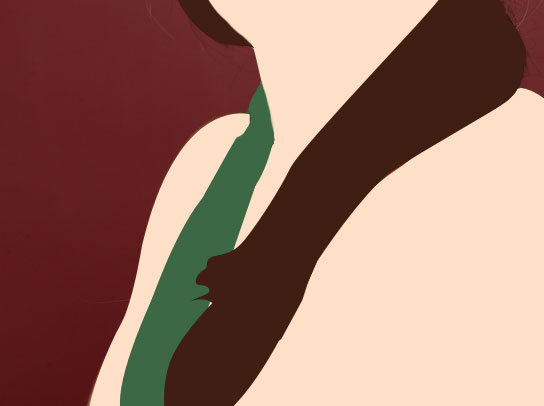
Continue using #dd8561 to add shadows around the neck and arms as shown below.
Drop the opacity to 50%.
Step 13
We want the face more defined and less flat so we are going to add in more shadows with the color #f9c19c. Start by adding a shadow beneath the bottom lip.
Continue adding more shadows such as around the eyes and nose.

Lower the opacity to 50%.

Step 14
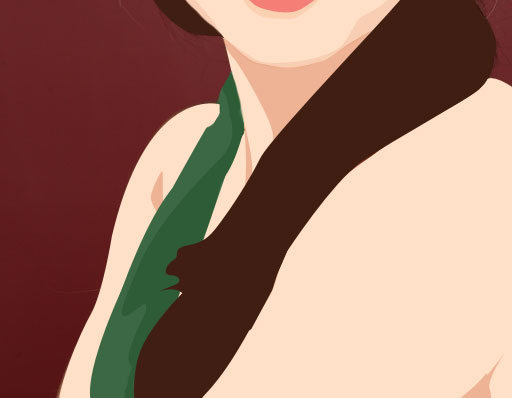
To make the shirt look like it has a bit more dimension to it you need to use the color #334f38 and add a large shadow on top of the shirt.
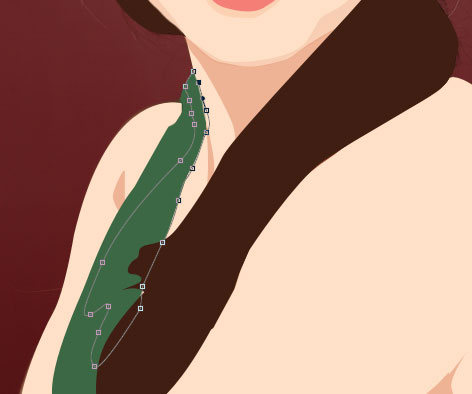
Drop the opacity to 50% and change the layer mode to Soft Light.
Step 15
Outline the edges of the hair where you see that it carries more of a shadow.
Make a new layer and fill these areas in with #4b1b11. Change the layer opacity to 16% and the layer mode to Multiply.
Step 16
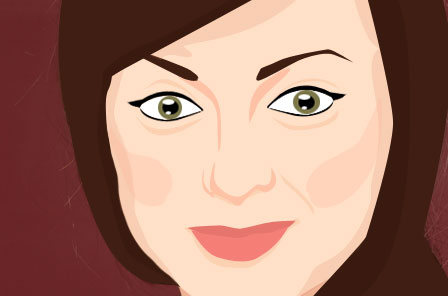
Change your foreground color to #ffad95 to add blush to the cheeks. Outline where the blush is and create a new layer.
Fill in the shapes and make the layer opacity 24%.
Step 17
Trace the shape of the eyeshadow and make a new layer.
Fill the shape in with #ea98c8 and drop the opacity to 35%.
Step 18
Add highlights to the skin by following the areas of your photo where the skin is the lightest.
Fill these in with #ffffff and drop the opacity down to 20%.
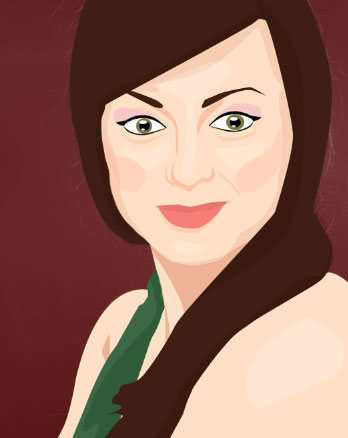
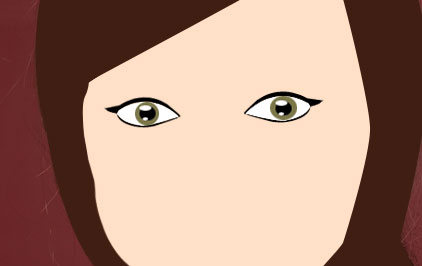
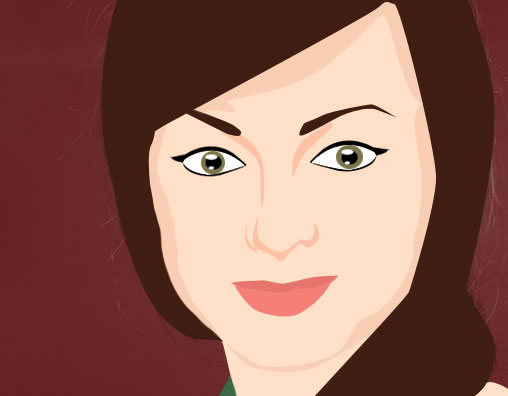
And We’re Done!
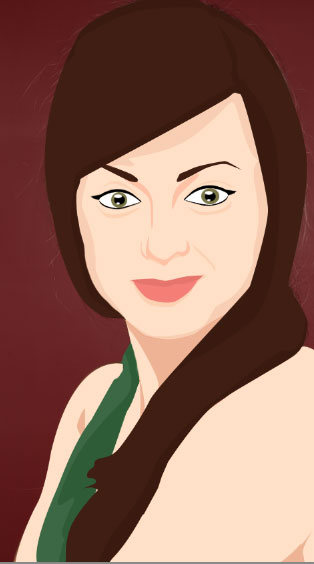
Finish your design by adding more shadows, details and a background just like I have done. Once you have your desired details added in you’re finished.
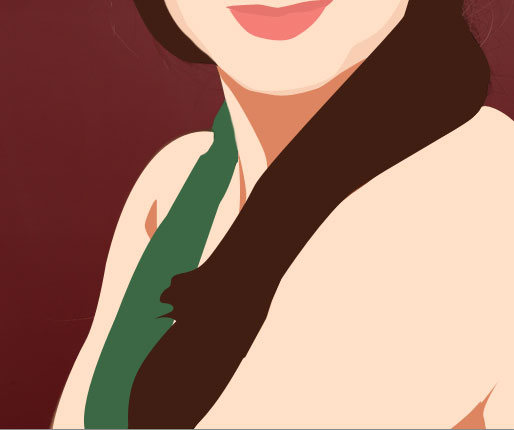
As you can see I left my vector portrait fairly basic and close to the original photographic image. You can however develop your image more. Adding in small details like glittering rhinestones, wisps of hair and highlights will make your image pop. You can also create your vector portrait in grayscale by varying your shades between black and white or simply go for a limited color choice where one color is dominant over the rest. Hopefully you have found this tutorial not only helpful but also inspiring, and as always, happy designing everyone.